How to add a table
Refers to a form of non-member registration information, which is used by merchants to collect customer information or create questionnaires.
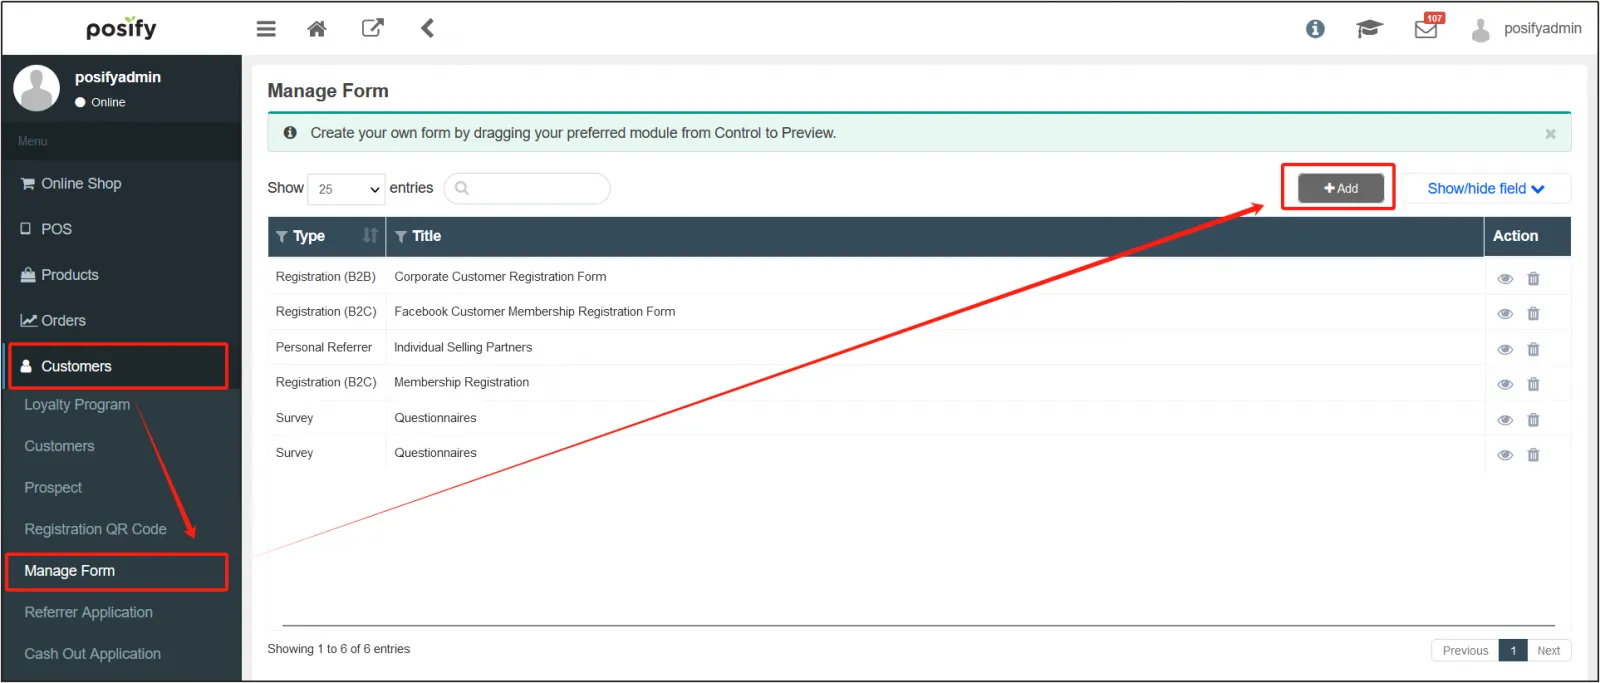
Open the CMS![]() Click Customers
Click Customers![]() Click Manage Form
Click Manage Form![]() Click [Add].
Click [Add].
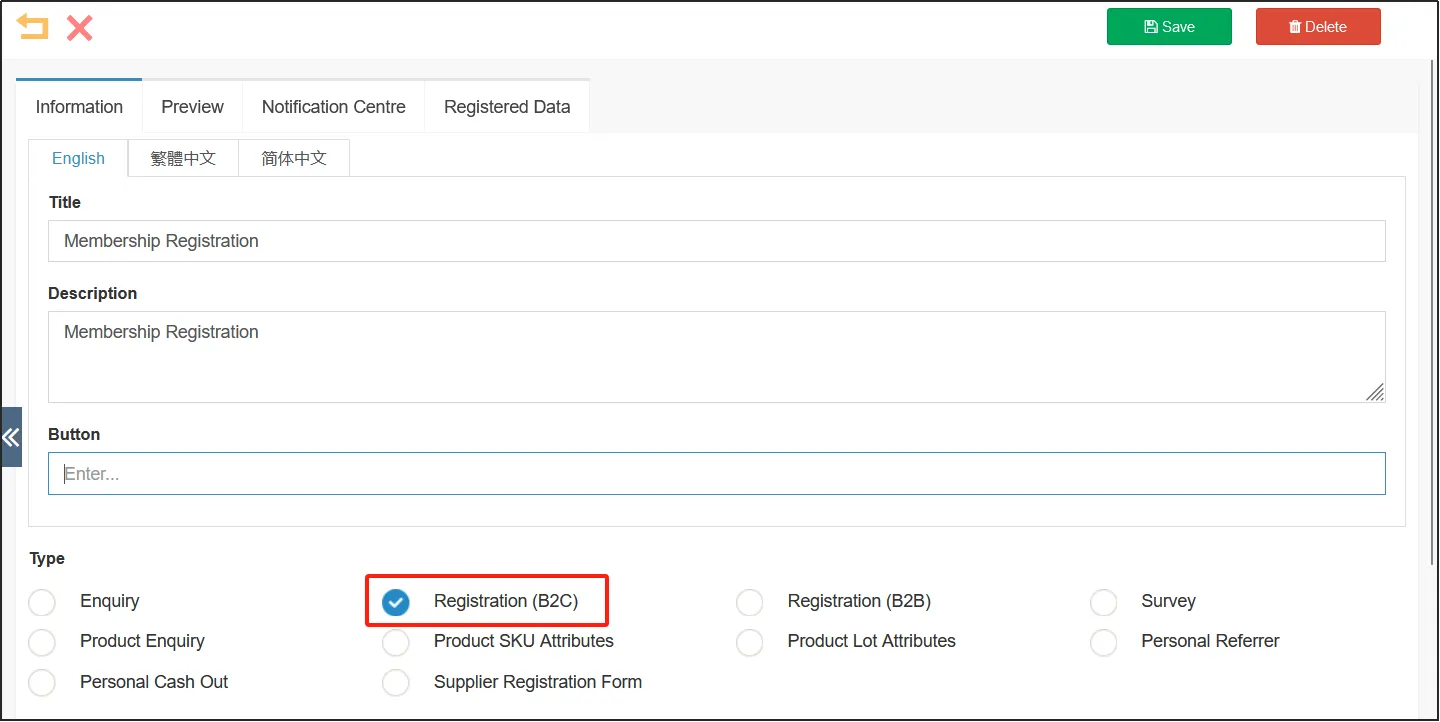
Let's take the membership form as an example.
On the tab page Information, enter the Title and Description of the table, and select Type. If you are registering as a member, please select [Type] as [Registration Form], B2B refers to individual customers, and B2B refers to corporate customers.
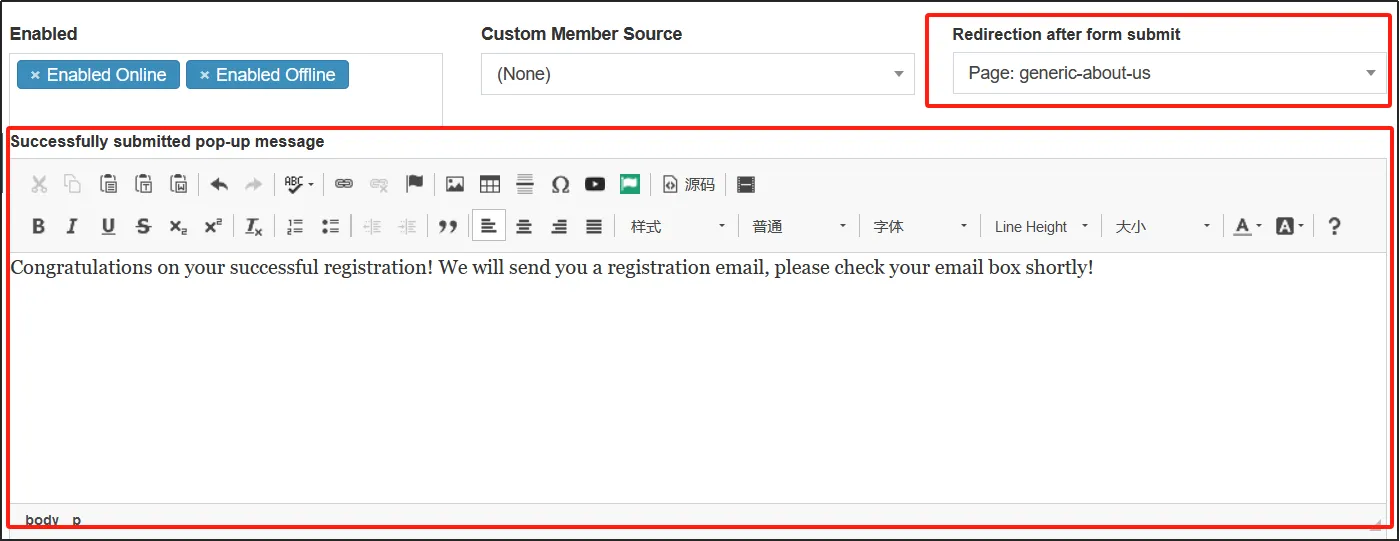
In [Enable], select the location where the table is enabled, and you can choose Enabled Online and Enabled Offline.
You can select [Custom Member Source] or you can choose not to select it.
If you can select the page to which [Redirection after form submit], for example, if you select Homepage, you will be redirected to the homepage after submitting the form. You can also set the information that will pop up after the form is successfully submitted, and fill in the rich text box under [Successfully submitted pop-up message]. However, if you select [Registration(B2C)] as a category, you do not need to fill in these two items, and you will be automatically redirected to the Member Center of the new member after successful registration.
Note: The function of form submission and redirection cannot be used in the member registration form, and the member registration form will be redirected to the member center page of the newly registered member by default.
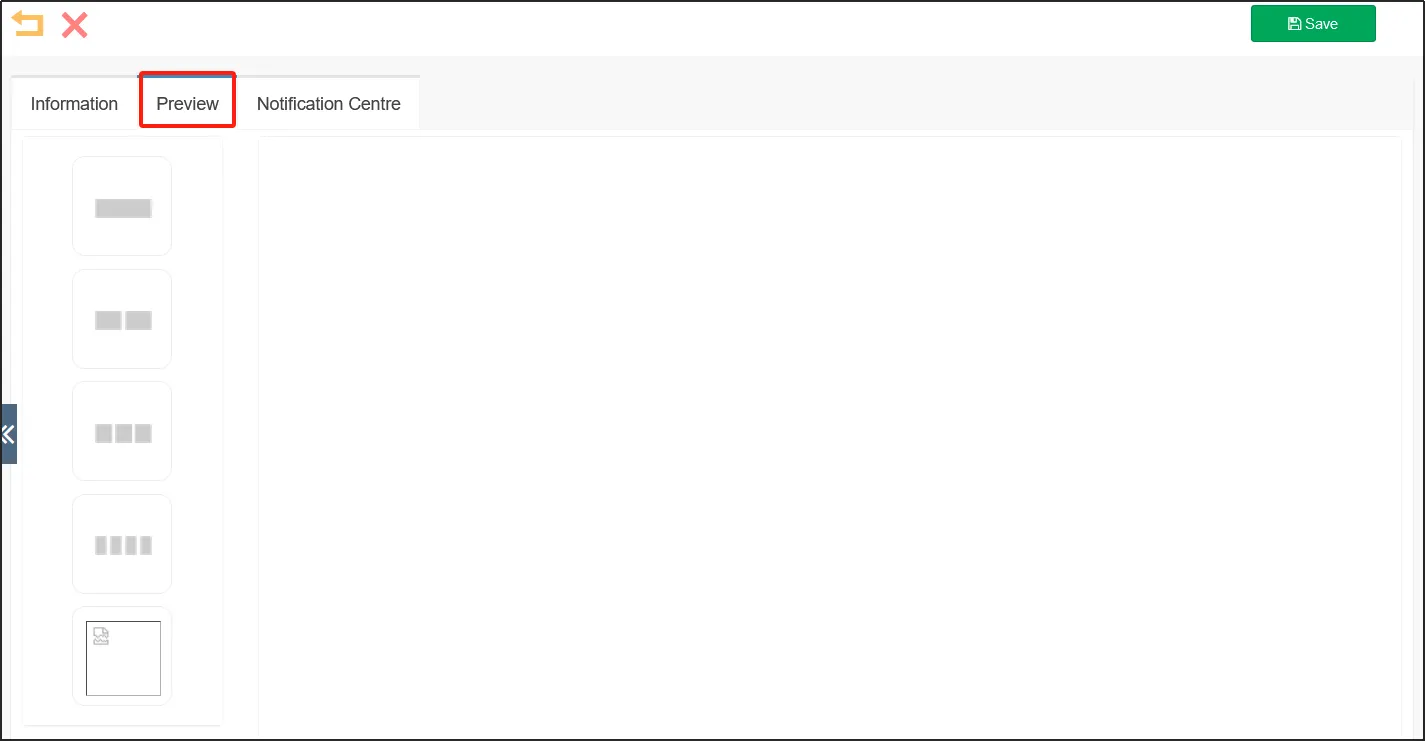
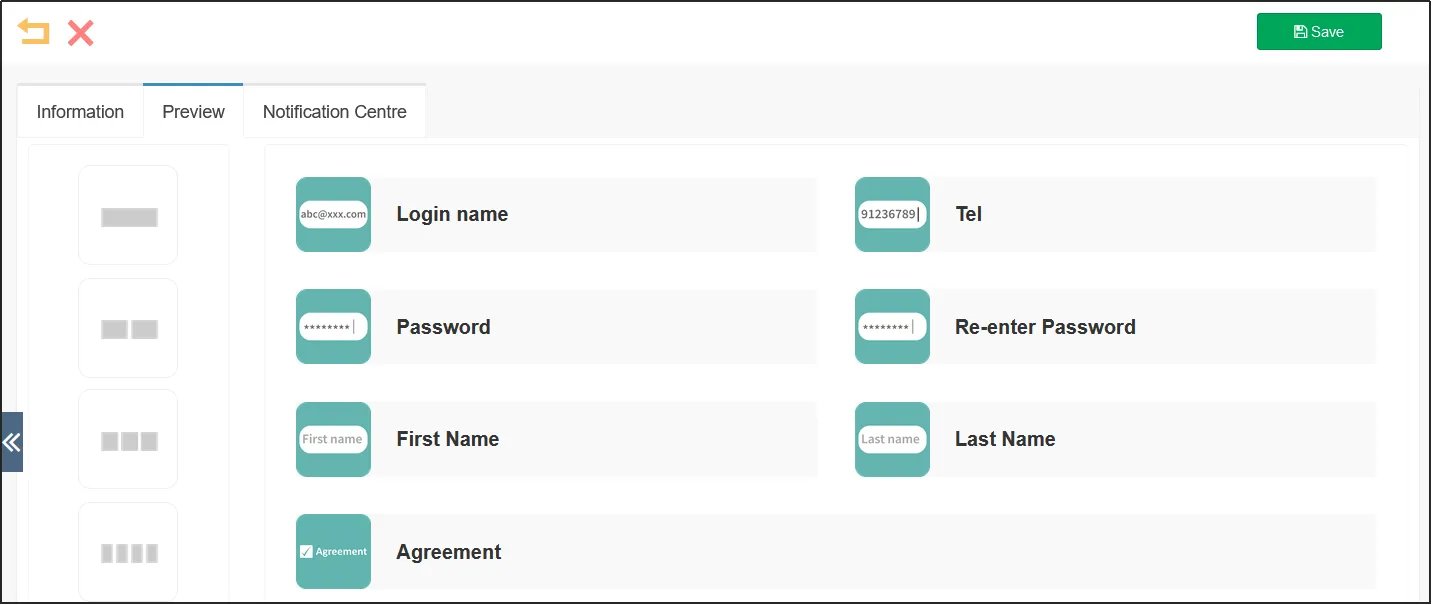
Click the tab Preview, and you can see that there are five squares on the left, which represent one in a row, two in a row, three in a row, four in a row, and five in a row (items).
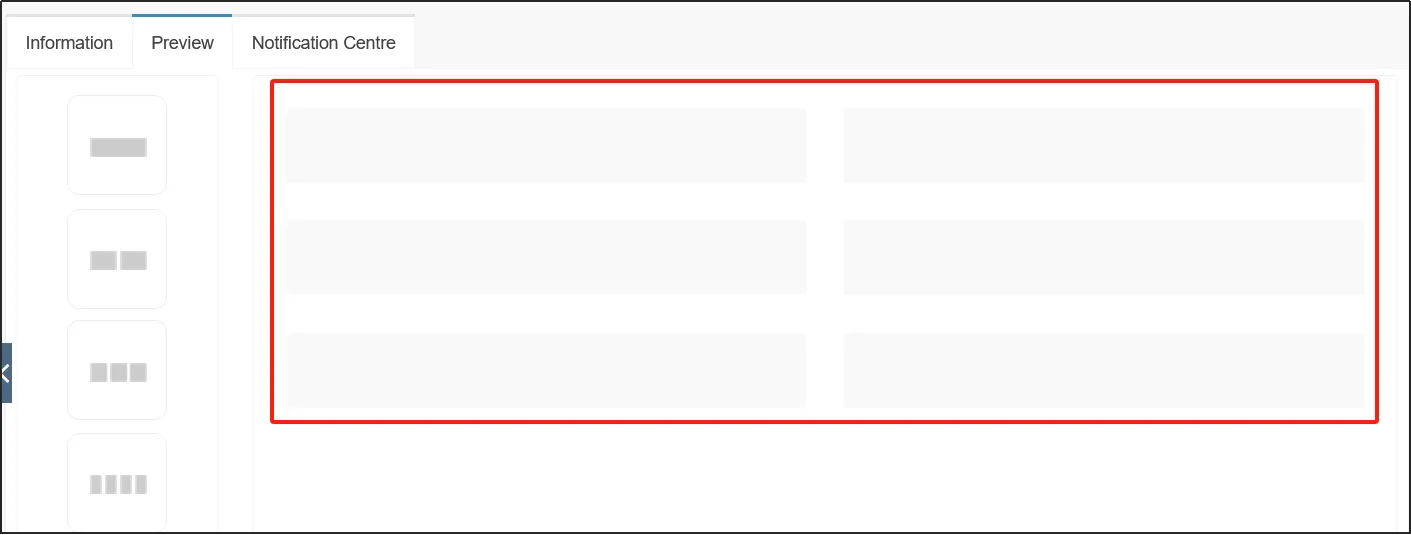
The blank space on the right is the preview box.
Drag the squares on the left into the preview box on the right as needed, for example, if you need to enter six items, two items per row, for a total of three rows, then you can drag three [two items in a row] into the preview box.
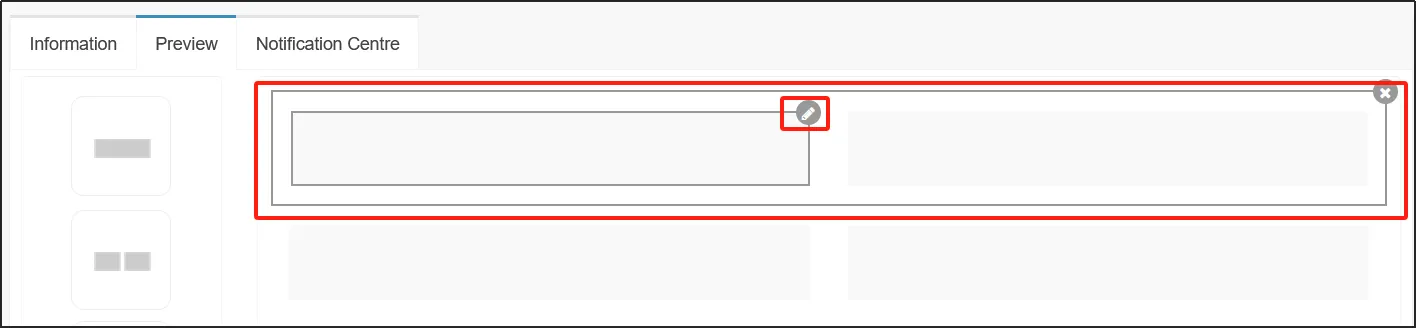
Move your mouse over the item and click on the small pen icon in the upper right corner of the item to edit the item.
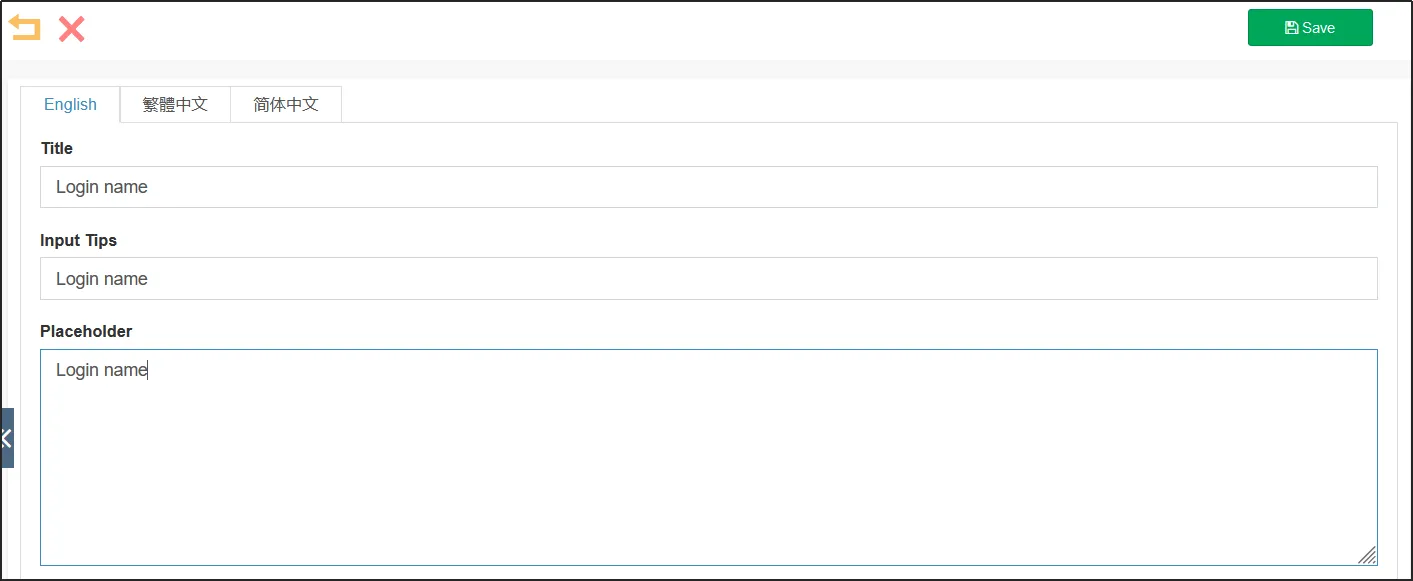
Enter the [Title] of the item and the [Input Tips] that will be displayed to the customer.
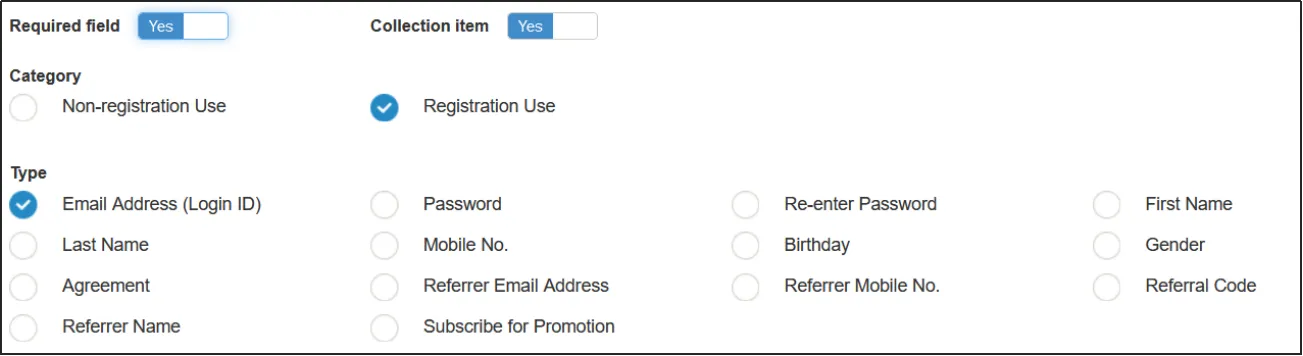
When [Required field] is enabled, customers must fill out this item in order to submit the form.
When Collect [Collection Item] is enabled, the item collects information that records the member.
There are two types of [Category] for Non-registration Use and for Registration Use, and each classification contains different items [Type]. As shown in the figure below, there are types of items such as Email Address(Login ID), Password, and Re-entry Password.
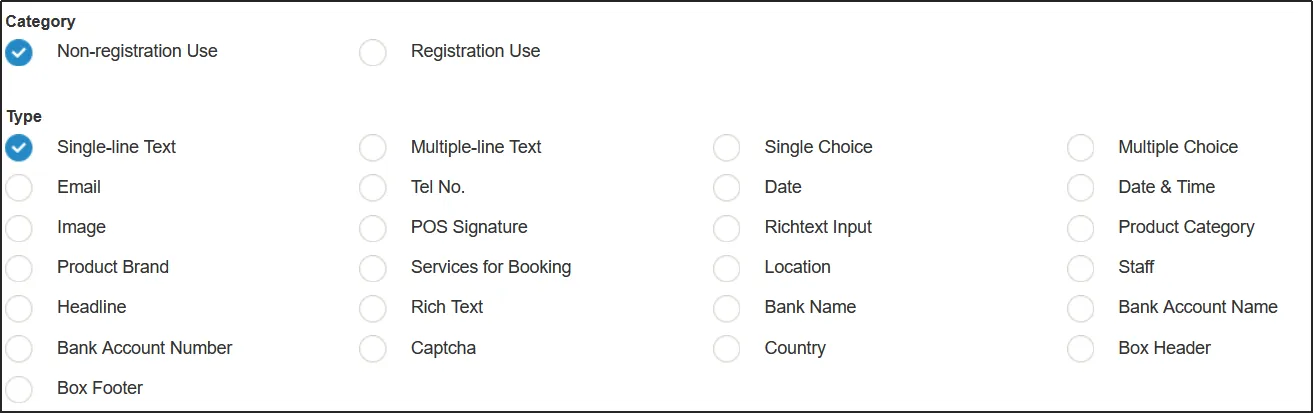
The types of items used as Non-registered Use categories are shown in the figure below.
As shown in the image below, edit all the items and add a [Agreement] at the end.
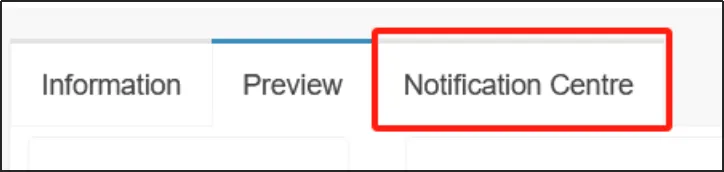
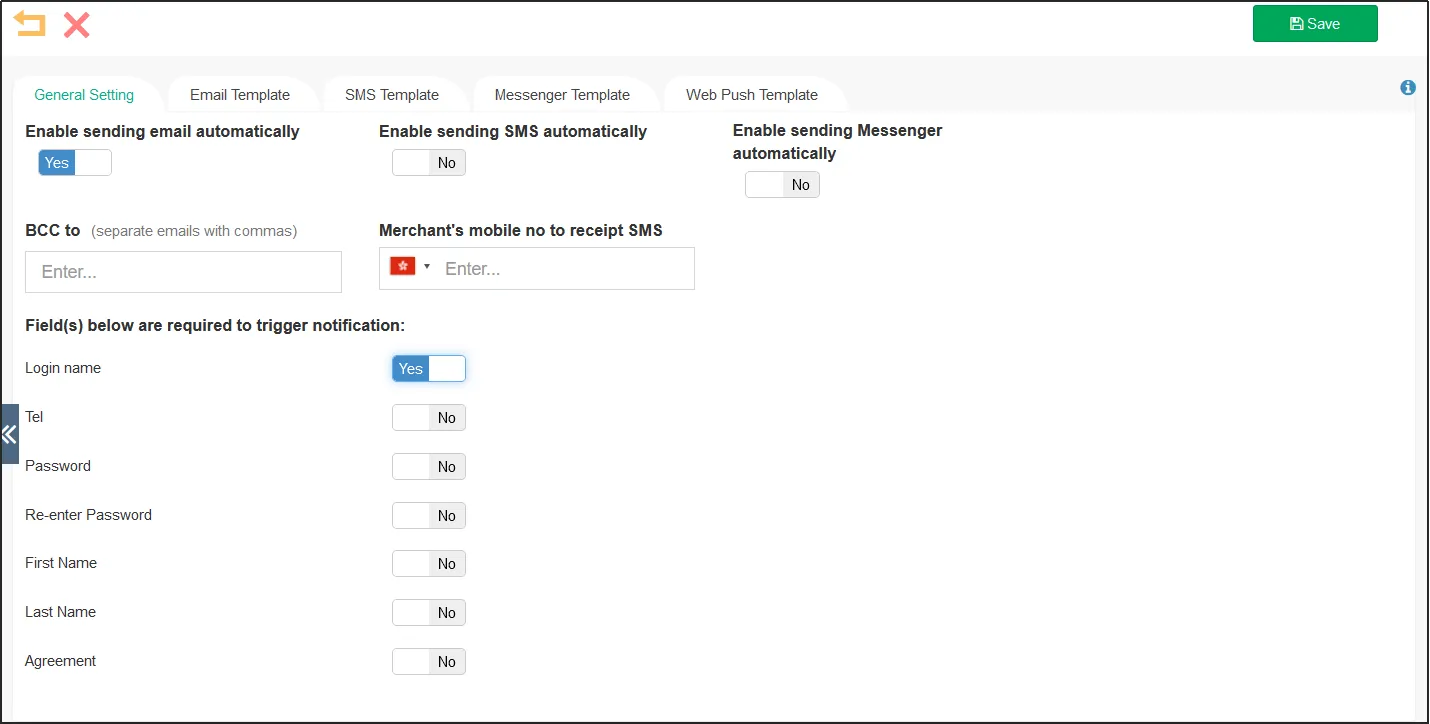
Click the Tab Notification Centre to set the message notification that will be sent to the customer after filling out the form.
Set whether or not notifications are sent automatically, using email, SMS or Messnger. However, before using these notification methods, you need to confirm that the configuration has been completed, otherwise the notification cannot be sent normally. For details on how to configure email, see playbook-Other settings, and for details on how to configure SMS, see playbook-SMS provider.
If you enable automatic email notifications, you can enter the email address where you want to receive the notification email CC under [BCC to]. If you have enabled automatic SMS notifications, you can enter the mobile phone number of the merchant to receive notification emails under [Merchant's mobile no to receipt SMS ].
All the items in the table are listed under [Field(s) below are required to trigger notification:], and you can select certain items as required to send notification emails, such as setting automatic email notifications, then you can set the email to trigger the sending of emails.
Click the following tab to set the message template for the corresponding notification method.
For more information on how to apply tables to pagination, see Playbook - Web Builder- elementary. If the type is "Registration Form (B2C)", it will be automatically applied to the member registration screen of the online store after editing.
Here's how the table above works.

How to view the registered data
Open the CMS![]() Click Customers
Click Customers![]() Click Manage Form
Click Manage Form![]() Find the form you want to view your registered information and click
Find the form you want to view your registered information and click ![]() the on the right。
the on the right。
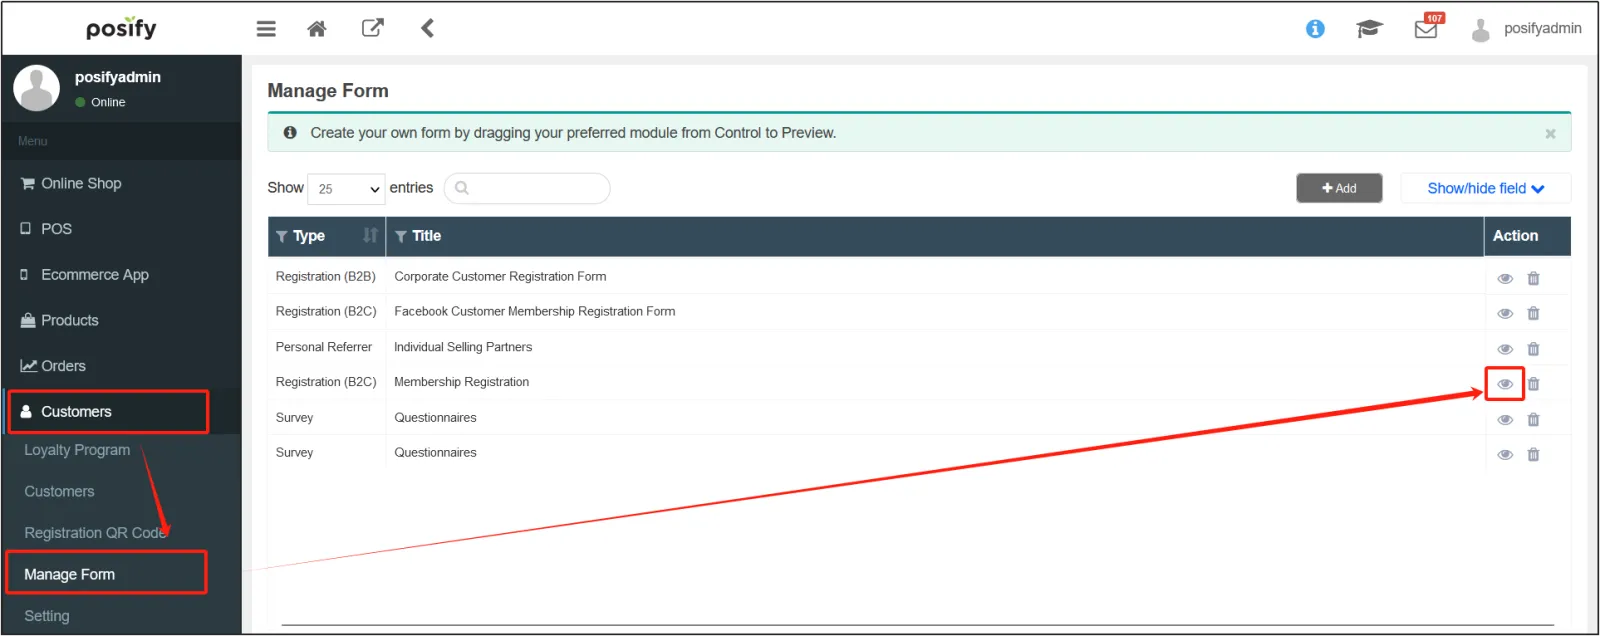
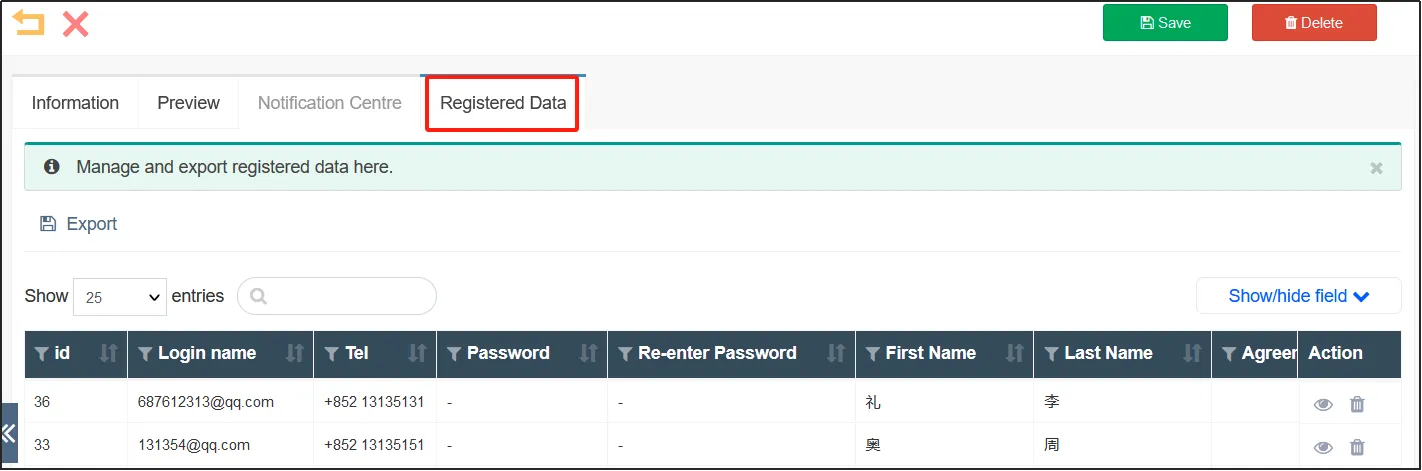
Click on the tab Registered Data to view the registered information in the form.
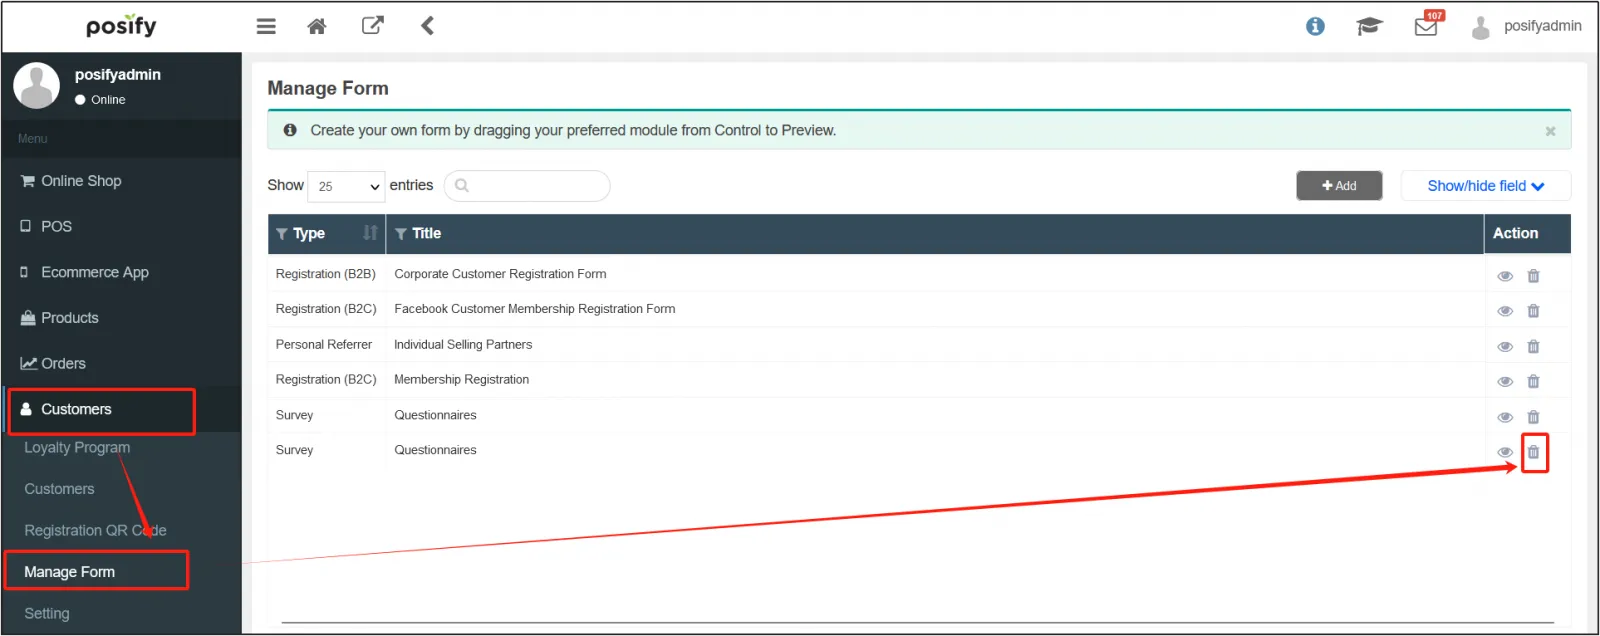
How to delete the form
Open the CMS![]() Click Customers
Click Customers![]() Click Manage Form
Click Manage Form![]() Find the form you want to view your registered information and click
Find the form you want to view your registered information and click ![]() the on the right.
the on the right.