Advanced design settings
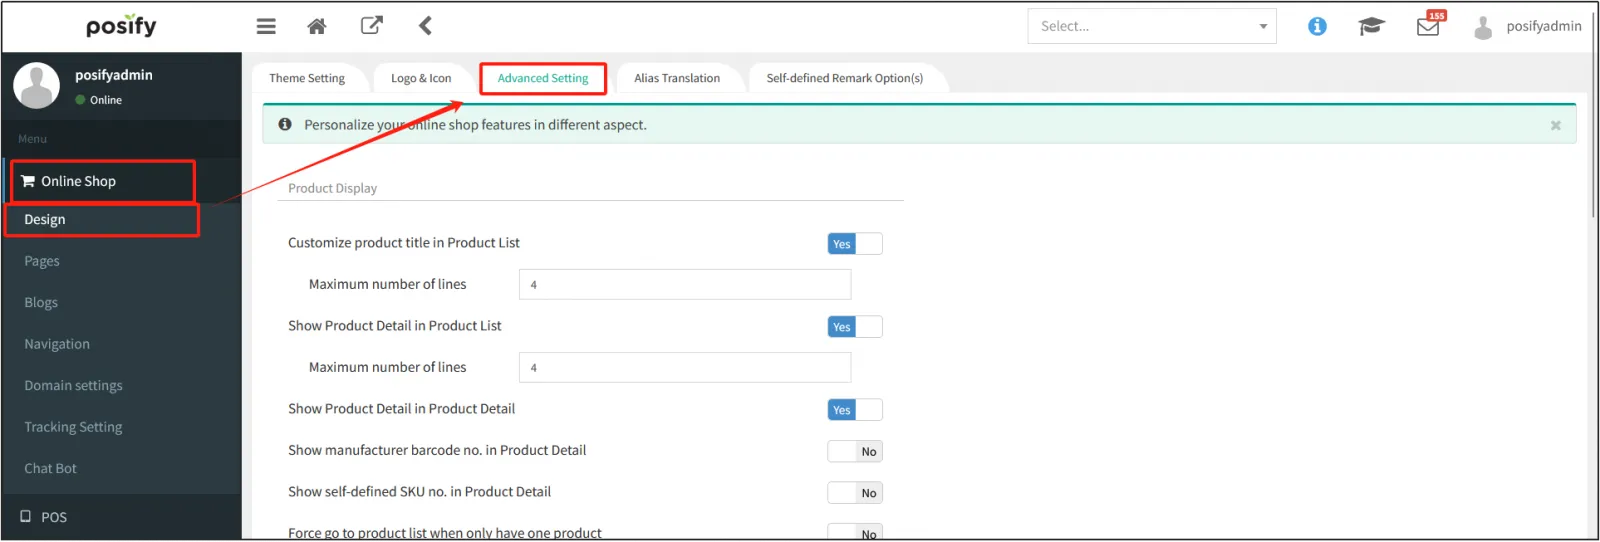
Open the CMS click on the online storeclick on the designclick on the tab to advance the design settings.
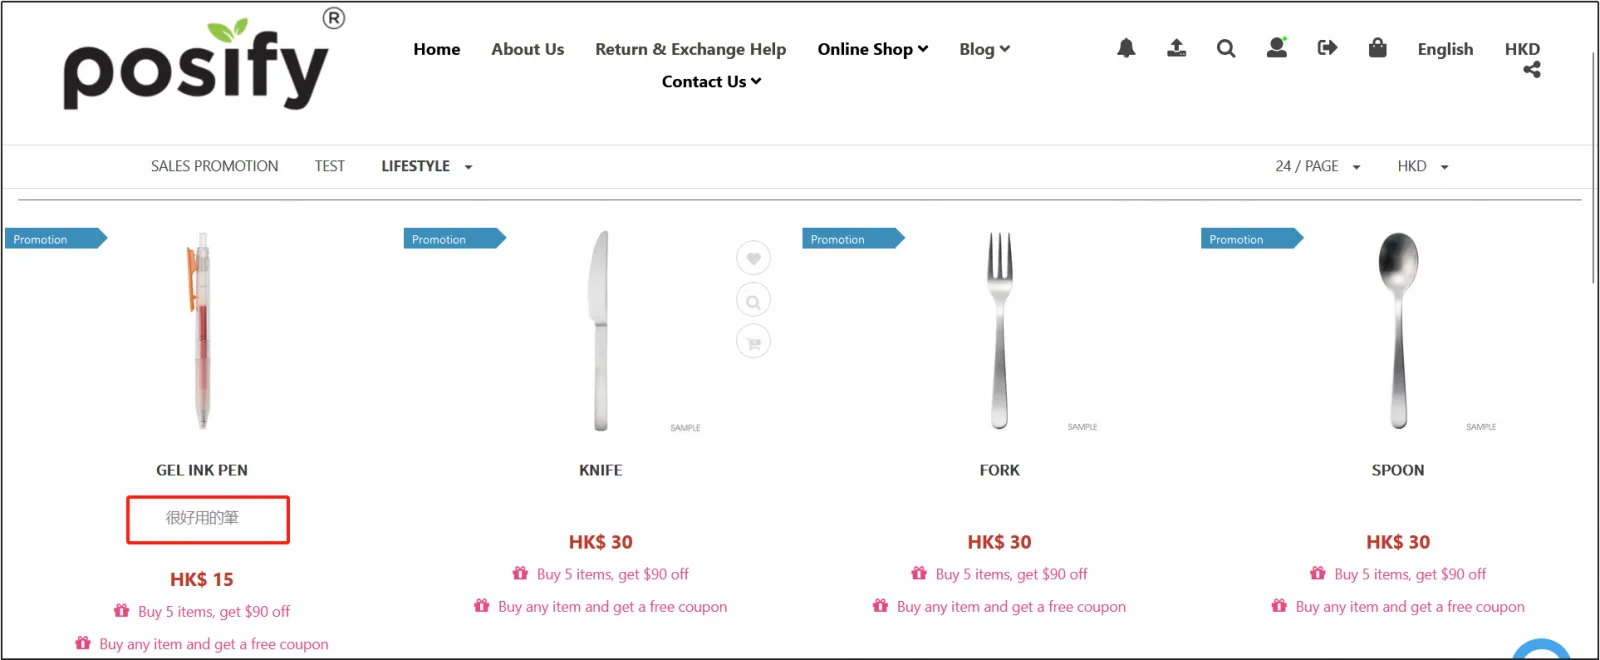
Show product details in the product column: If this feature is enabled, the product description of the product data will be displayed under the product list in the online store.

The display effect is shown in the figure.
In the case of a product, you will be forced to jump to the product list page: After this function is enabled, when there is only one product in the product category, the product list will still be displayed in the category, as shown in the following figure.
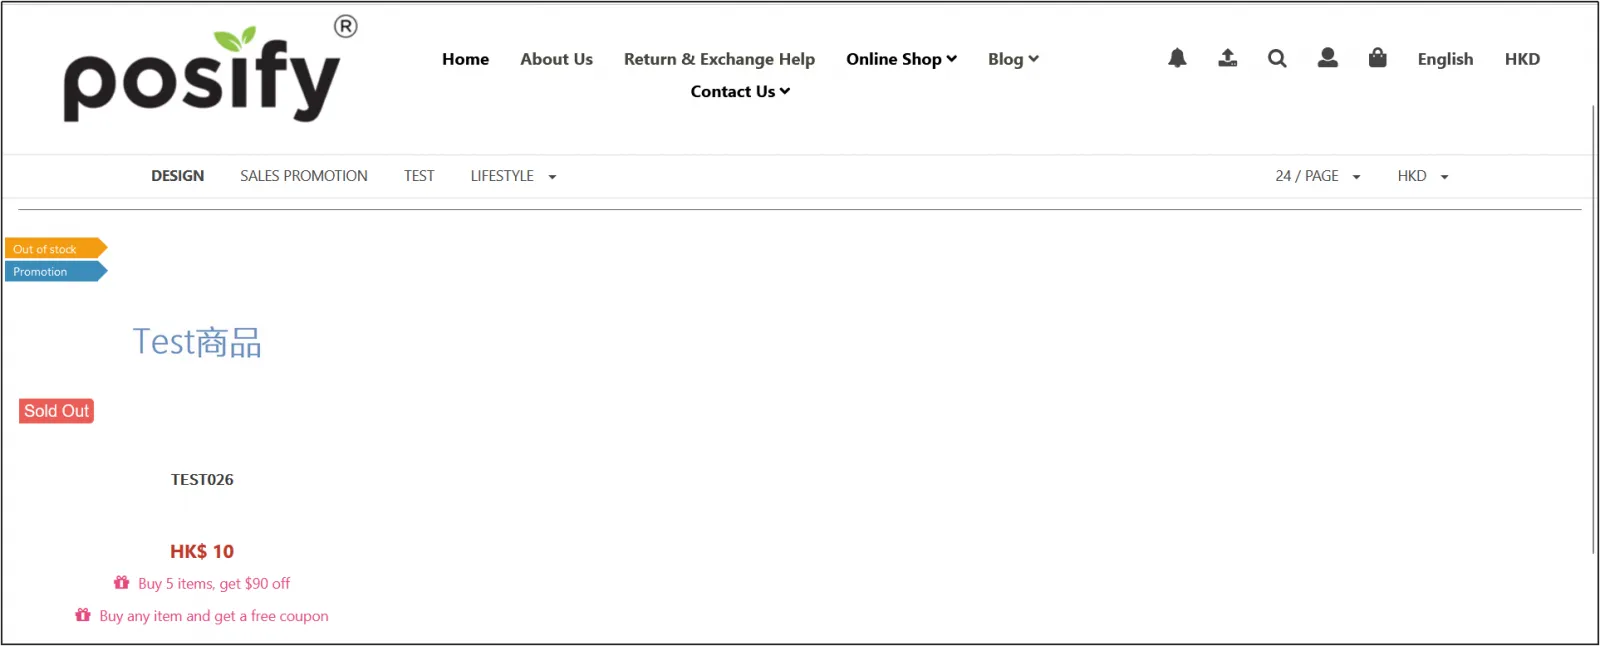
If you do not enable this function, when you enter a category with only one product, you will be directly entered on the detail page of that product by default.
Pull down to show more products: If you have enough products in the category of your online store, after turning on this function, you will not display pagination when you enter the category, and drop down to load the products; if you do not enable this function, you can set the number of products displayed on each page, such as setting 24 per page, when there are enough products in the category of the online store, only 24 pages will be displayed on one page, and the number of pages can be selected.

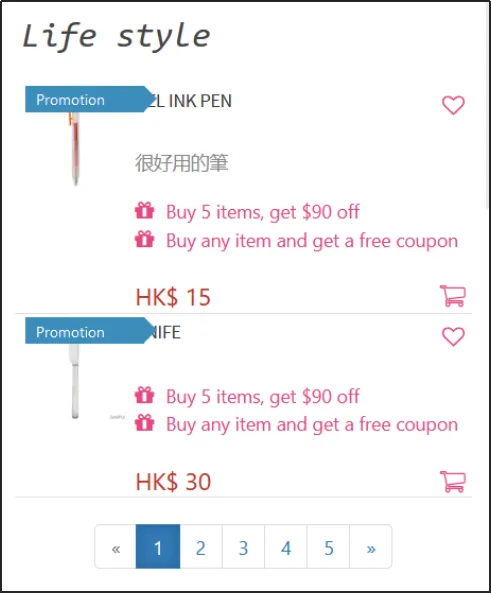
Products are displayed in list mode on mobile phones: After this feature is enabled, the products in the mobile version of the Online Store will be displayed in the form of a list under the category.
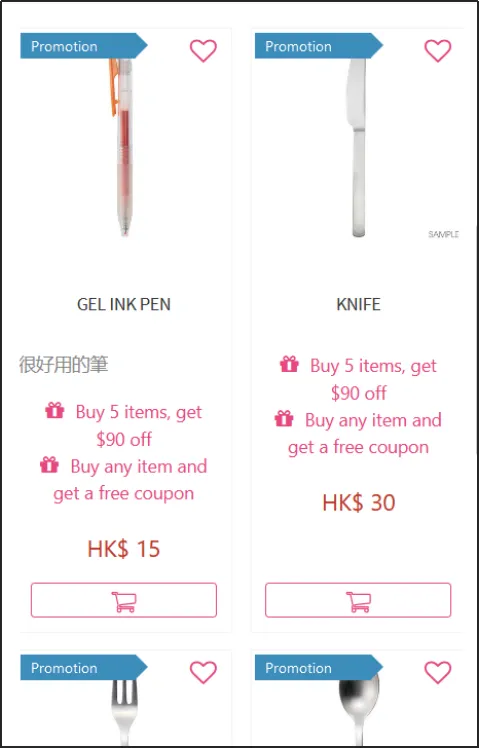
Products are displayed in block mode on mobile phones: After this feature is enabled, the products in the mobile version of the Online Store will be displayed in the form of blocks under the category.
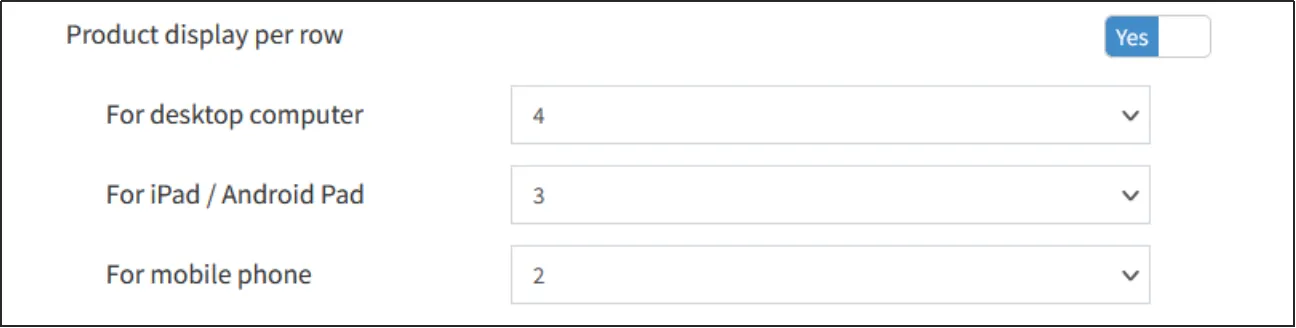
The number of products displayed in each row: The number of products displayed in each row on desktops, tablets and mobile phones can be set here, and it is recommended that the number of products displayed in each row be displayed on computers: 4, tablets: 3, and mobile phones: 2.
Visitors: If this feature is enabled, the online store allows visitors to purchase products, but if they are not enabled, they will not be able to check out without logging in.
Allow Registration: Enable this feature to allow customers to register as a member from the online store, without which the customer cannot register as a member from the online store.
SMS Verification for Member Registration: After this feature is enabled, the phone number entered by the customer when registering as a member in the online store needs to be verified. Click "Get Verification Code" and the customer will receive a verification code for registration at the phone number entered.
Before using this function, please make sure that you have the purchase SMS function, otherwise you will not be able to send a verification code to the customer's phone number.
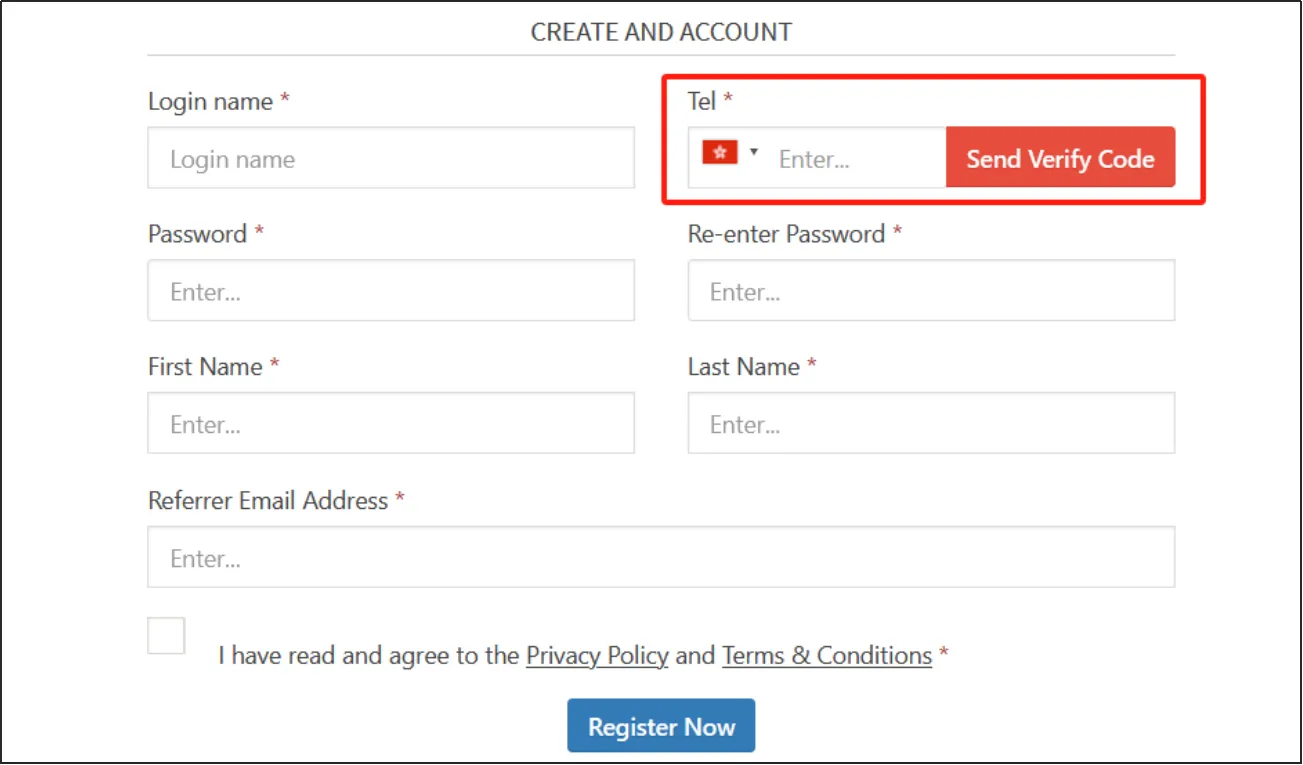
Enter the verification code received on your phone into the pop-up window, and then tap "Verify".
Membership Email Verification: After enabling this feature, customers will need to verify the email address they enter when registering as a member from the online store. Click "Get Verification Code" and you will receive a verification code to the email address you entered.
Before enabling this feature, please make sure that the system is configured with email, otherwise the email will not be sent successfully. For more information on how to configure email, see Playbook - Other Settings under the General Settings module.
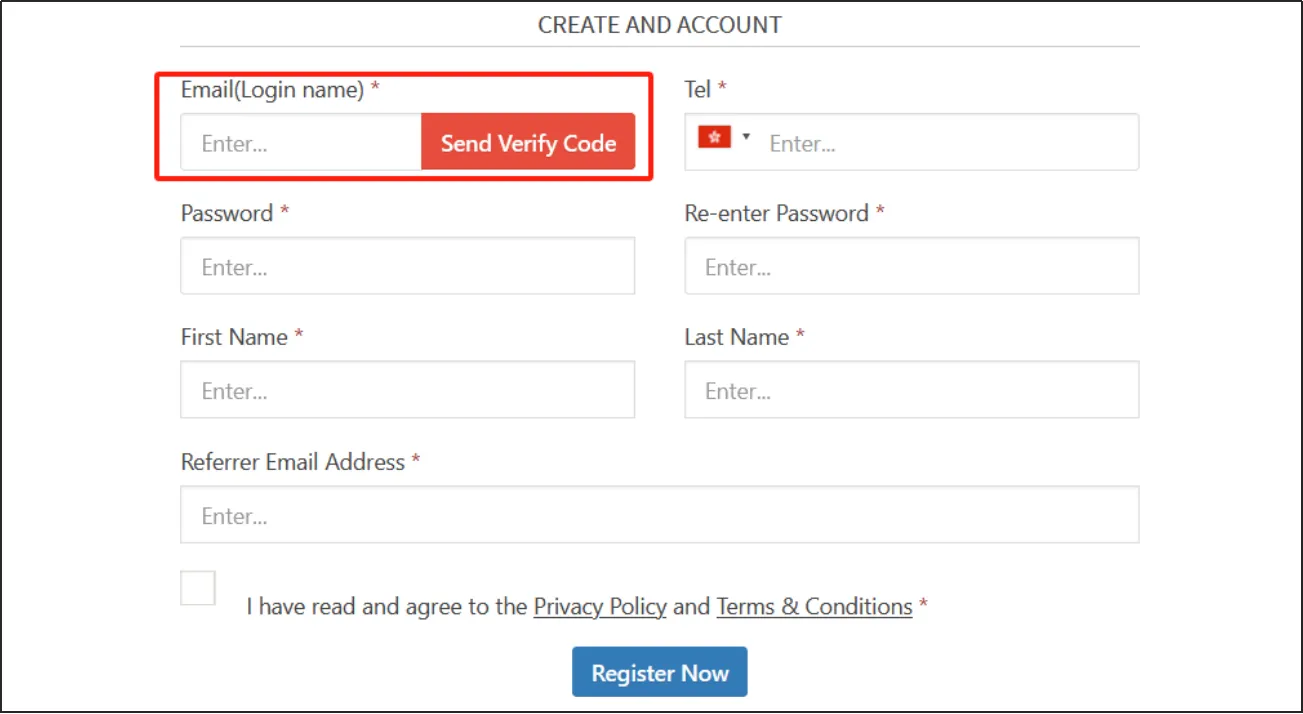
Enter the verification code you received in your email into the pop-up window, and then click "Verify".
Enable Facebook Login: Click here to learn how to use this feature.
Enable Facebook Messenger: Click here to learn how to use the feature.
Enable one-time password login: After enabling this feature, you can use the SMS one-time password login on your online store. When you enter your phone number when you register as a member and click "Send SMS", you will receive an SMS from the merchant and enter the verification code to log in.
Before using this function, make sure that you have the SMS function enabled, as you cannot use the function if you do not enable the SMS function.
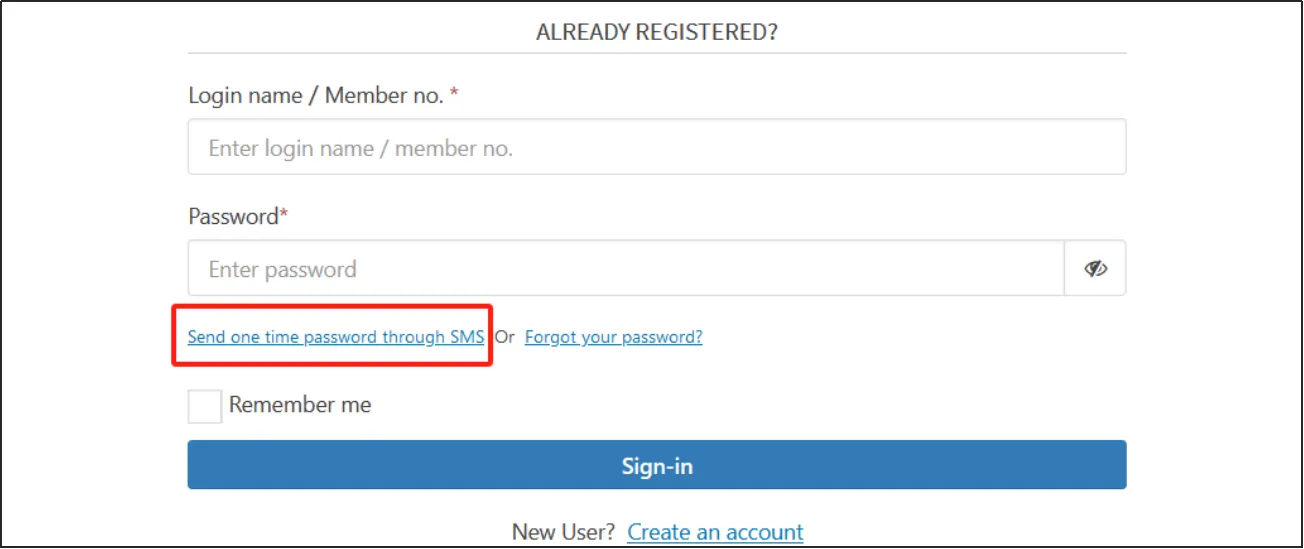
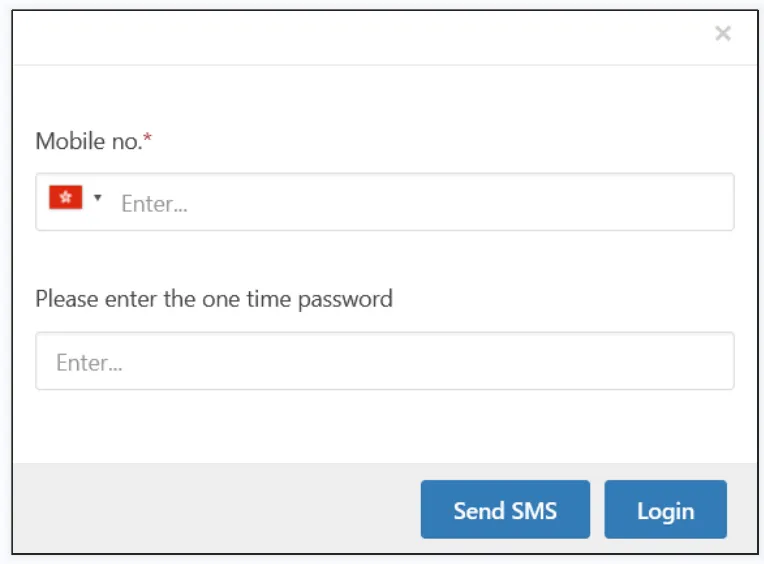
Email is required at checkout: After enabling this function, you can fill in the delivery information at the checkout of the online store purchase, and clicking on the checkout without filling in the email will not be able to check out, and it will prompt "Email must be filled" and the email field will be marked with *.
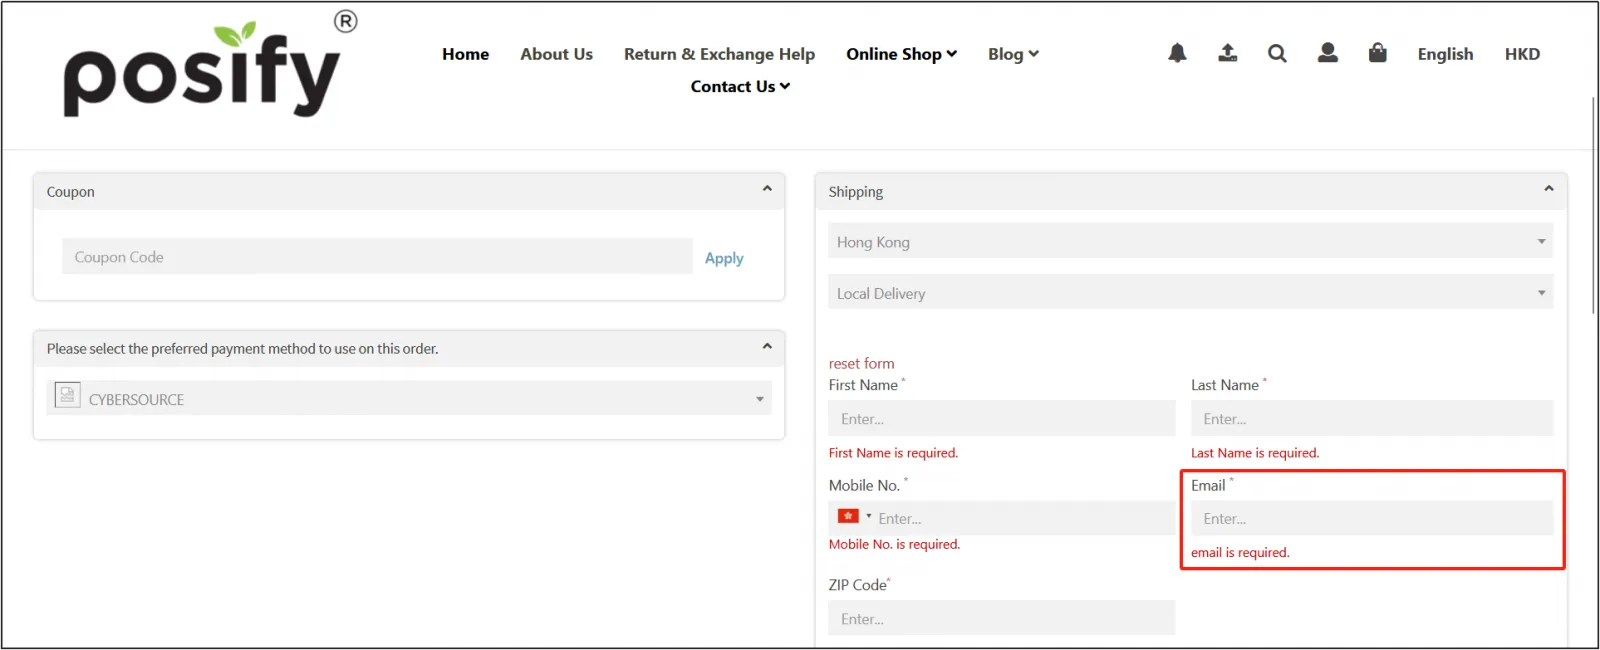
Phone number is required at checkout: After enabling this function, fill in the delivery information at the checkout of the online store, and click on the checkout without filling in the phone number, you will not be able to check out, and it will prompt "Phone number required" and will be marked with *.
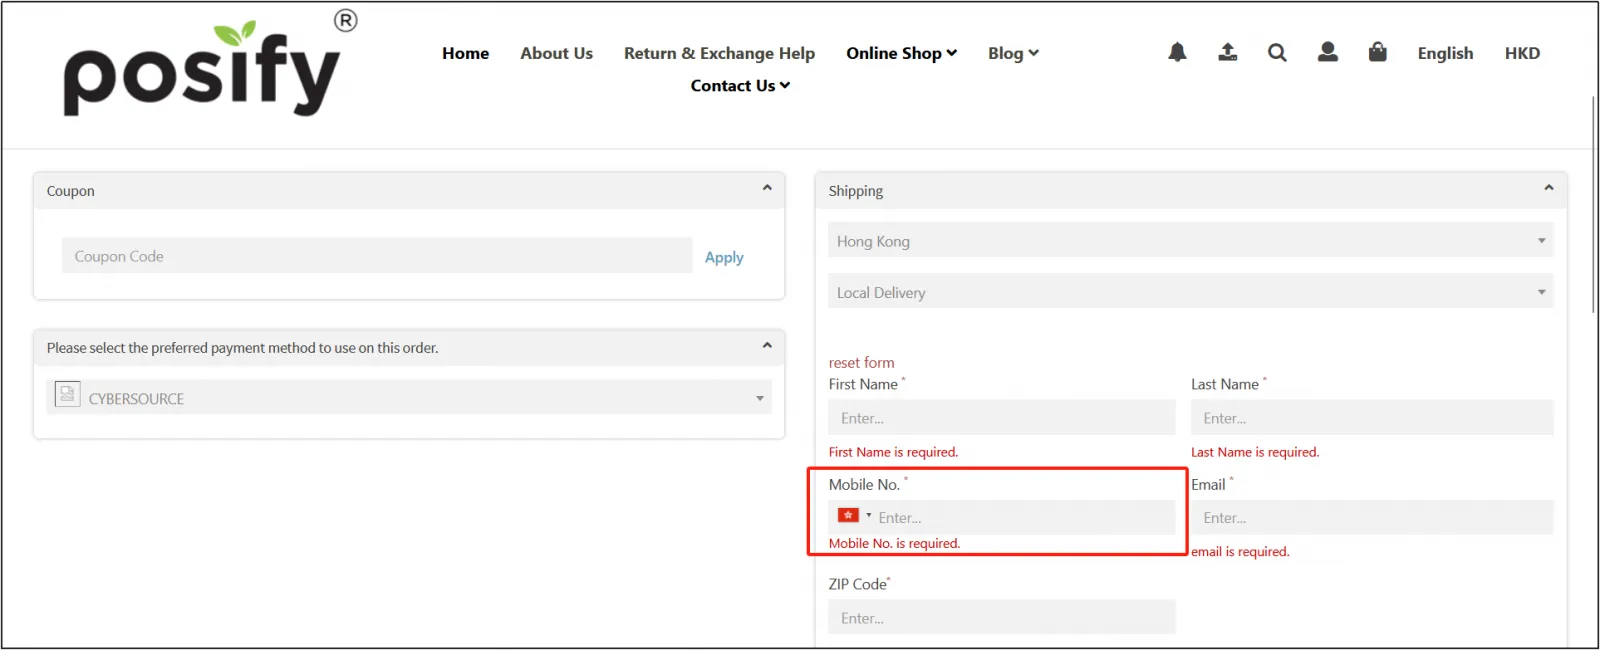
Enable B2B payment process: After enabling this function, B2B members can log in to the website and make purchases and checkout in the same way as visitors and B2C members.
Users need to log in before they can browse the website: After enabling this function, entering the online store will directly jump to the member login page, and you must log in to the member to browse the website.
Online store images are displayed at best performance (images will be compressed to the optimal size for web browsers): When this feature is enabled, online store images will be compressed to the optimal size for the browser.
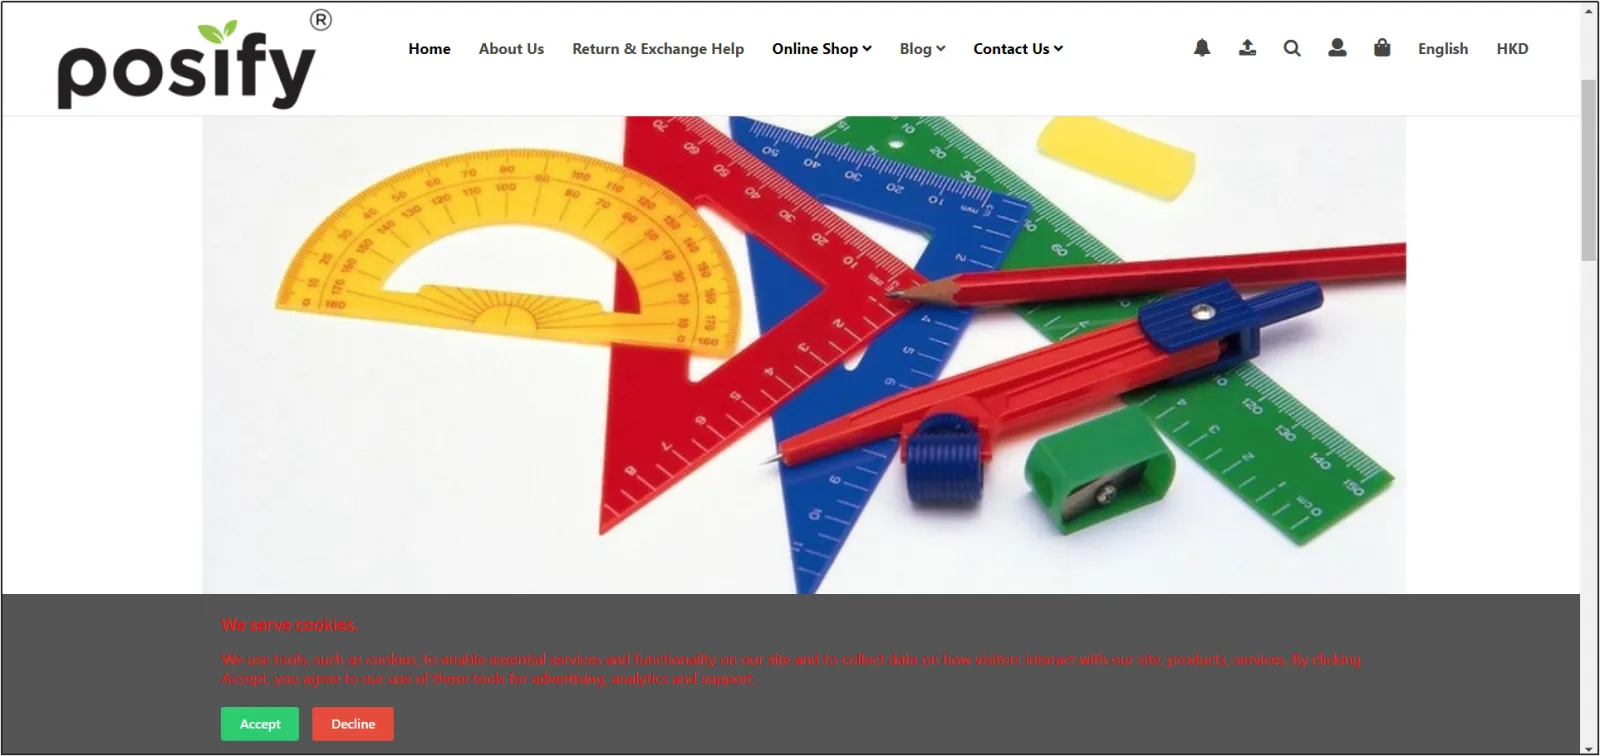
Enable the use of cookies: When this function is enabled, a cookie window will pop up when the customer enters the online store.
Alias translation
Posify allows you to make changes to some of the fields of your online store.
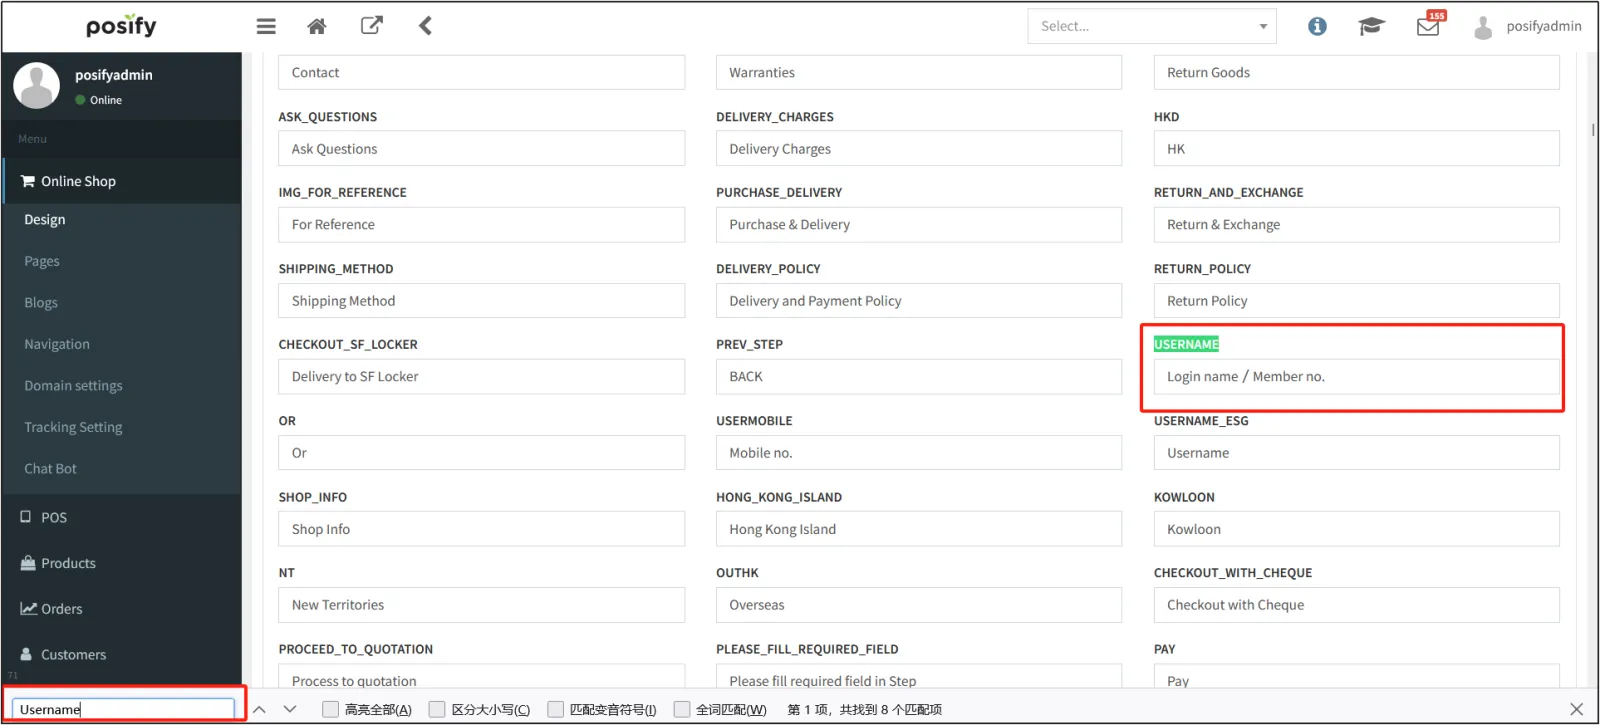
For example, on the login page of an online store, the default field "Login Name/Membership Number" can be changed to something else.
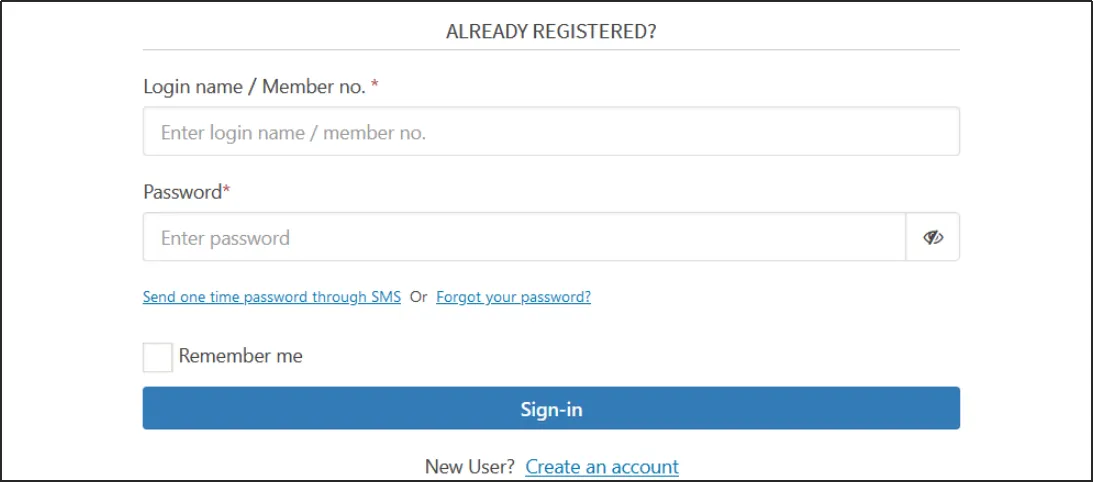
Here's how to modify a field alias:
Open the CMSclick on the online storeclick on the designclick on the tab alias translation.
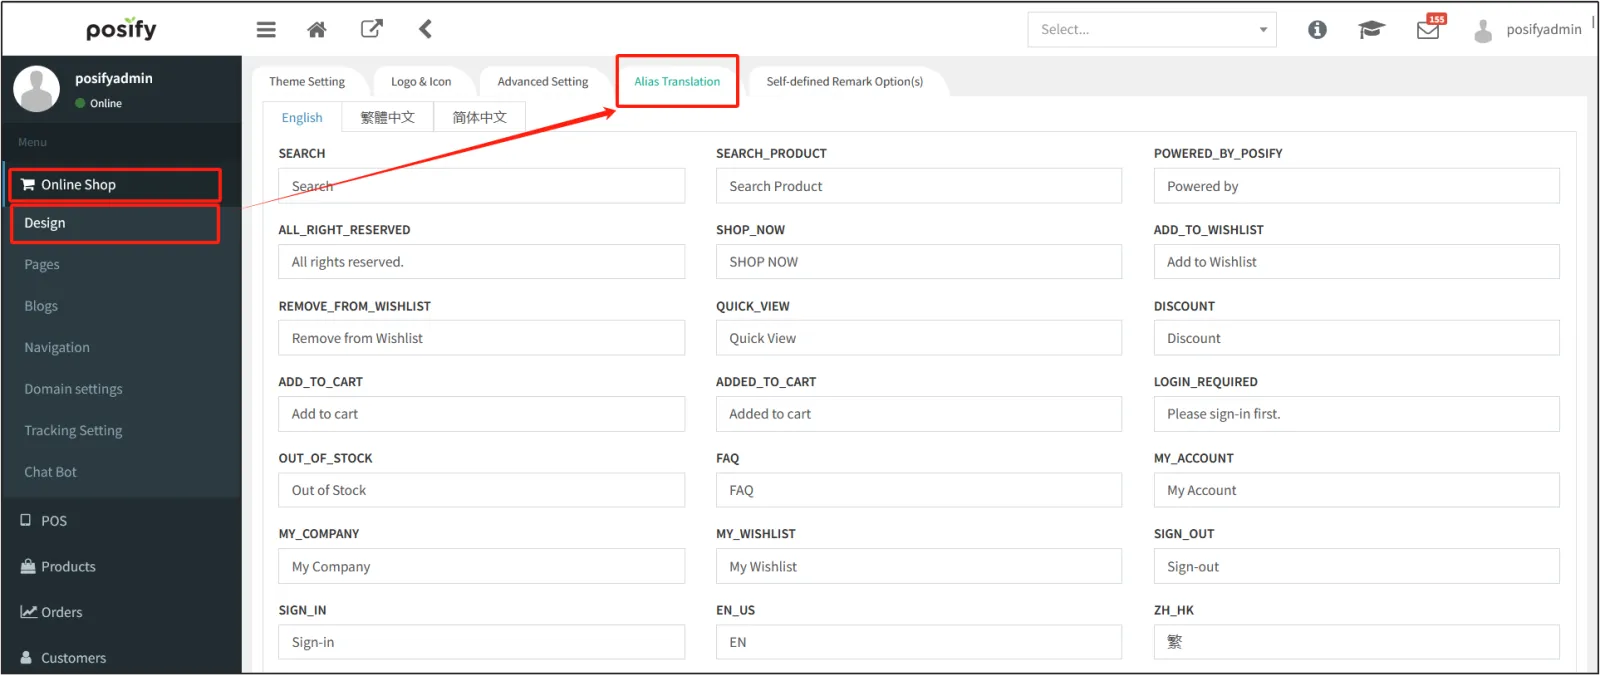
Press Ctrl+F to pop up the search boxsearch for the field you want to modify, the name currently displayedthe relevant records will be highlighted, change the name to the name you want to displayscroll to the bottom and click [Save].
Note: Only the field names searched under Alias Translation can be changed, and those that are not can be modified.
Customize the order notes option
At checkout, sometimes customers need to make some notes on their orders, and merchants can also customize some common notes as order notes options.
Here's how to set it up:
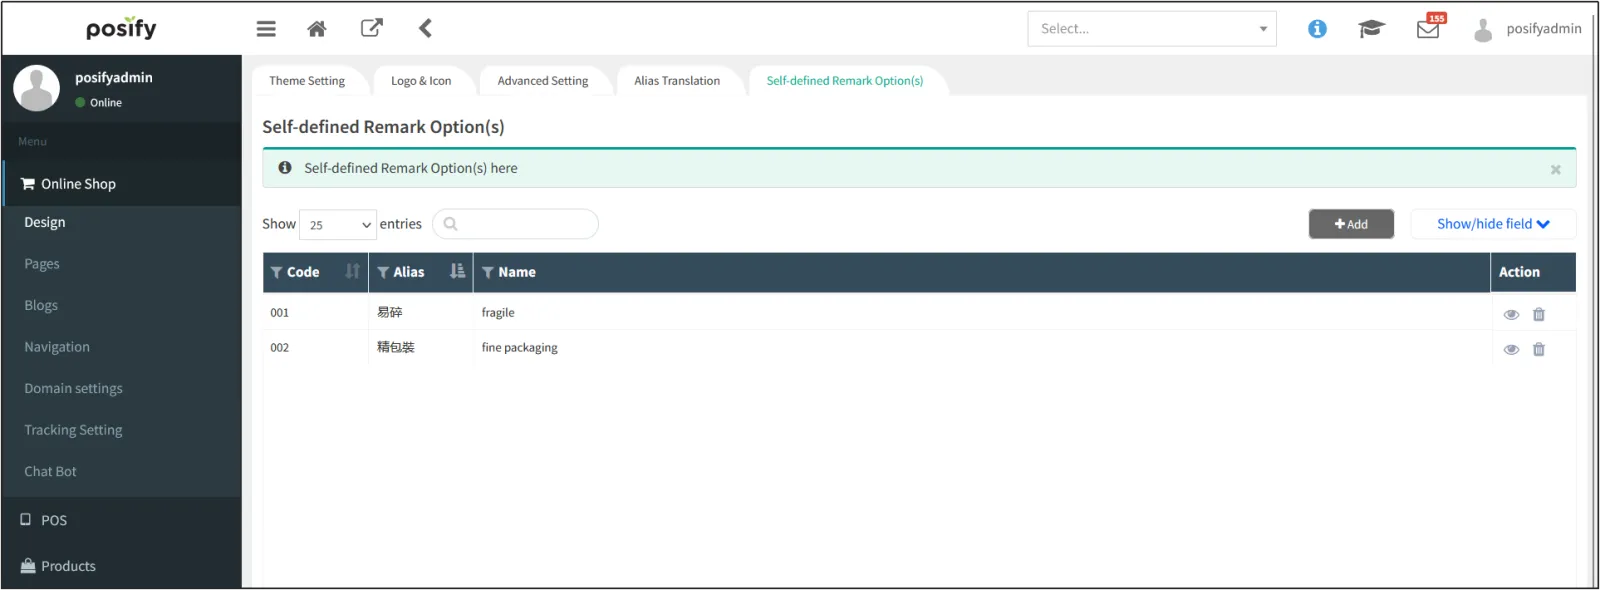
Open the CMSclick the online storeclick the designclick the tab Custom Order Notes optionclick [Add] to add a custom order notes option.
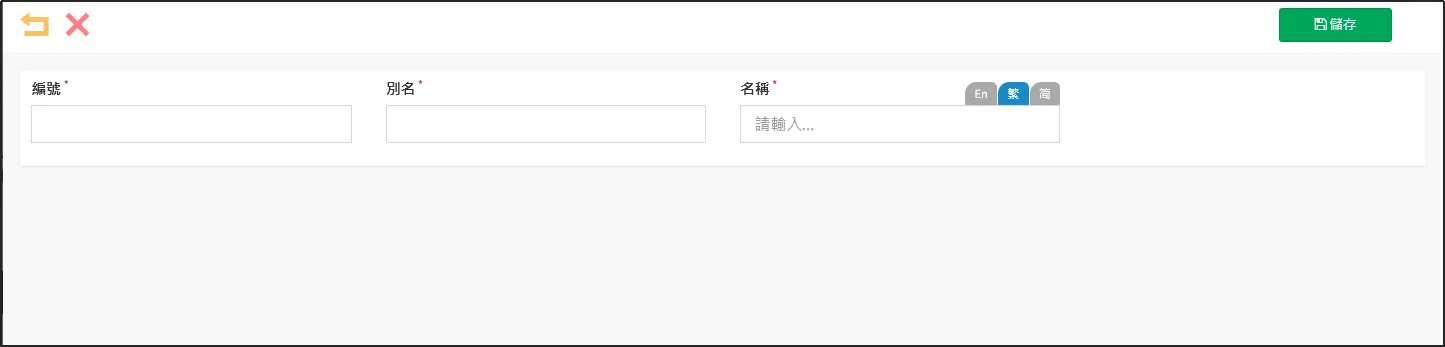
Enter the number, alias, and nameclick [Save].
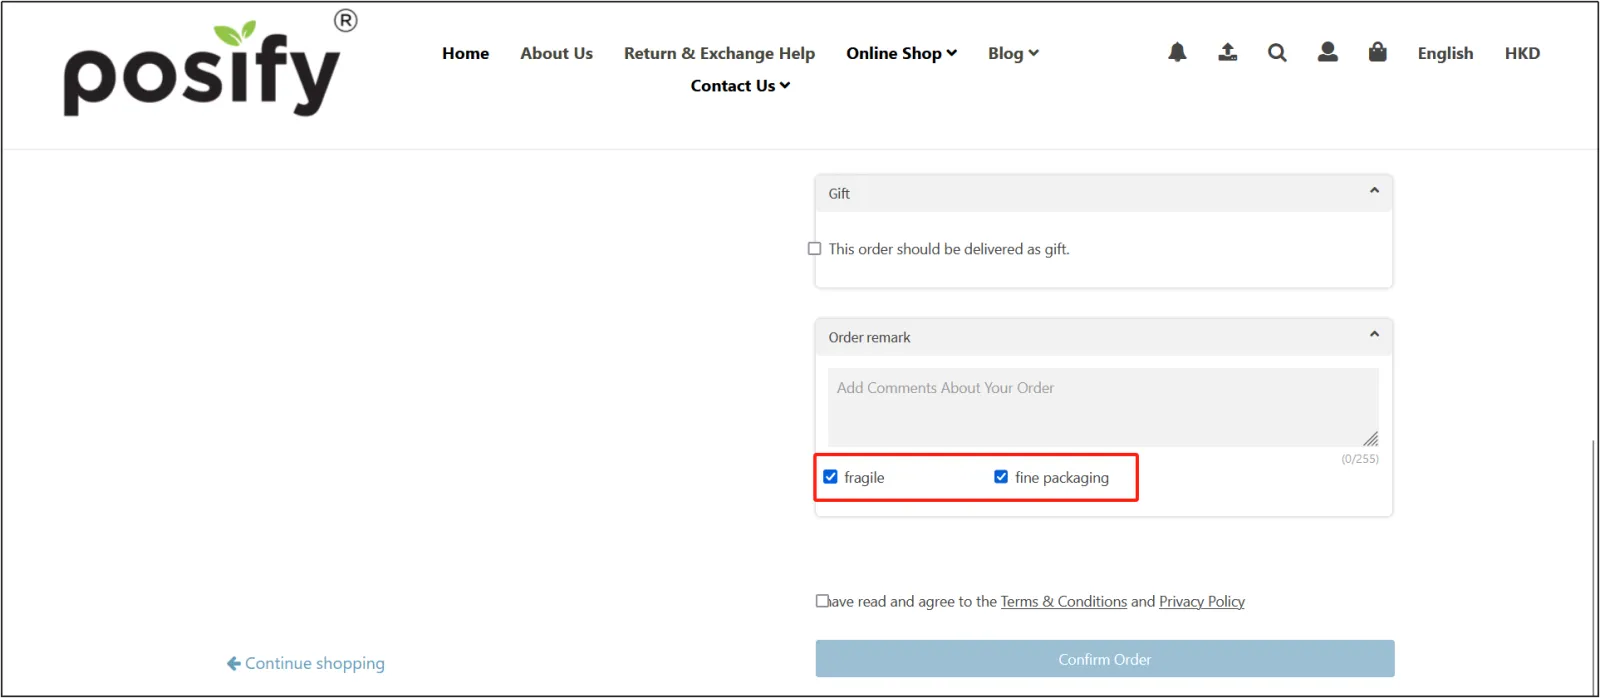
Once set, the custom order notes option will be displayed at checkout as shown in the image below.