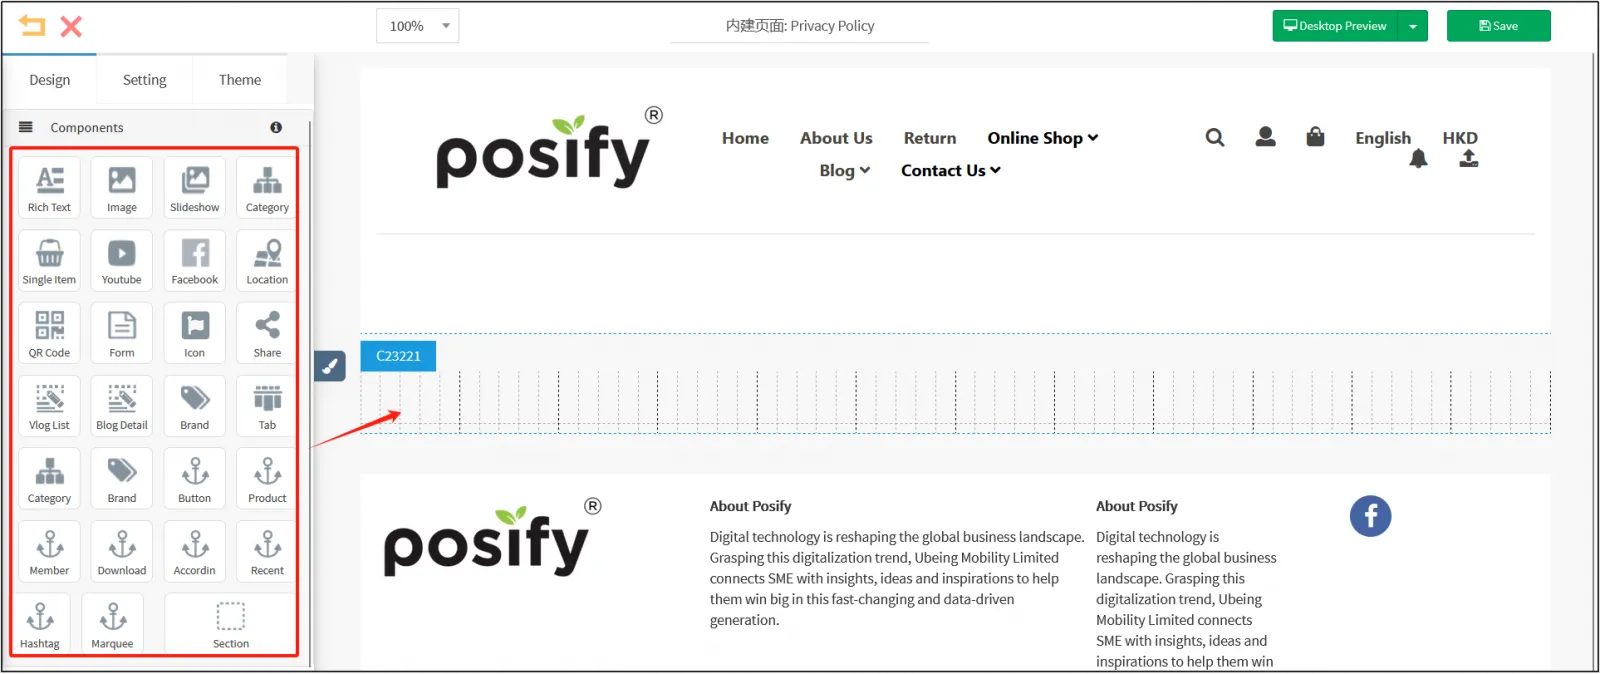
Set up an inline page
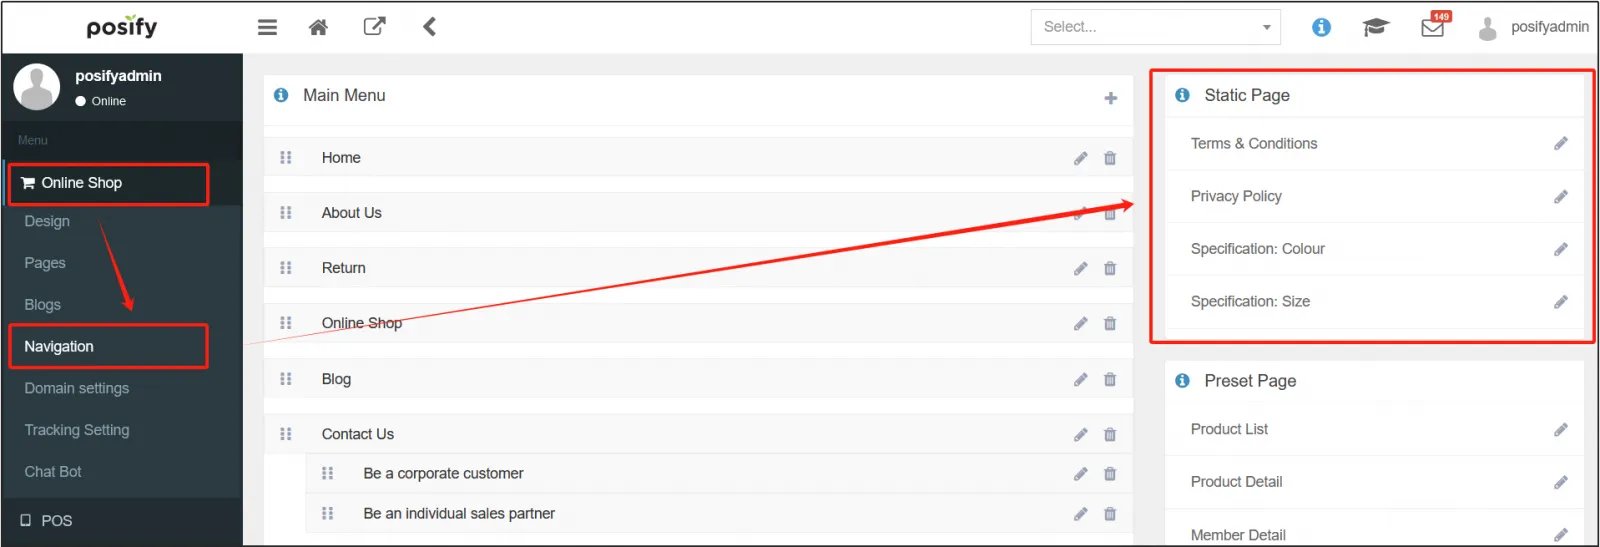
Open the CMS click the online storeclick the website navigationfind the page you want to edit under [Embedded Page], and click the small pen icon on the right to open the web page editing page.
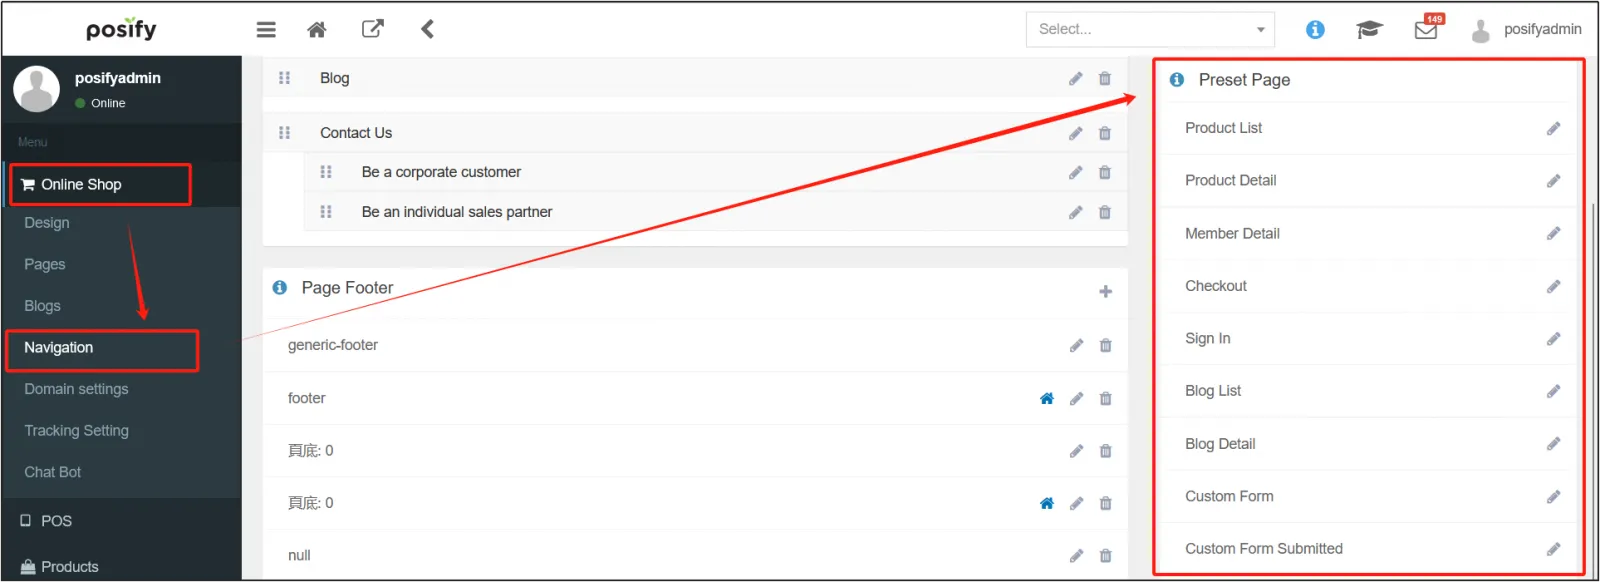
Go to the product list edit page, and you can edit the header and footer of the embedded page.
In the same way as on the homepage, drag and drop the components in the left toolbar into the embedded header section to edit them click [Save] in the upper right corner.
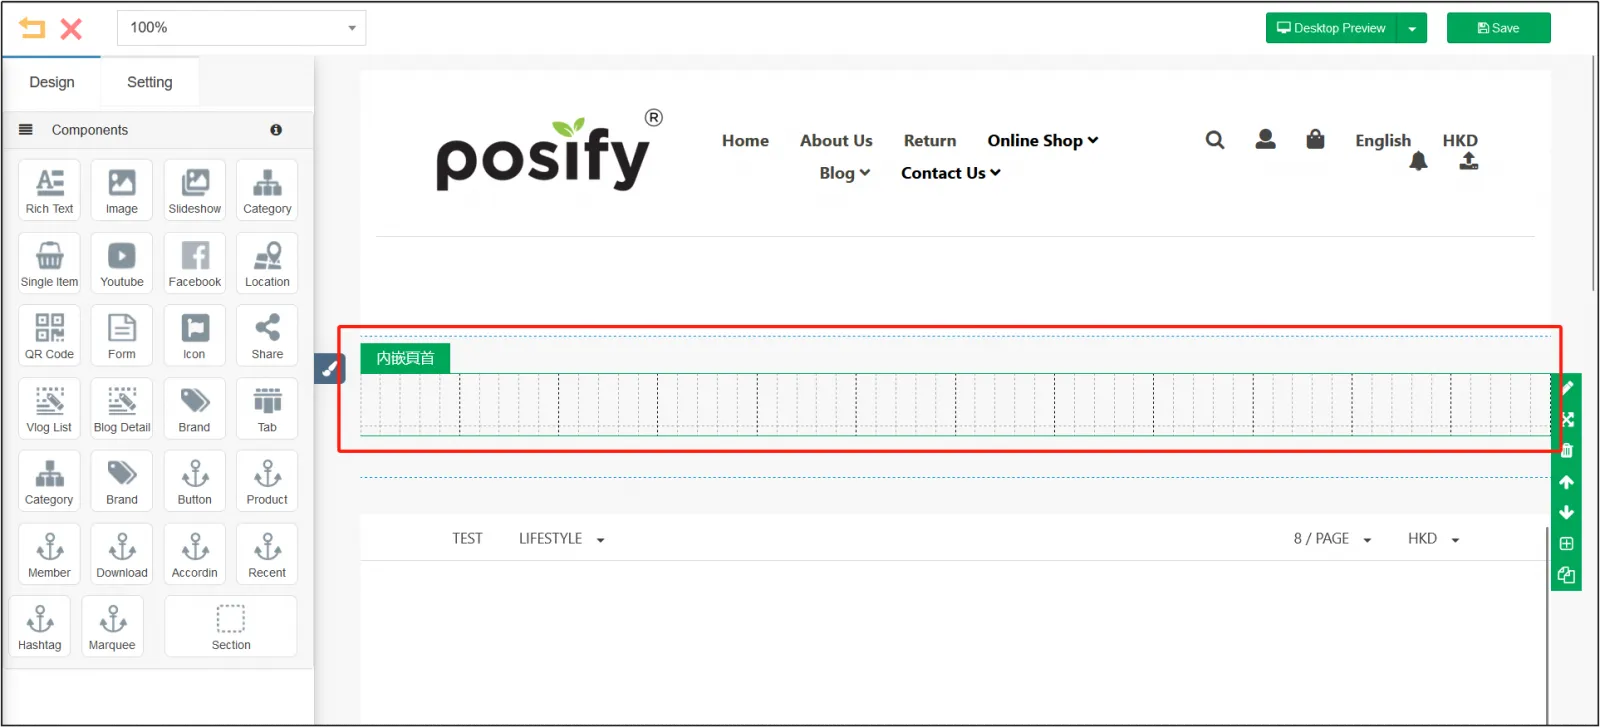
The same goes for inline footers.
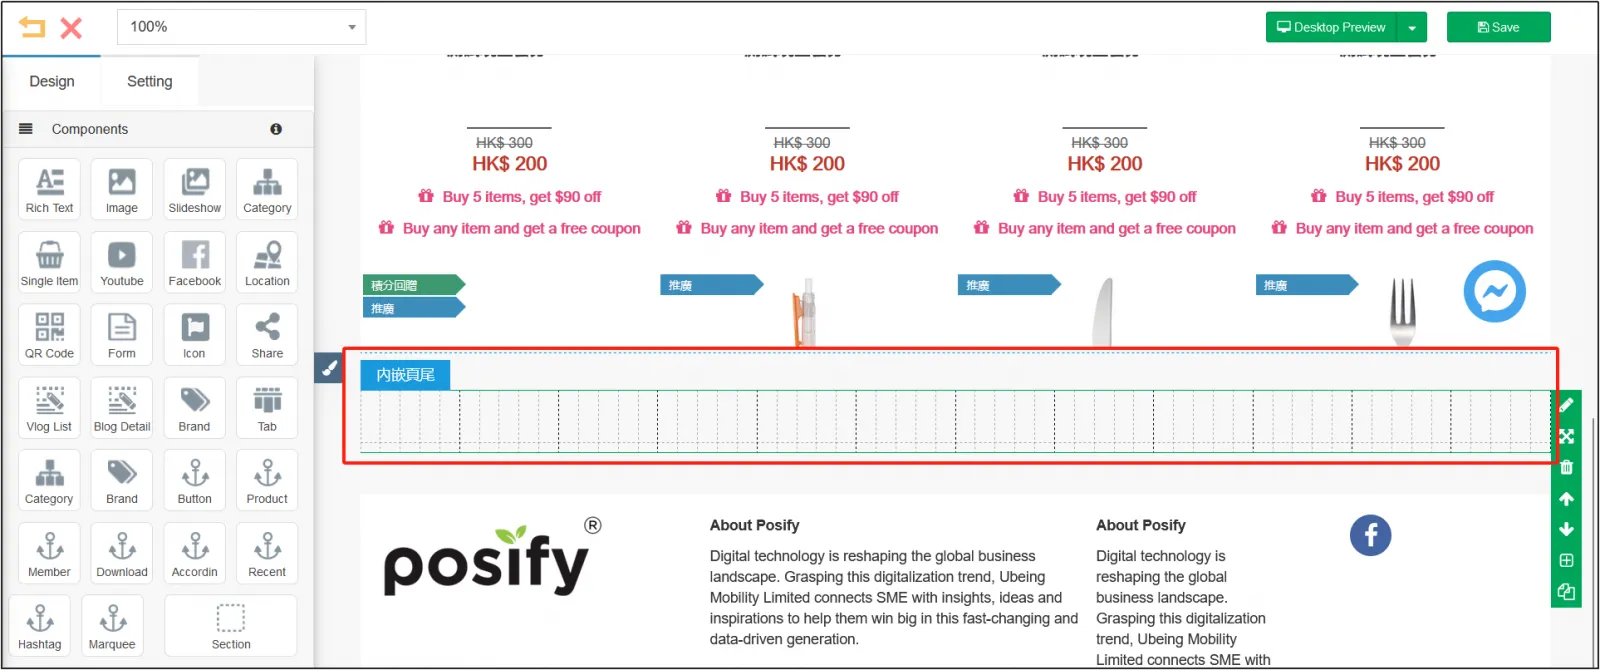
Point to the product list in the middle click the gear icon in the upper right corner edit the product list settings.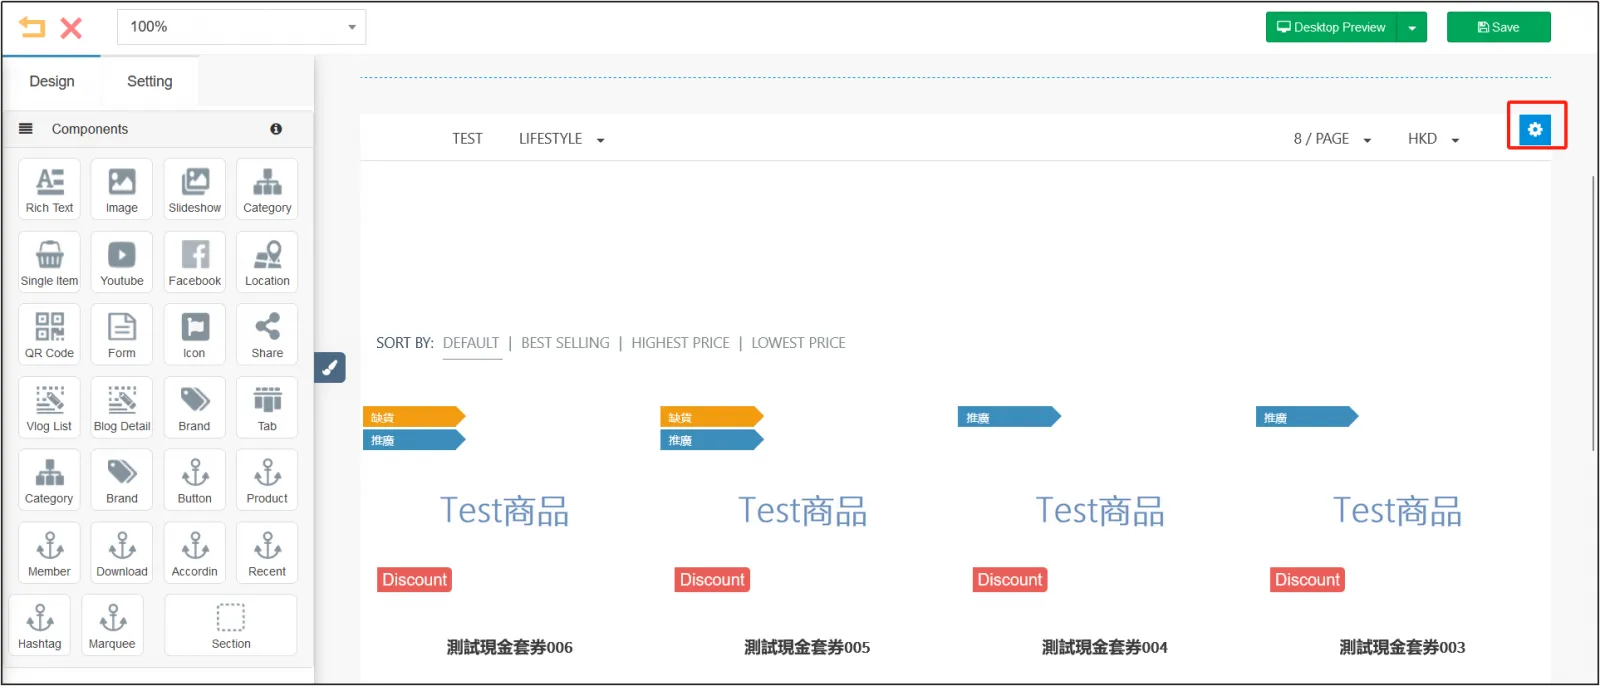
Select the label to display in the product list as needed, and select Yes to be displayed.
These include [Enable Custom Product Label], [Enable Group Purchase Product Label], [Enable Out-of-Stock Label], [Enable Points Redemption Label], [Enable Points Rebate Label], [Enable Points Rebate Label], [Enable Cash Dollar Label], [Enable Promotions Label], [Enable Prepaid Packages Label], and [Enable Cash Coupon Label].
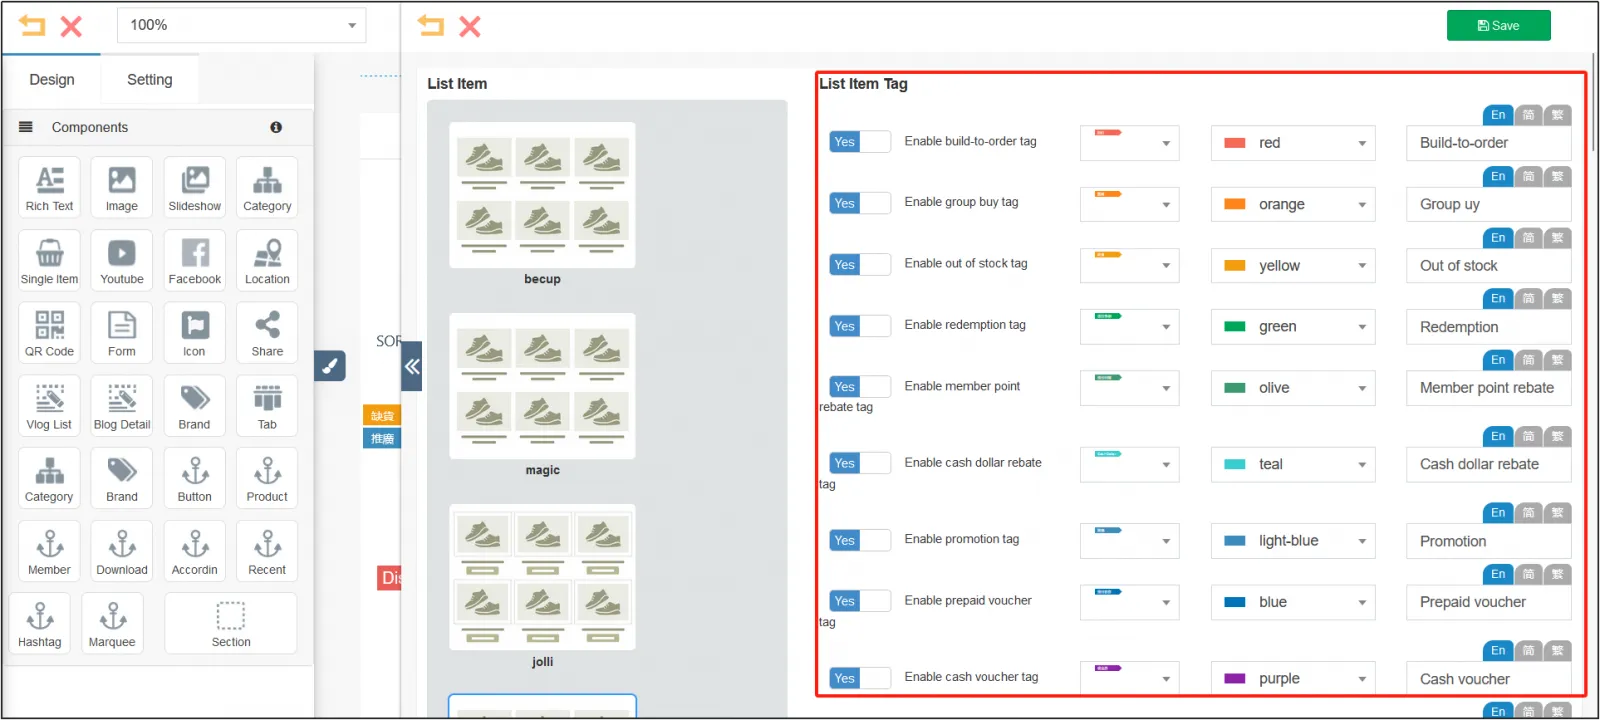
You can choose different colors for different labels, and you can enter different text to make the labels easier to read.
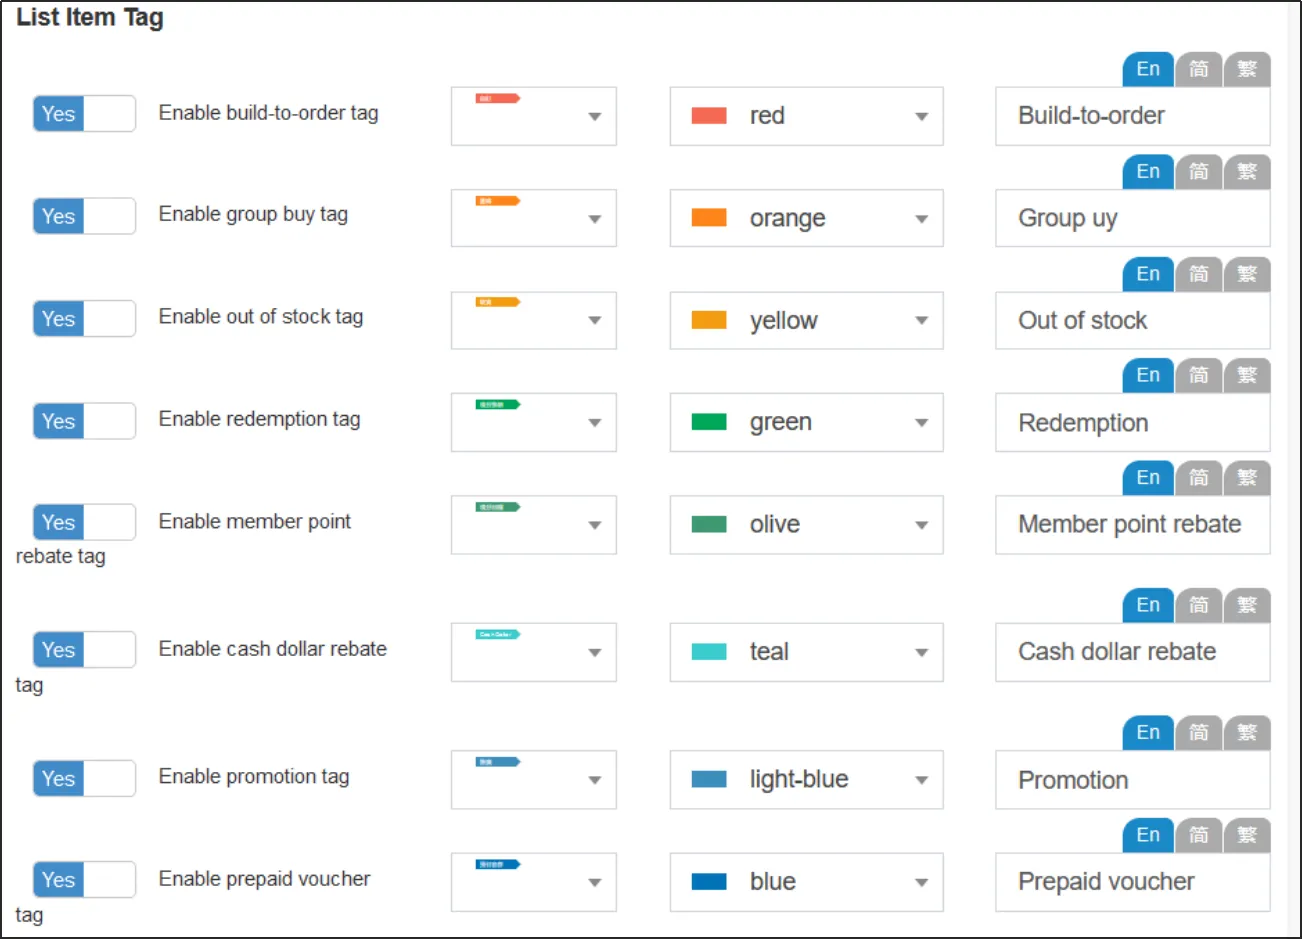
[Enable custom product labels]: When enabled, the custom label will appear on the online store for products of the "Custom" type.
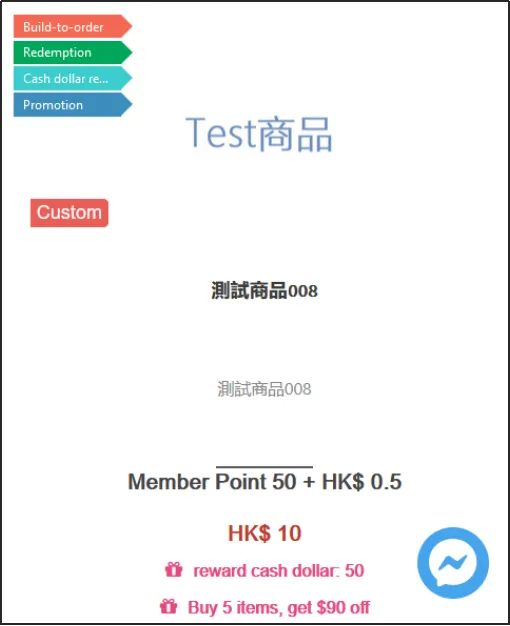
[Enable Group Purchase Product Label]: When enabled, the group purchase label will be displayed on the online store for products that belong to the "Group Buy" type.
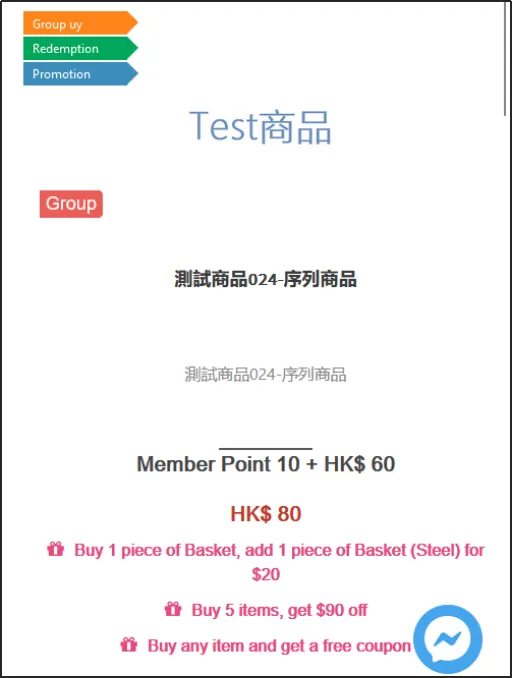
[Enable Out-of-Stock Label]: When enabled, when an item is out of stock, the out-of-stock label will be displayed in the online store for that item.
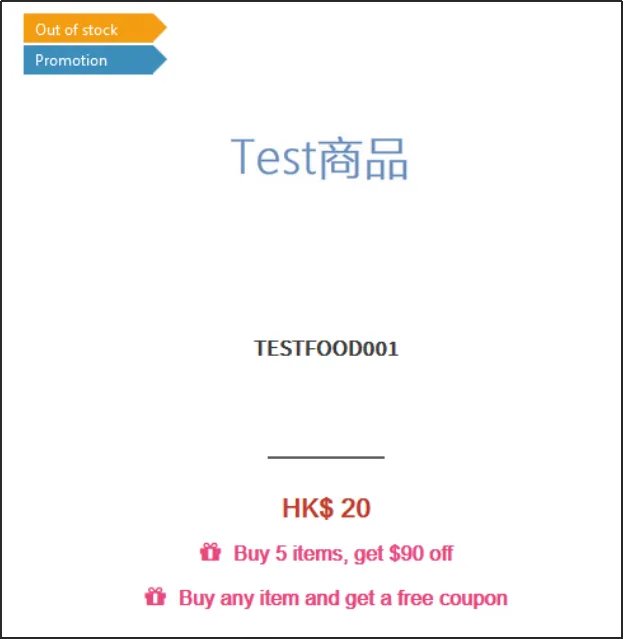
[Enable Points Redemption Label]: After enabled, the points redemption label will be displayed on the online store for products that can be redeemed with points, and you only need to set the points required for redemption and the redemption price on the product edit page.
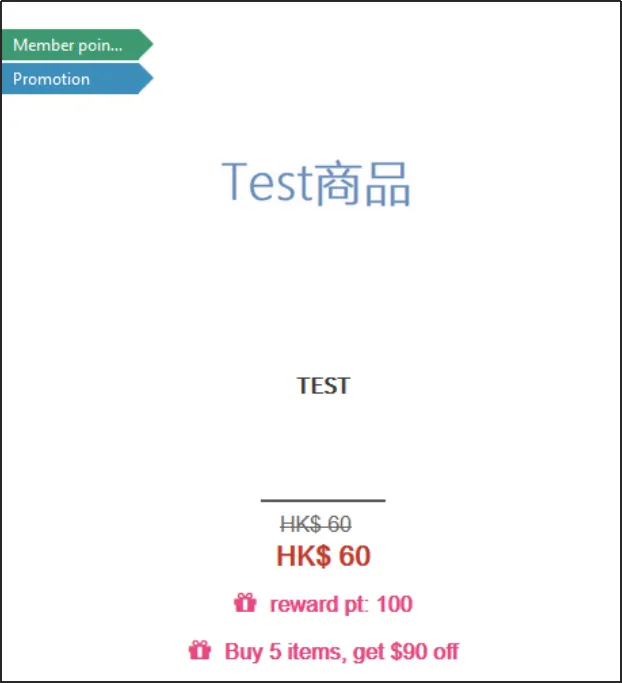
[Enable Points Rebate Label]: After enabled, the point rebate label will be displayed on the online store for products with rebate points, and the tag will only be visible after logging in as a member, not for visitors.
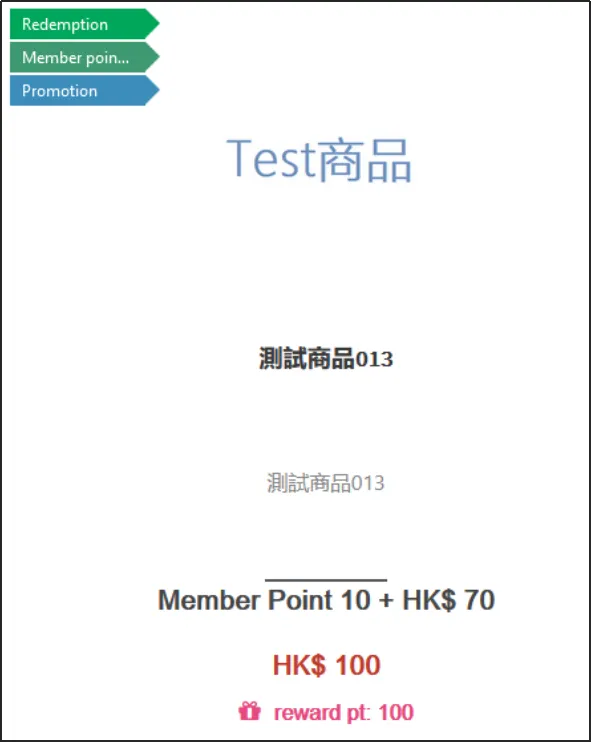
[Enable Cash Dollar Rebate Tag]: After enabled, the Cash Dollar tag will be displayed on the online store for items with Cash Dollar Rebate, and the tag will only be visible to visitors after logging in as a member.
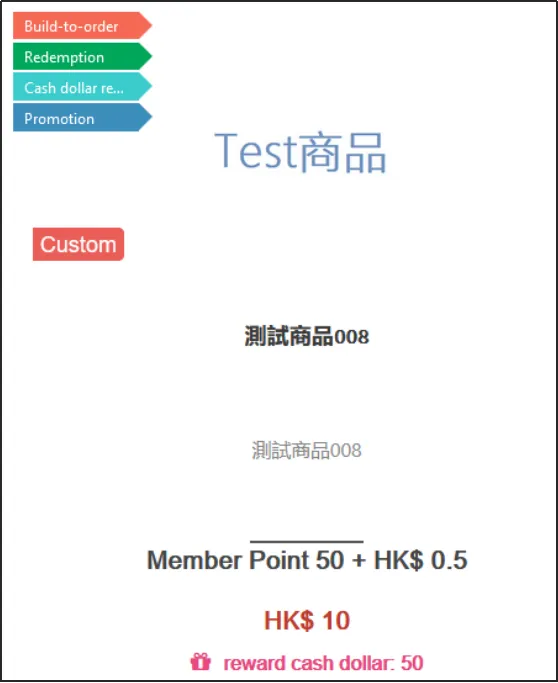
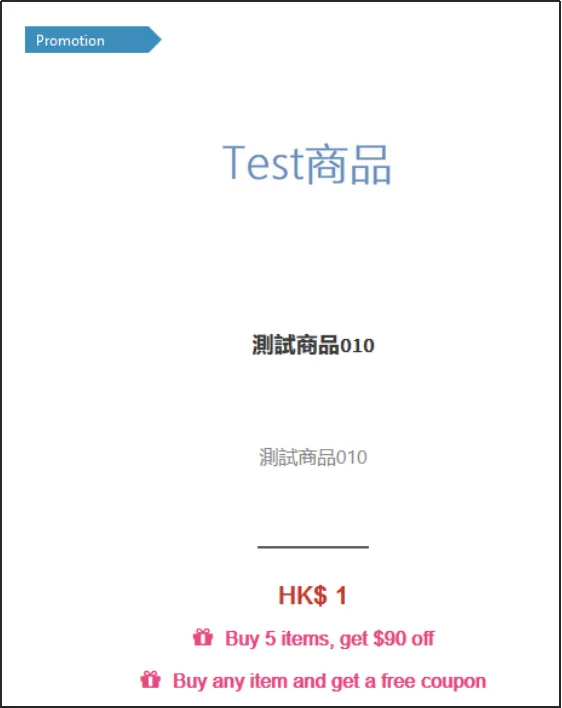
[Enable Campaign Label]: When enabled, the label will appear whenever the product is within the scope of the campaign.
Select a template based on your needs, including List Items, Category Menu, and Filter.
List Item: Set the style of the product list displayed in the online store.
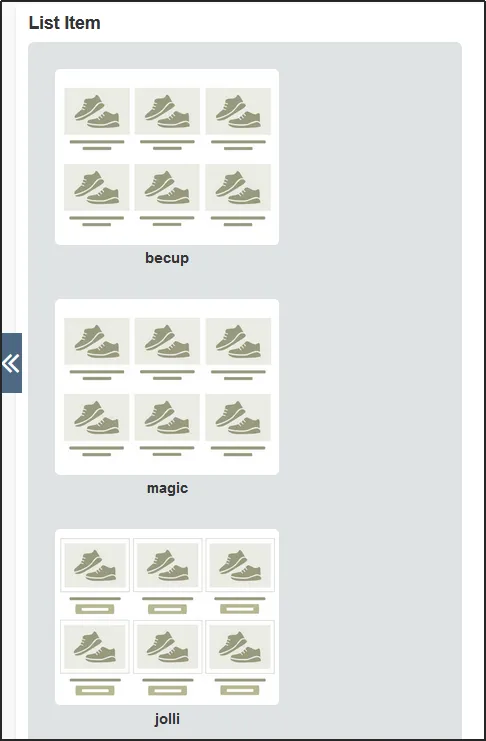
For example, the effect of template twins is shown below.
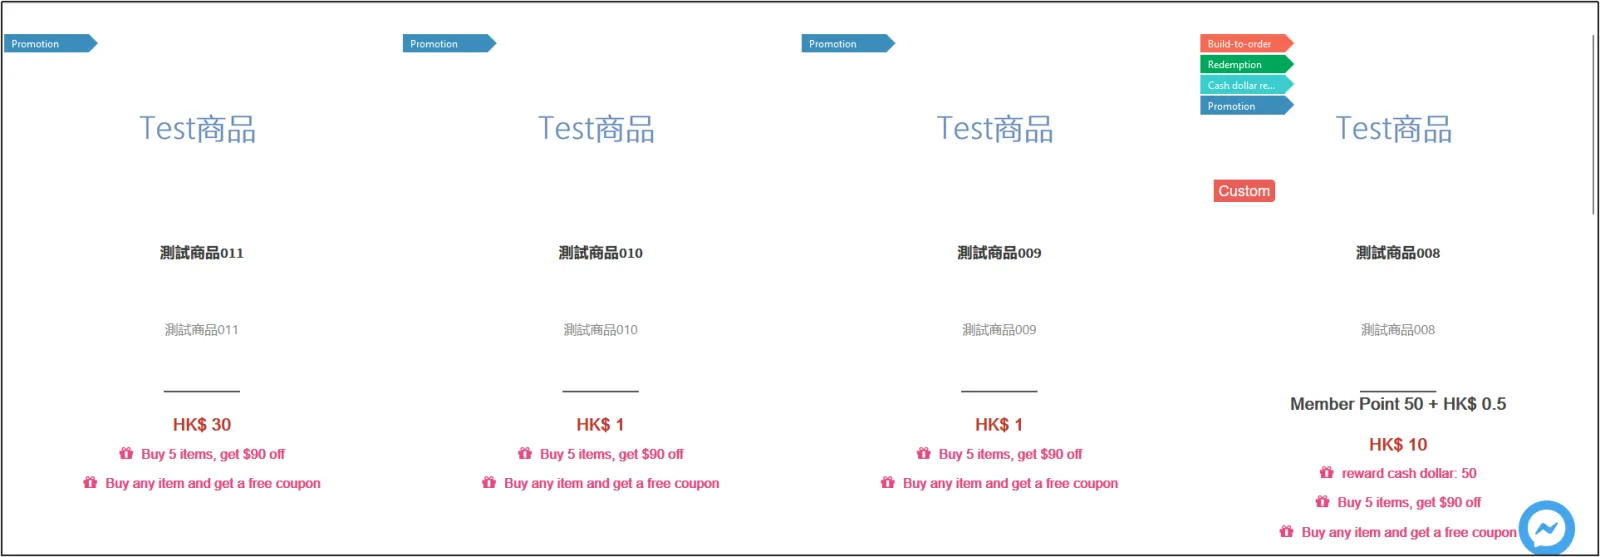
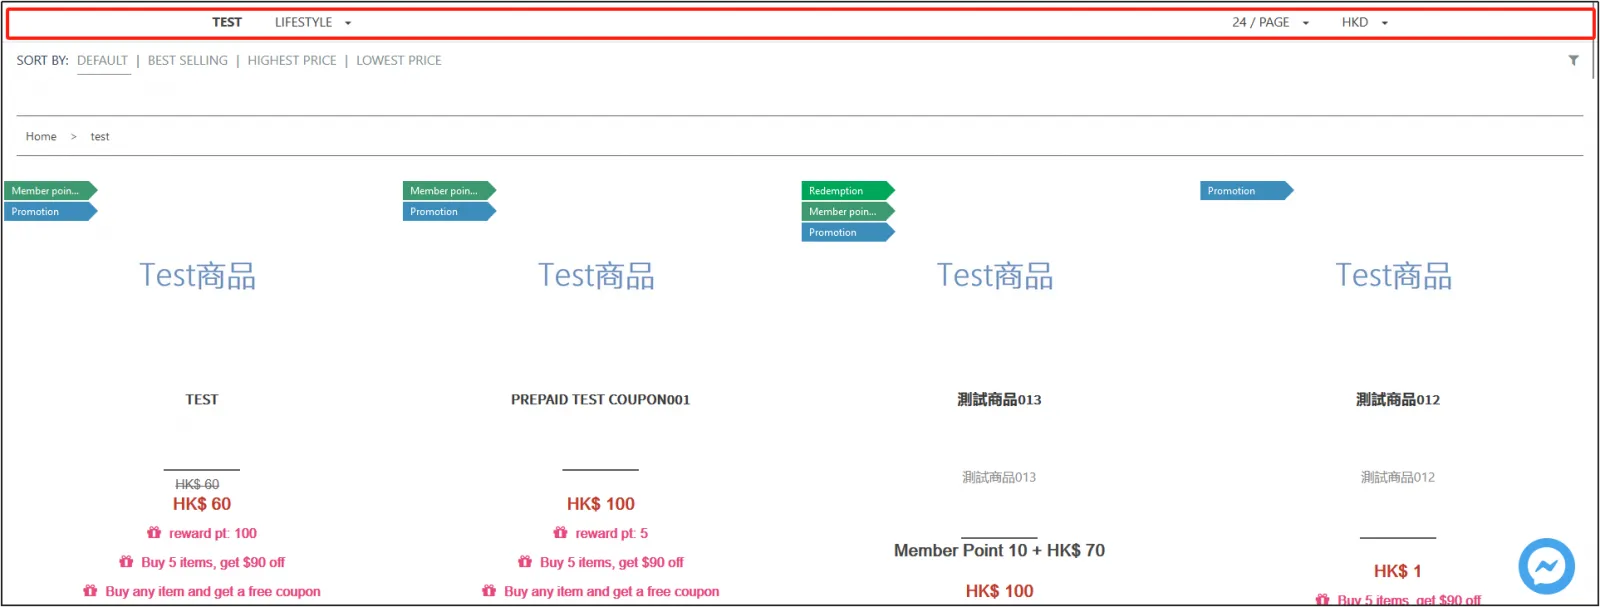
Category Menu: Set the style to be displayed in the category menu online store.

For example, the following figure shows the effect of the horizontal template.
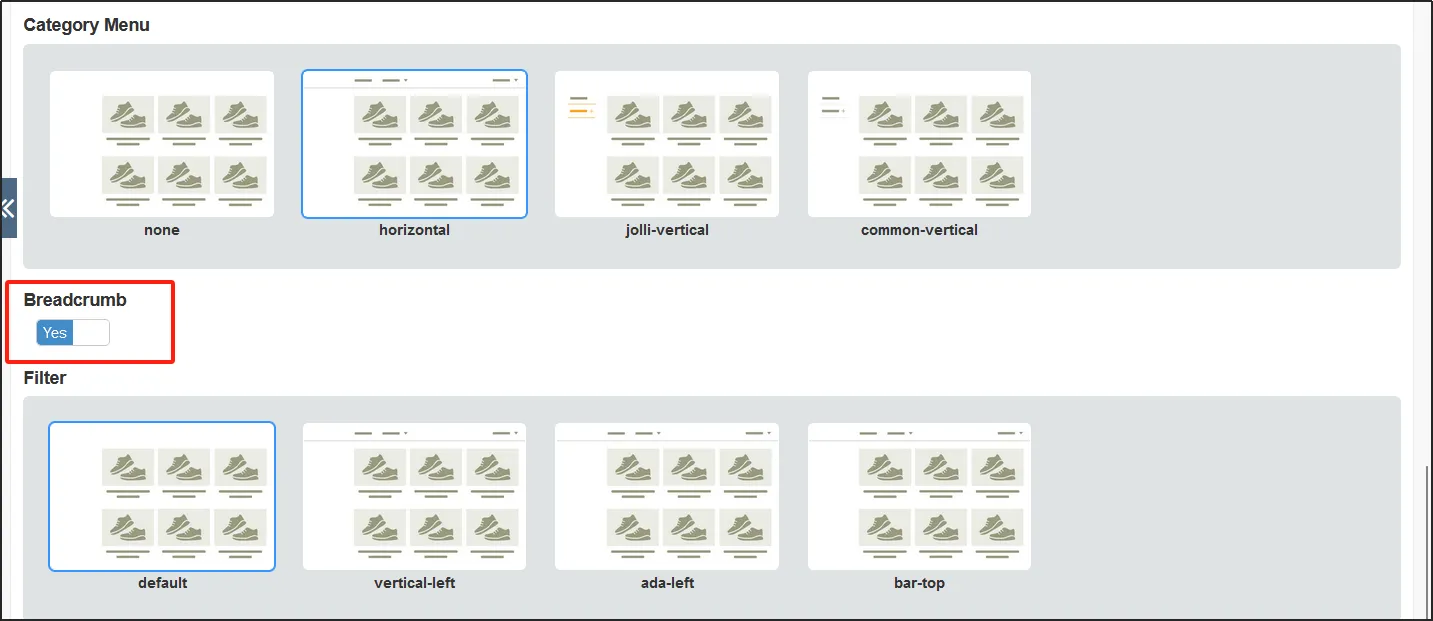
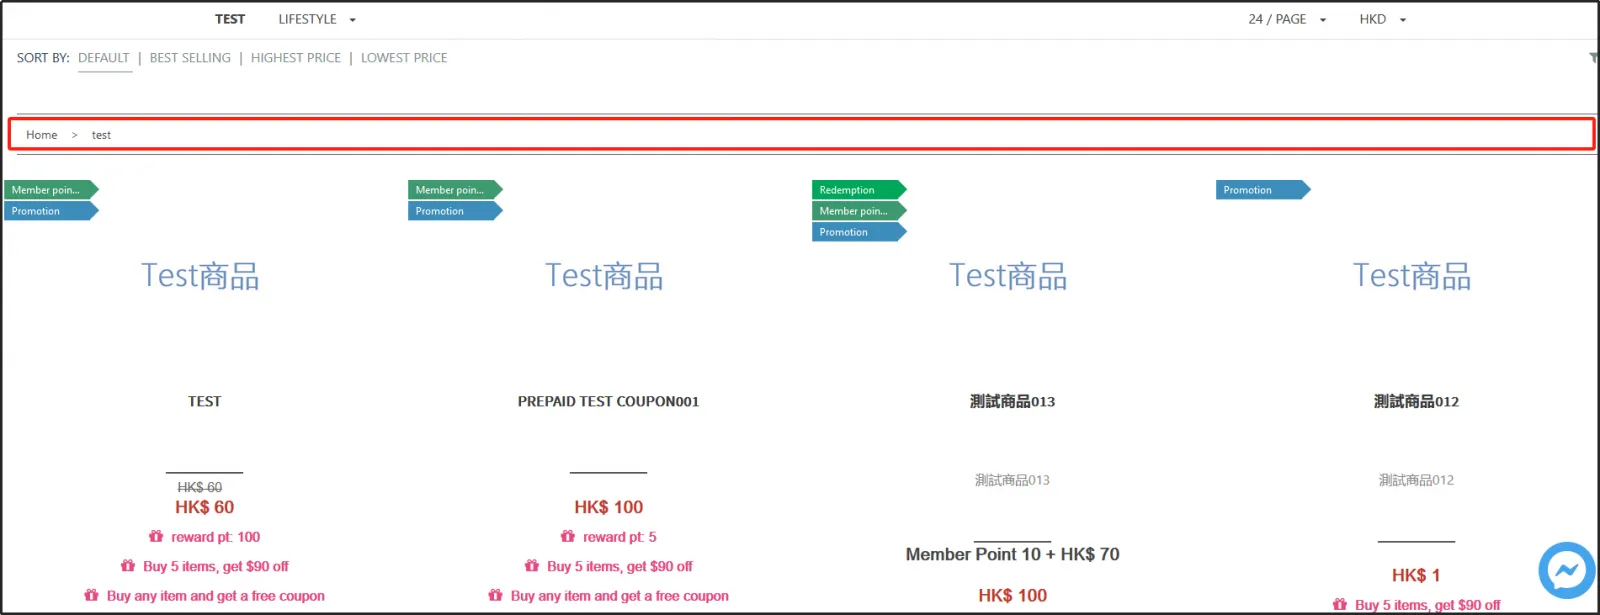
[Breadcrumb]: When it is enabled, the product navigation is displayed in the product list of the online store.
The image below shows the online store display, showing the navigation menu for the current product list.
[Filter]: Set the style of the filter function under the product list.

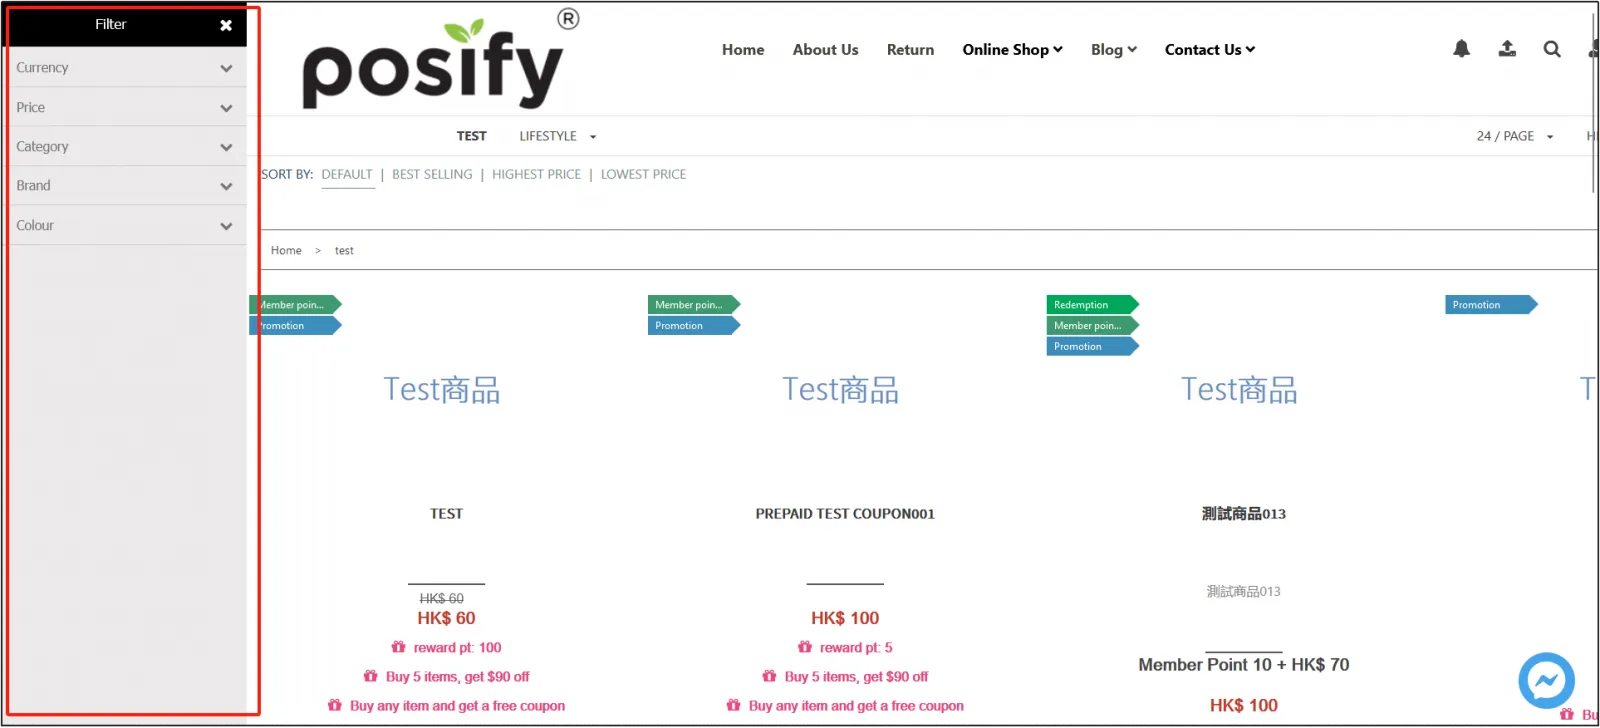
For example, as shown in the following figure, in the default template, you can see a filter icon in the upper right corner of the product list.
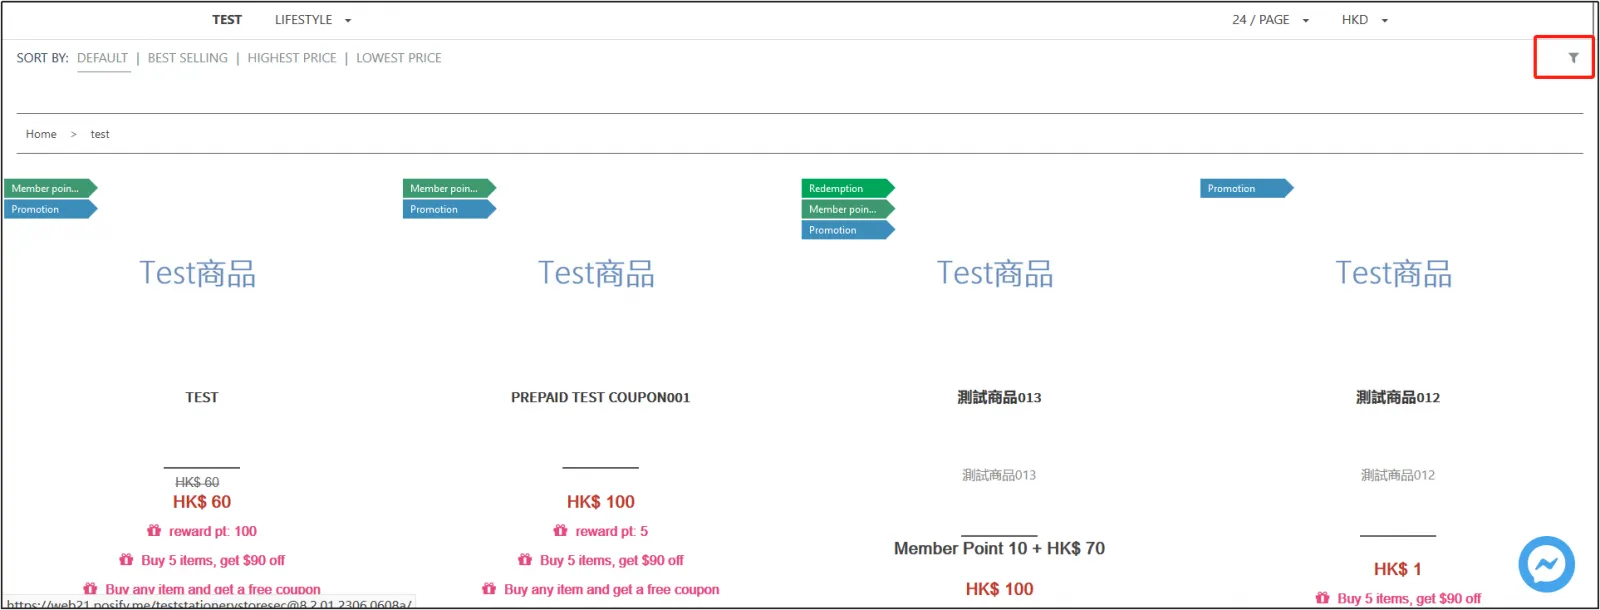
Clicking on the filter icon will bring up a filter menu on the left side of the page.
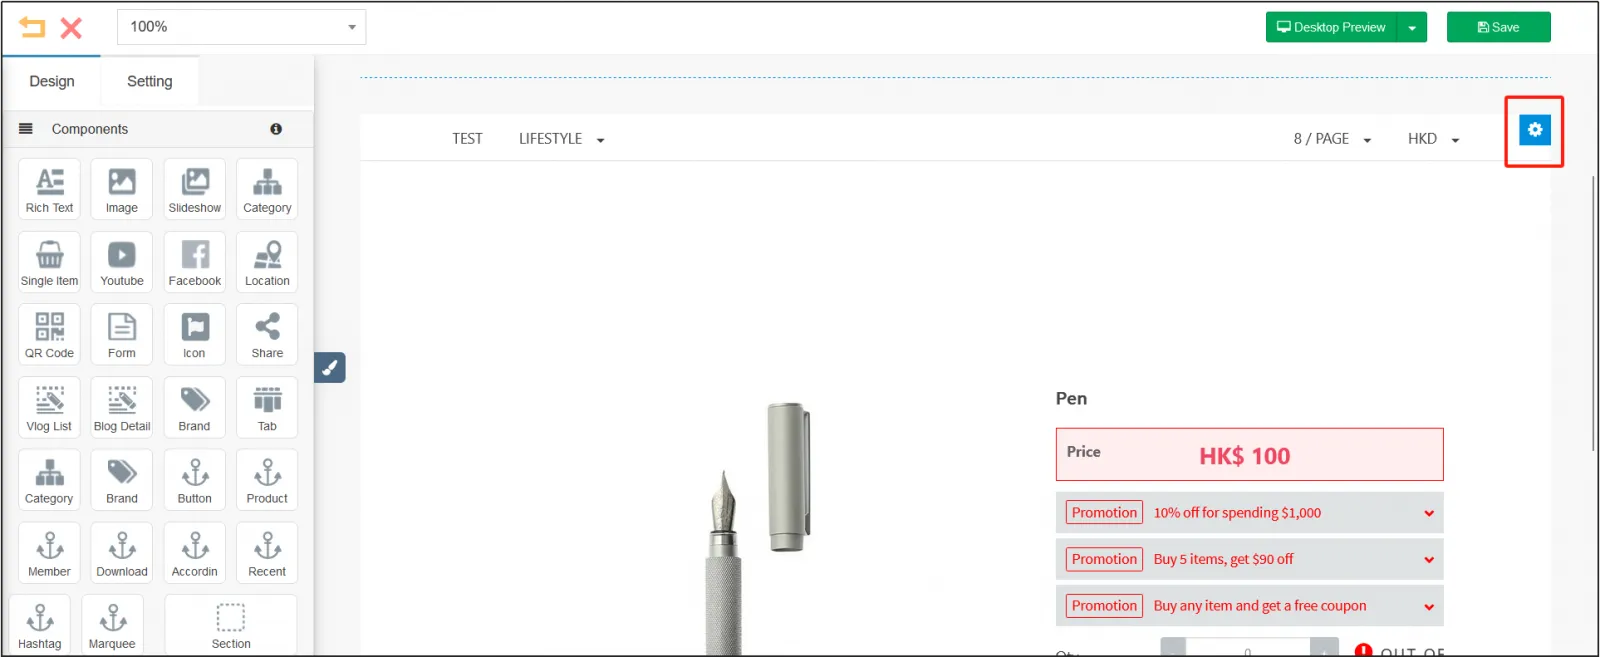
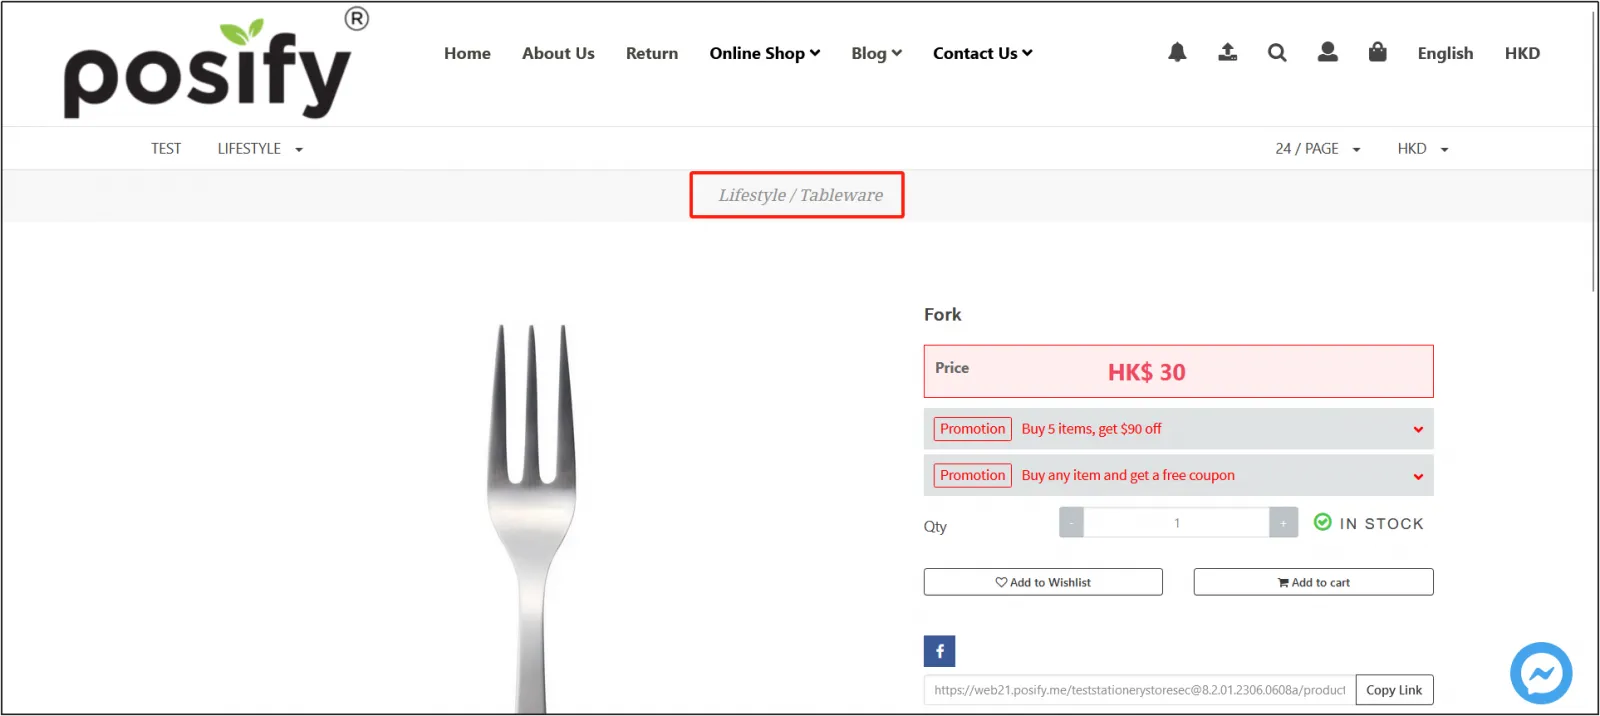
Go to the product details editing pageclick the gear icon on the right to open the editing page.
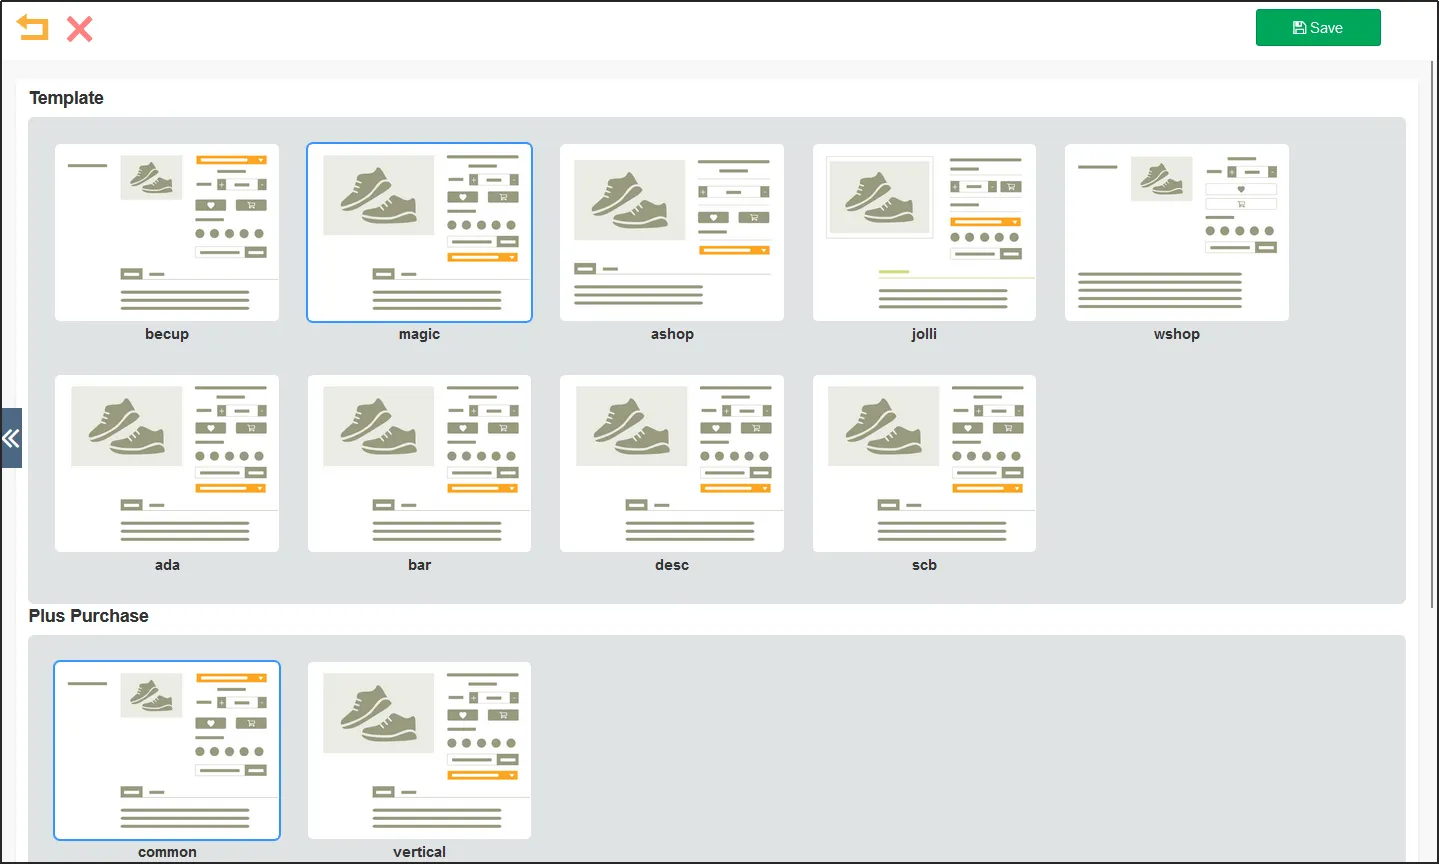
Choose a template for your product details and add-ons.
[Template]: The style that appears on the product detail page of the online store.
[Add-on purchase (template)]: The style of the add-on product displayed on the product detail page, and the product can only use this function if the add-on product is set.
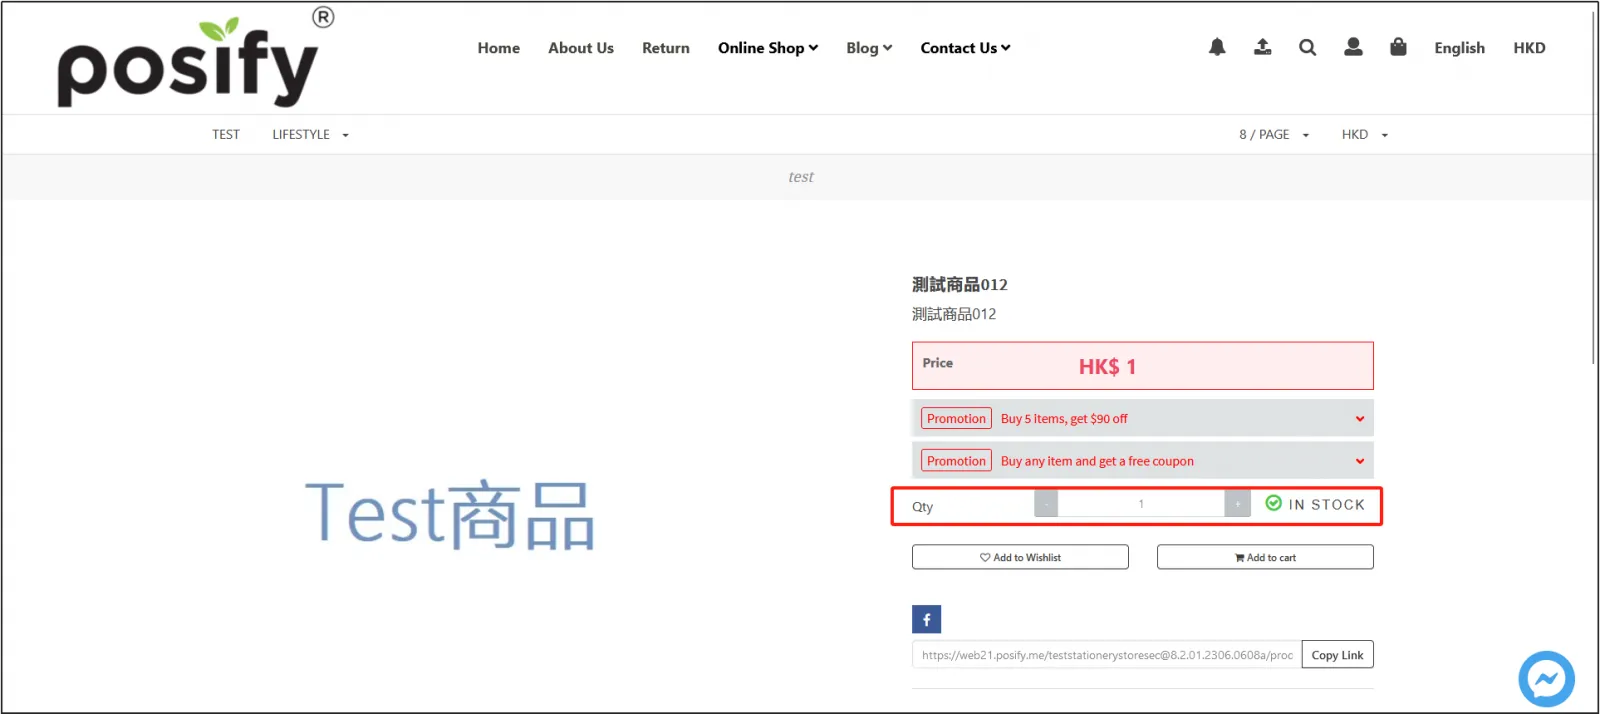
[Display Quantity and Inventory]: Enabled by default. On the product details screen, an input box that allows you to enter the quantity of the product is displayed and the availability of the product is displayed, otherwise, the input box for entering the quantity of the product and the availability of the product are not displayed if it is not enabled.
[Product Navigation]: When enabled, the category in which the product is located will be displayed on the product detail page.
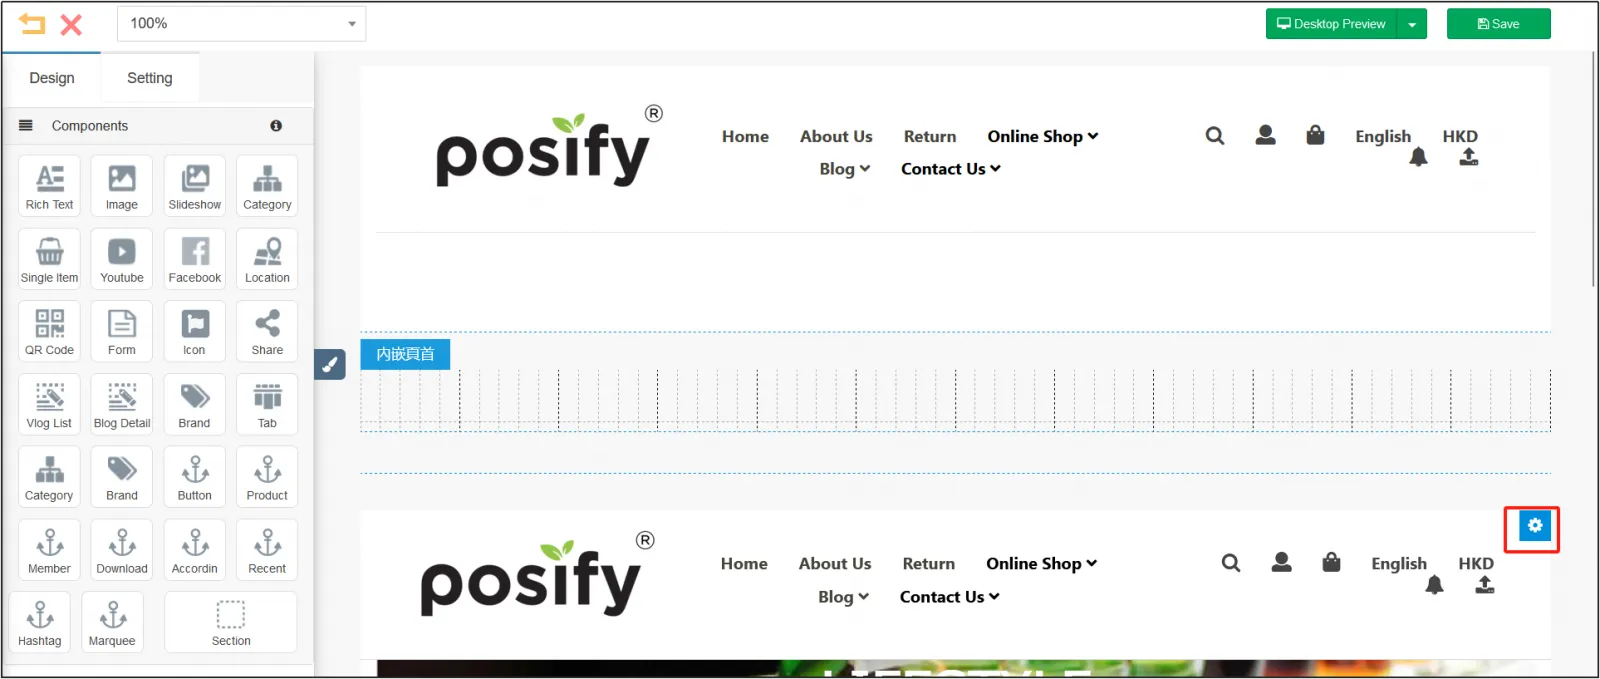
Go to the checkout edit pageclick the gear icon on the right to open the edit page.
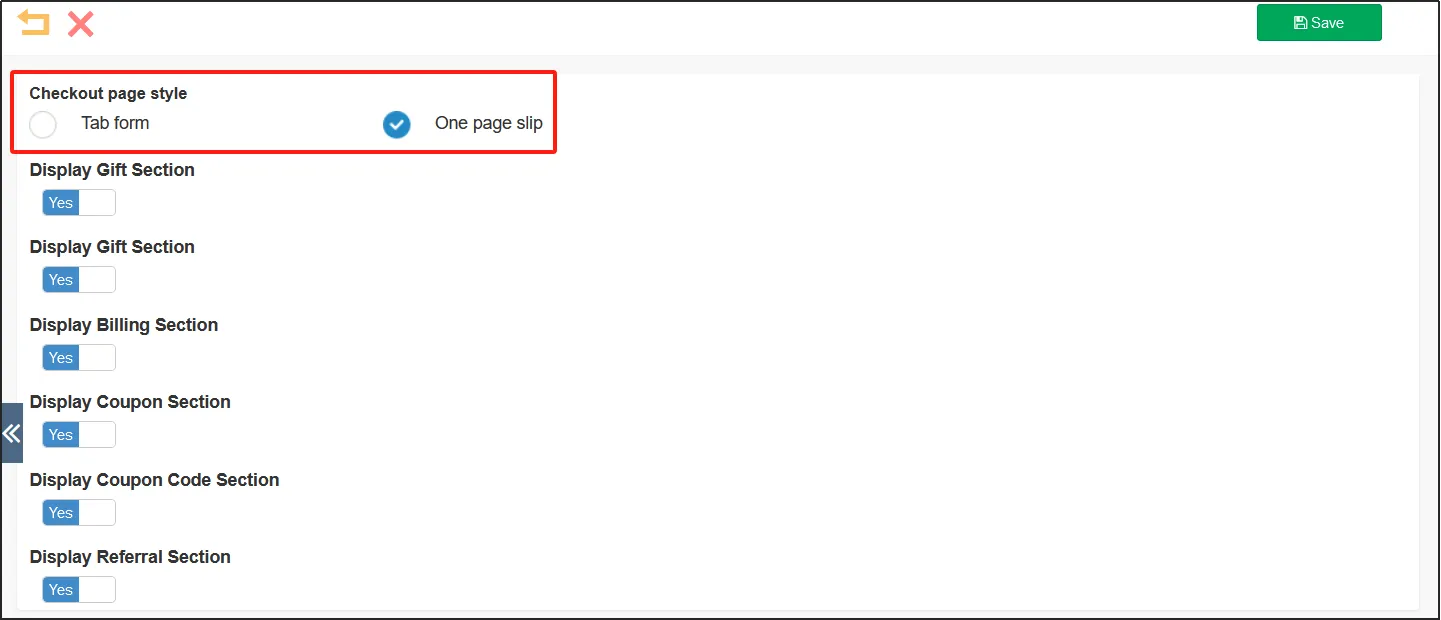
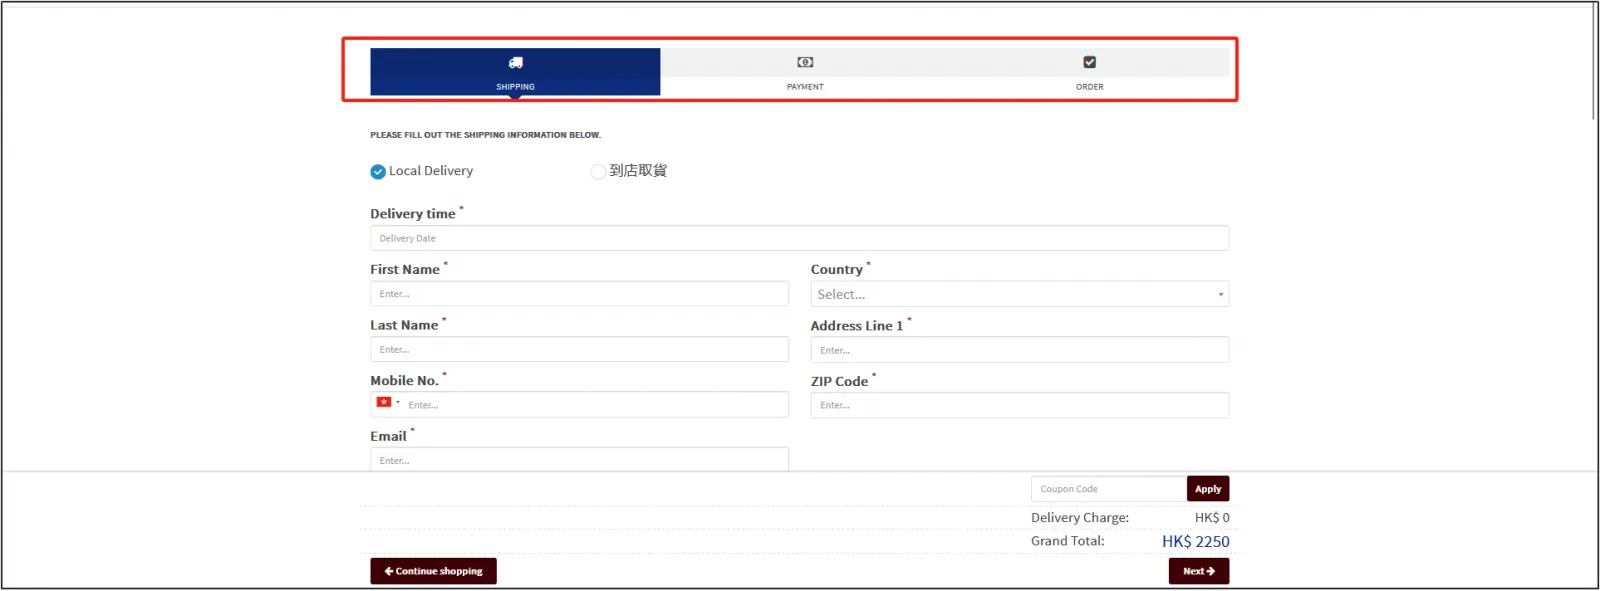
Choose a checkout page style, with a choice of a label form or a one-page straight form.
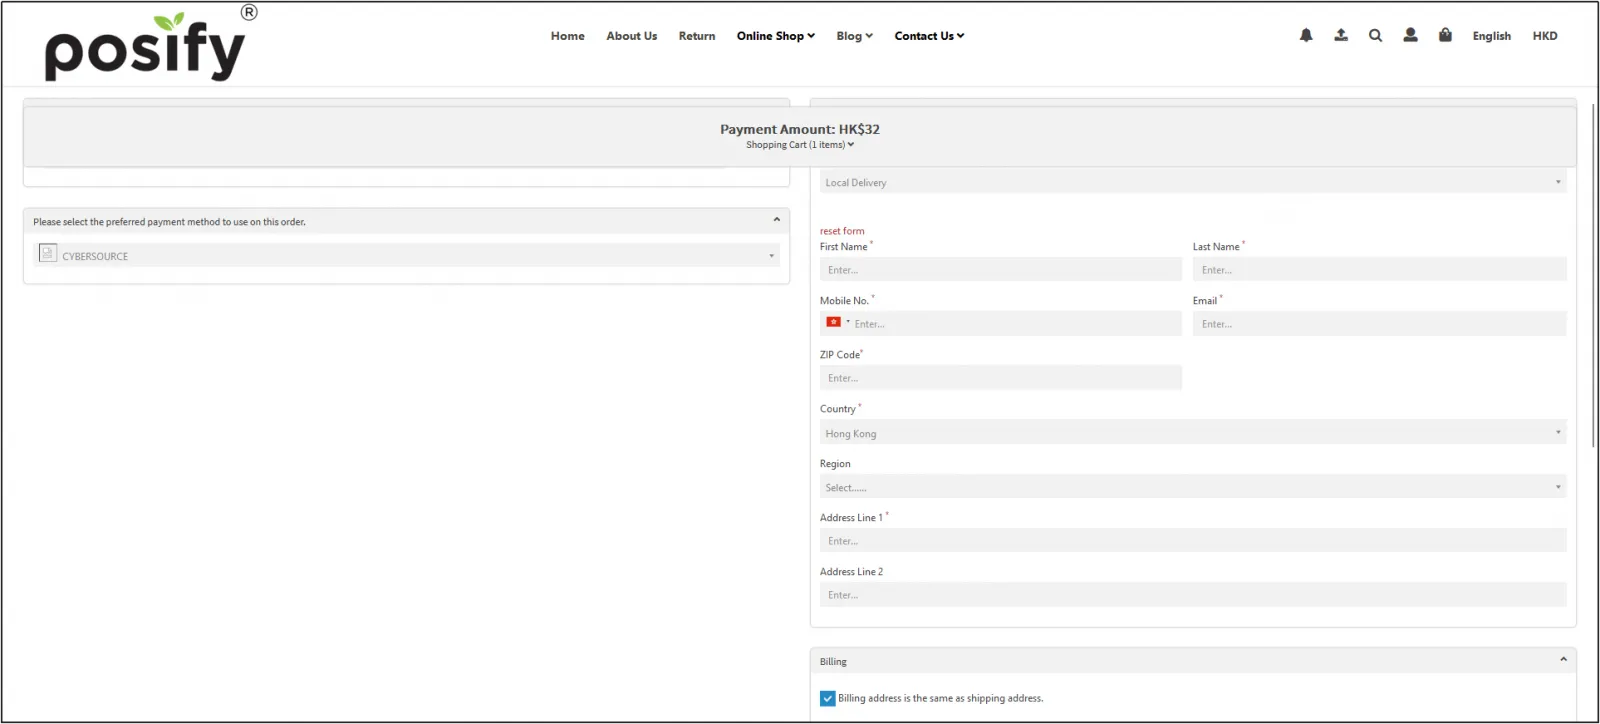
A one-page straight table looks like the one shown below, with all checkout information on one page.
The label table looks like the following figure, and the checkout is divided into three parts, which are delivery, payment, and ordering.
Other inline page settings can only set the inline header and footer, refer to the following setting methods, and will not repeat them here.
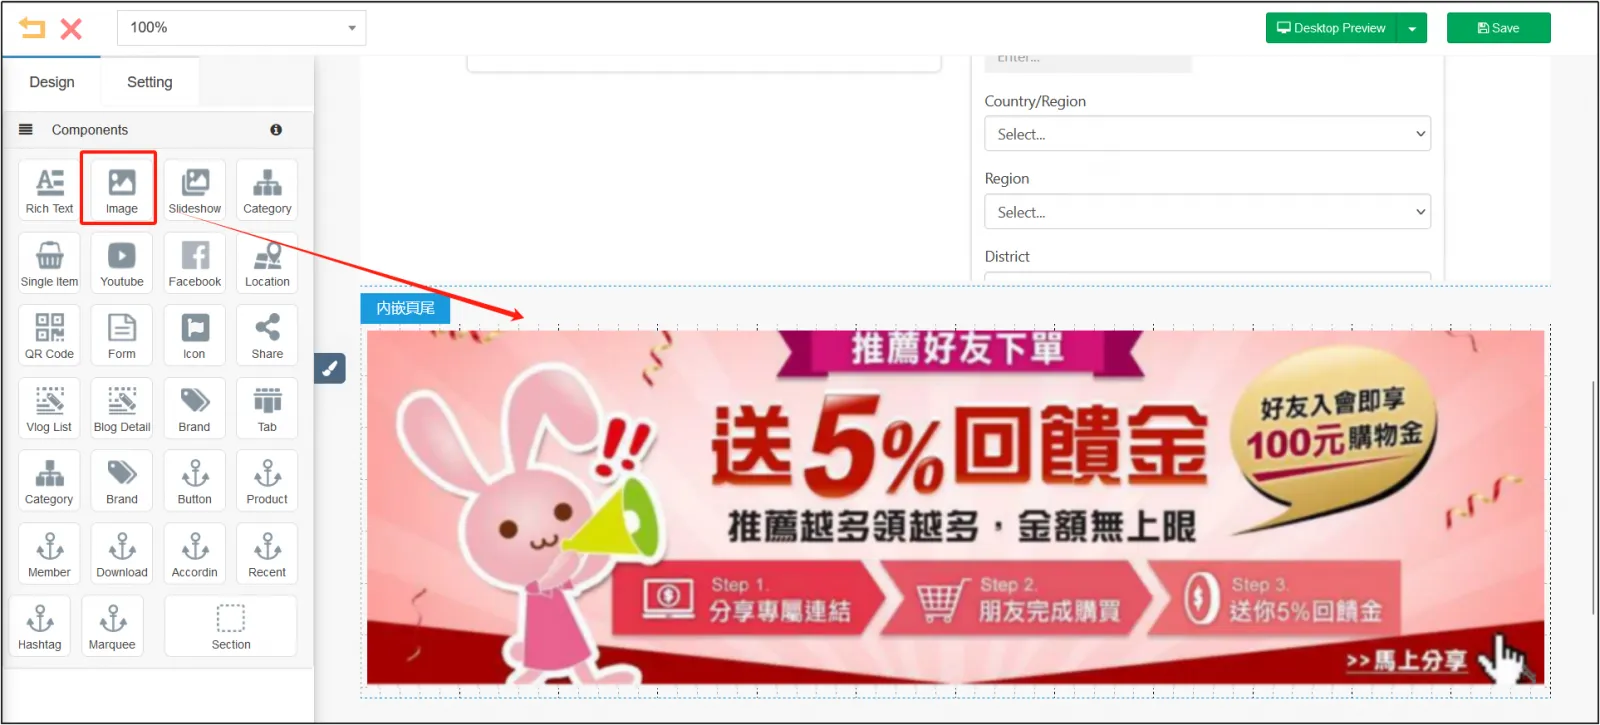
Membership details: After entering the edit page, drag and drop the components in the left toolbar into the section to edit. For example, as shown in the image below, an image is set at the bottom of the inline page.
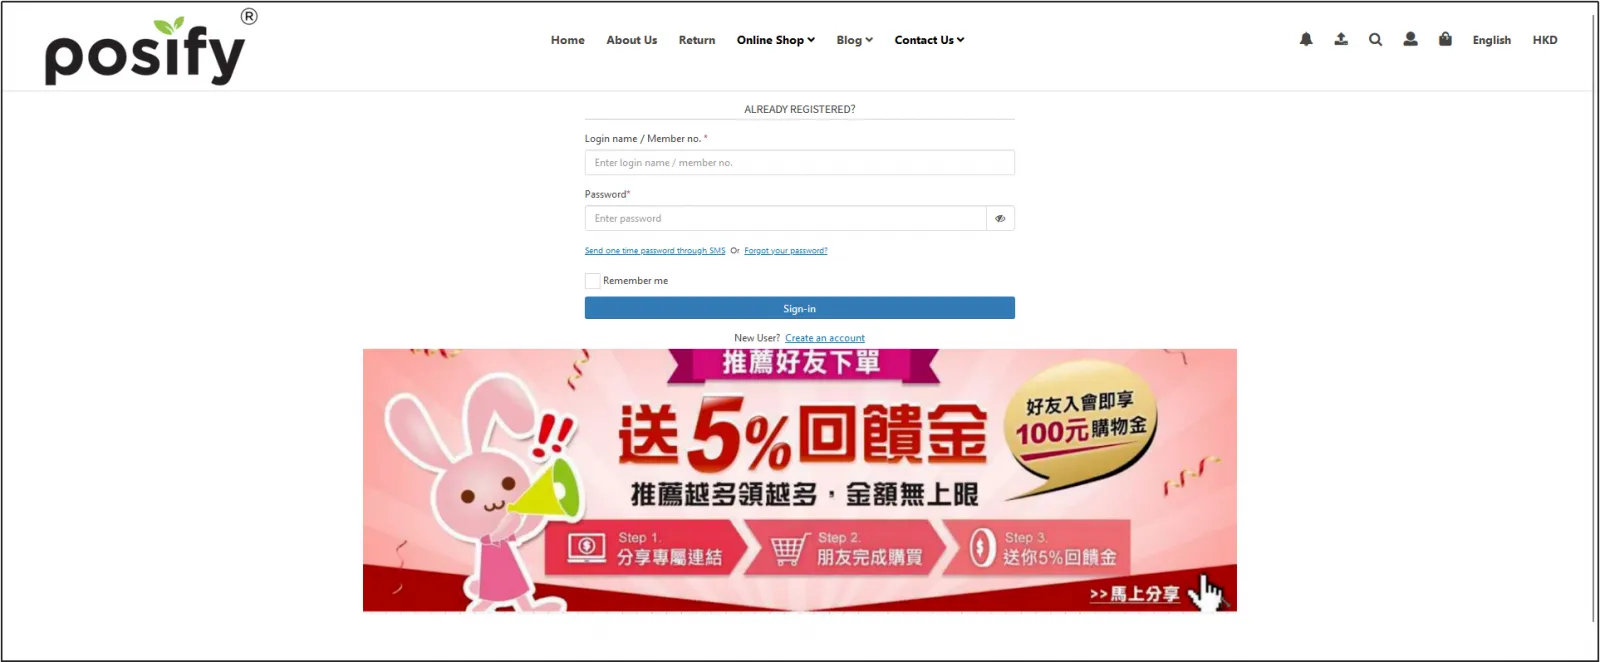
After logging in to the member online store, you can see the embedded header of the settings on the member details page.
Set up the Terms & Policies page
Open the CMSclick on the online storeclick on the website navigationfind the page you want to edit under [Terms & Policies Page], and click the small pen icon on the right to open the page editing page.
Drag and drop the section component into the page in the left toolbar, or click [Add Section] to add a new section.
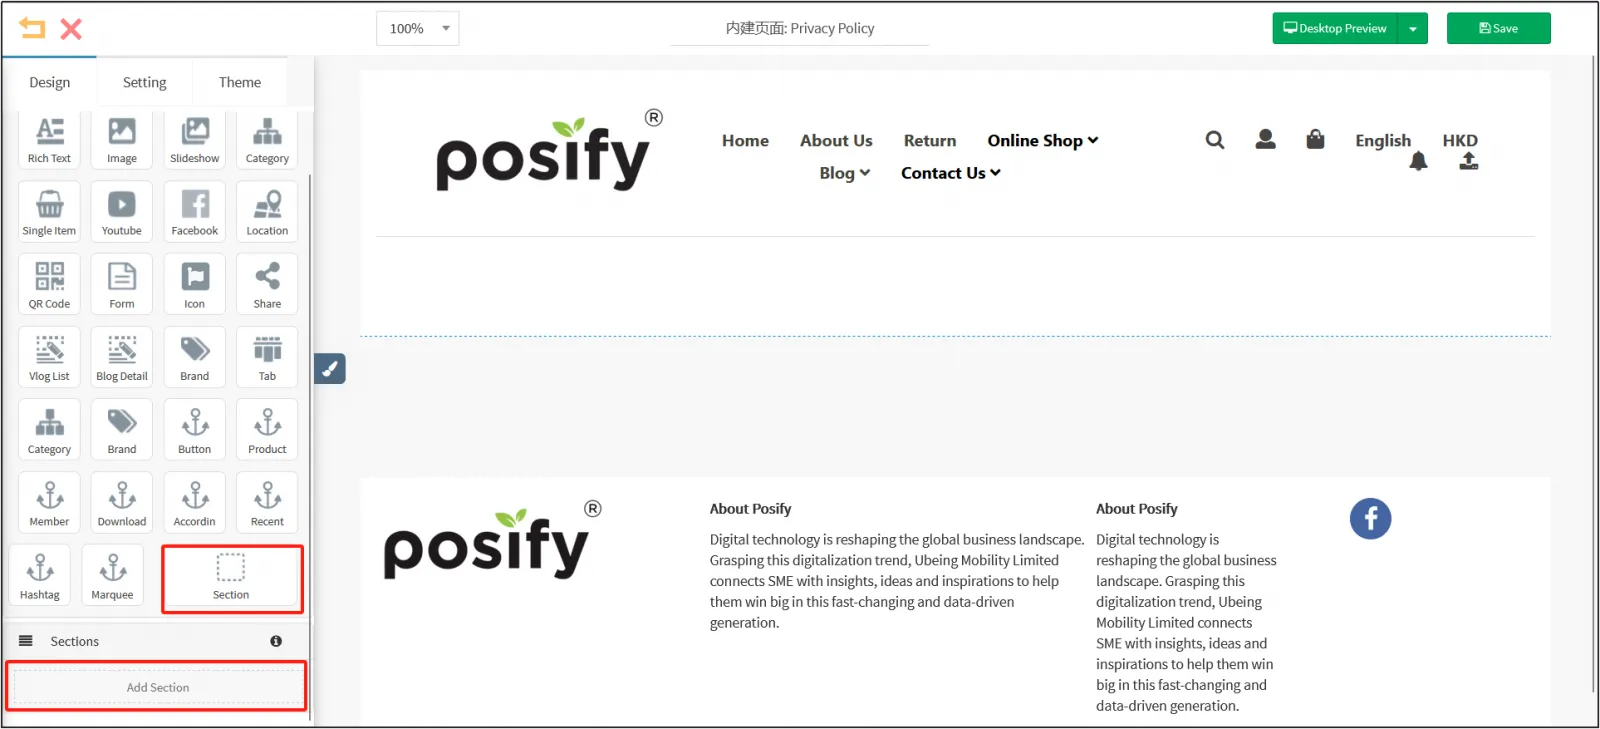
Drag and drop the desired components into the section, edit them, and click "Save" when the editing is complete.