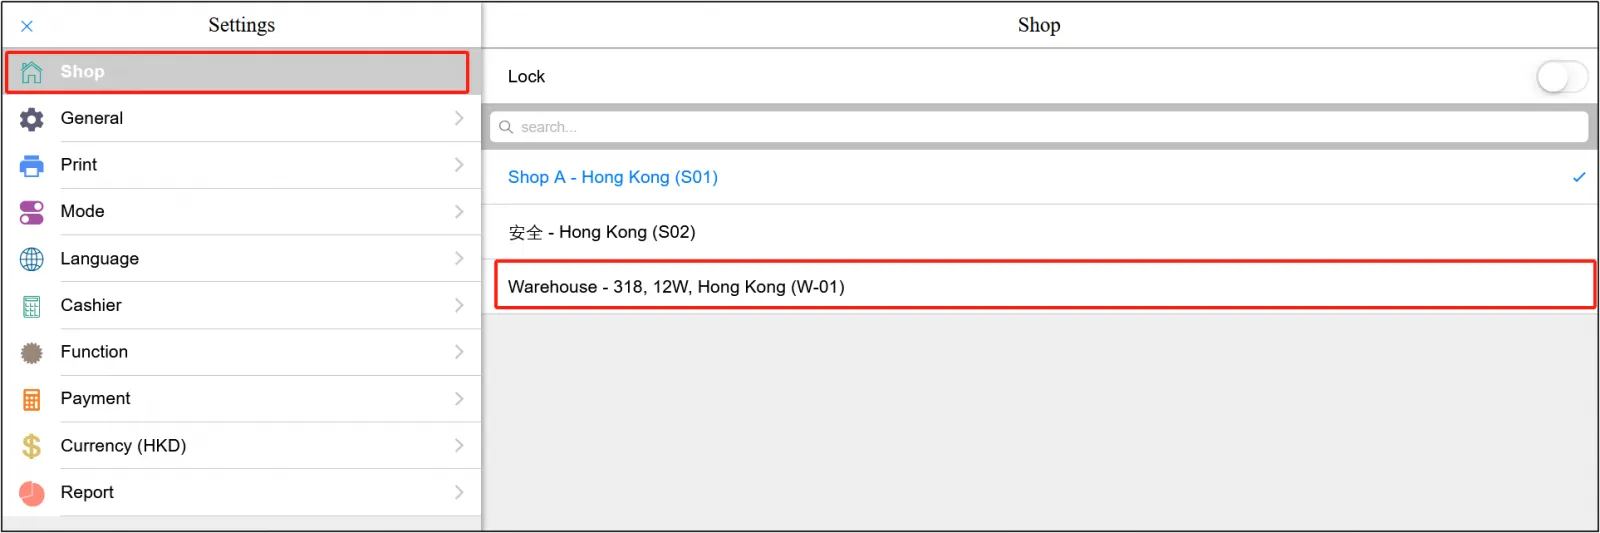
Make sure that the store/location you select matches your current store
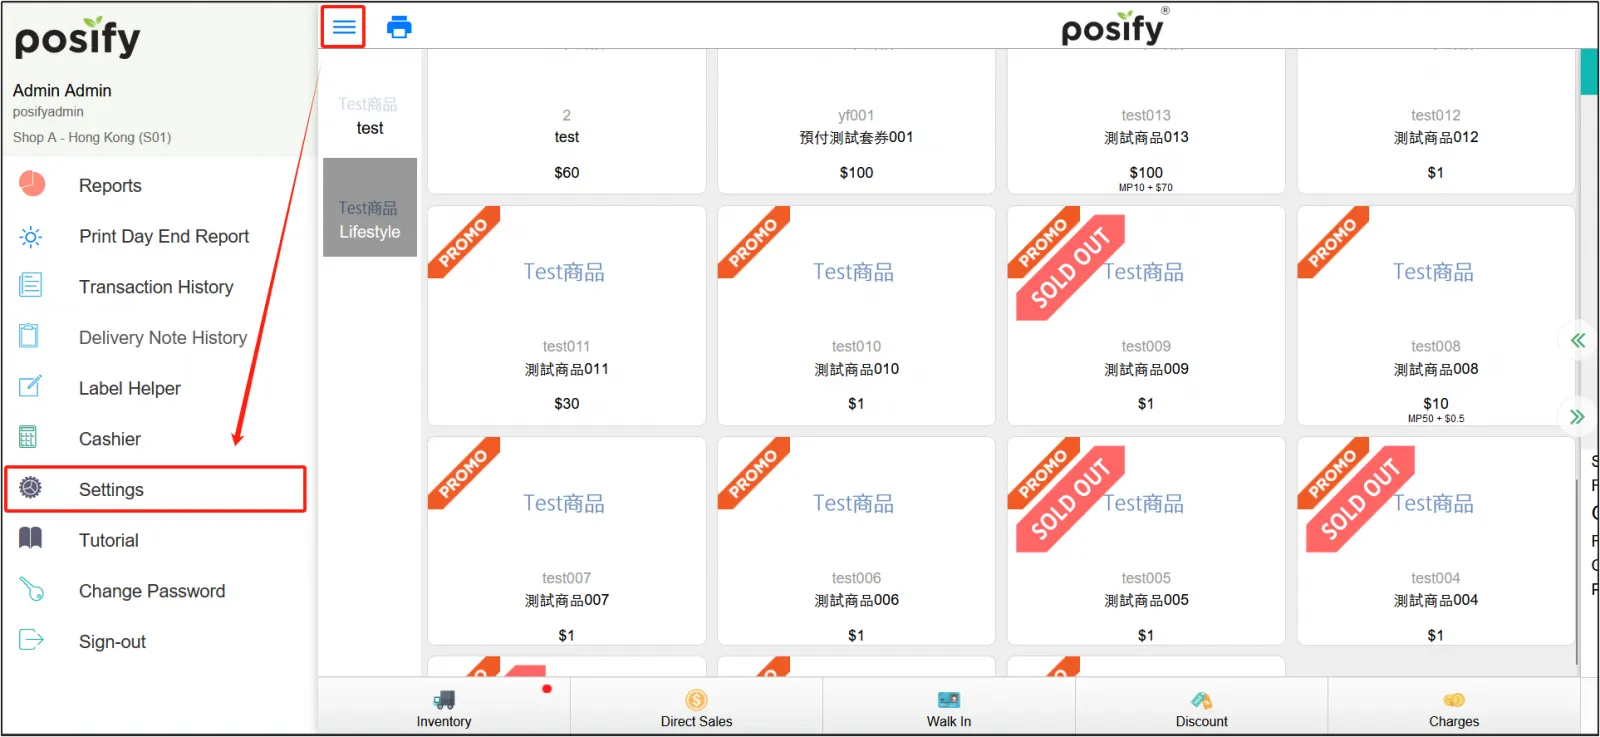
Open the POS tap the three horizontal in the upper left cornerclick Settings.
Click Storeconfirm that the correct store location has been selected.
Enable the Day Back feature
To set the number of days that allow traceability orders to be established and the maximum number of days to be traceable, do the following:
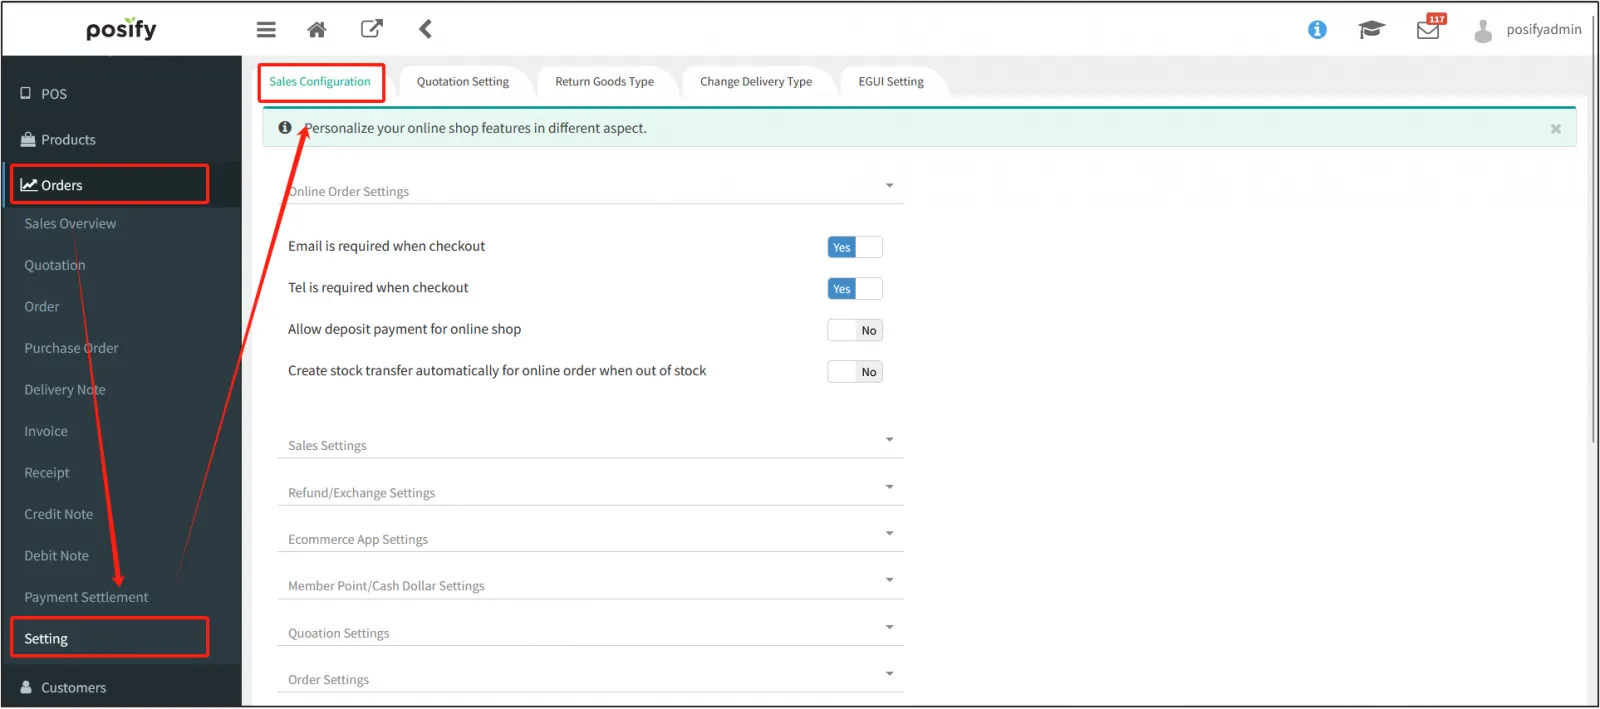
Open the CMSclick Ordersclick Settingsclick the Sales Settings tab.
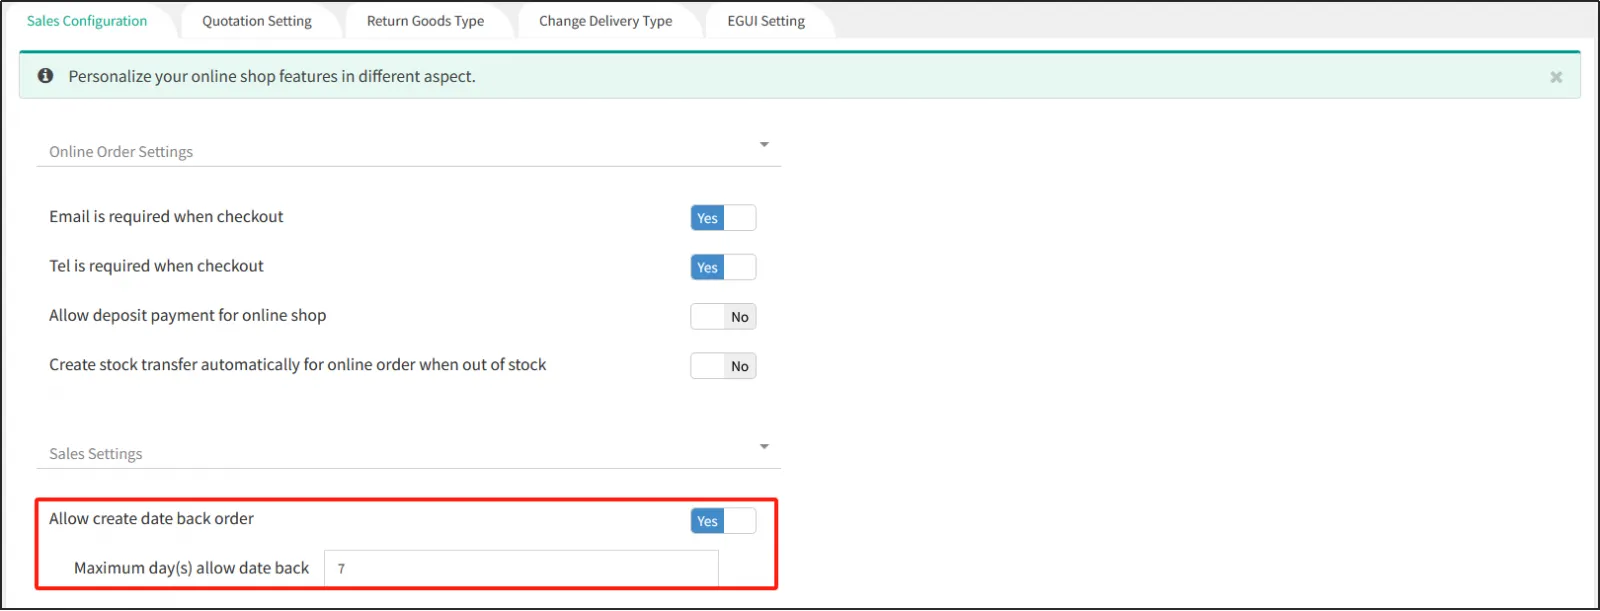
Under Sales Settings, enable Allow Traceability Ordersenter the maximum number of days to be traced back in the input box below.
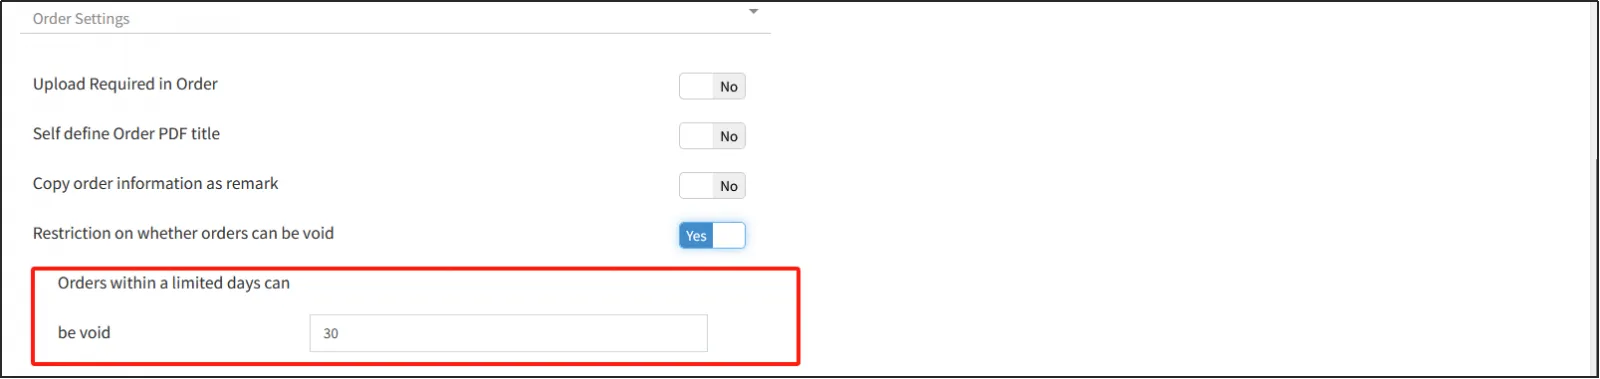
If you enable "Can Limit Orders Can Be Cancelled" under [Order Settings] and enter [How many days can be canceled orders], then only orders that can be cancelled within a set number of days will be restricted, and if you do not enable it, there will be no limit.
Browse/search for items
Before you can use the filter function to search, you need to enable the filter function first.
Open the POStap the three horizontal in the upper left cornerclick Settings.
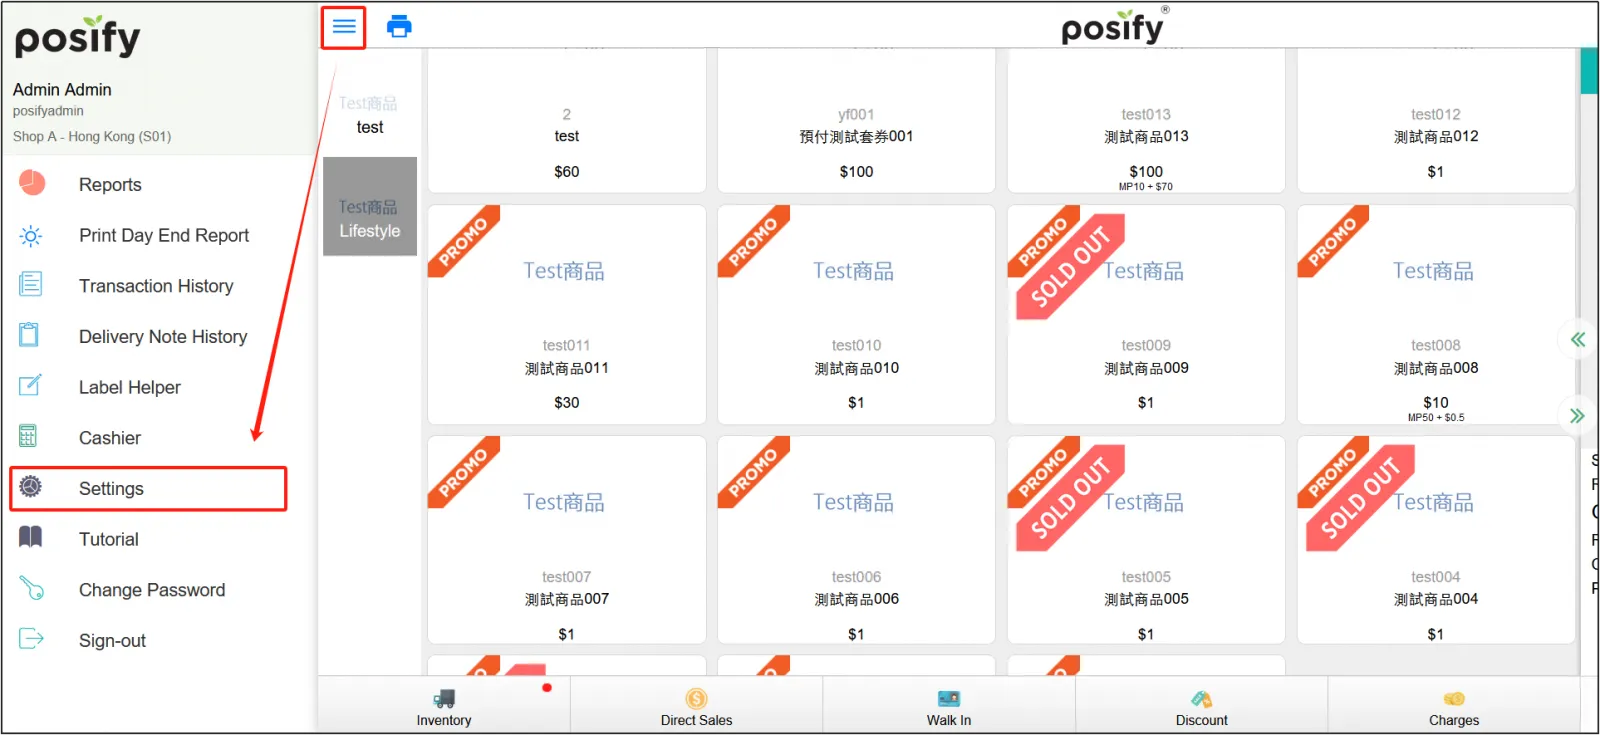
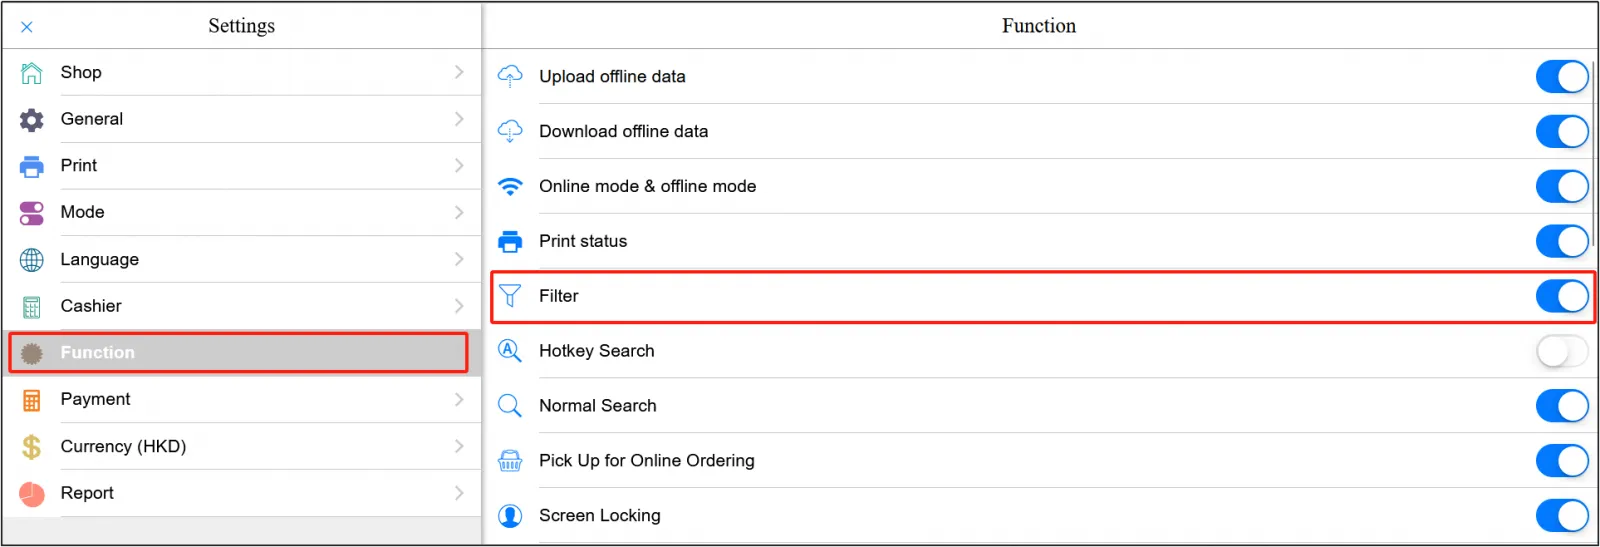
Click Functionsenable filtering.
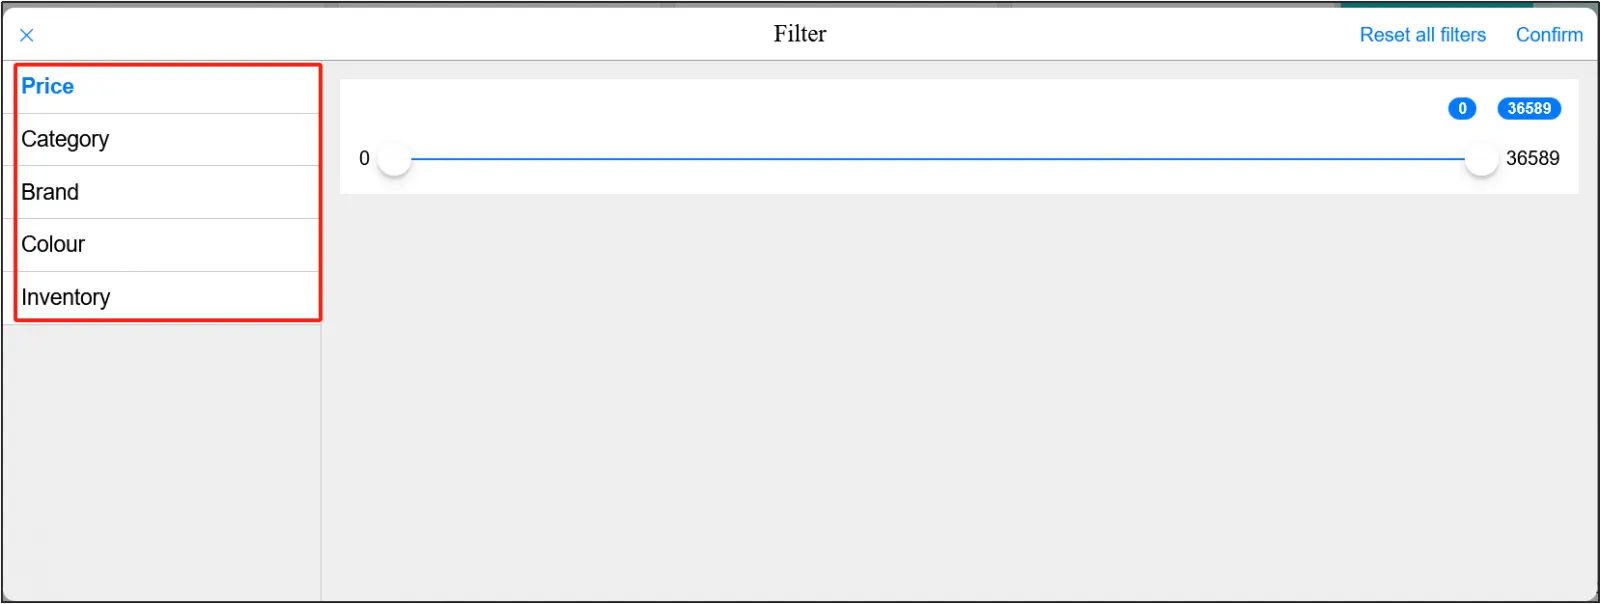
Go back to the POS homepageclick on the filter icon.
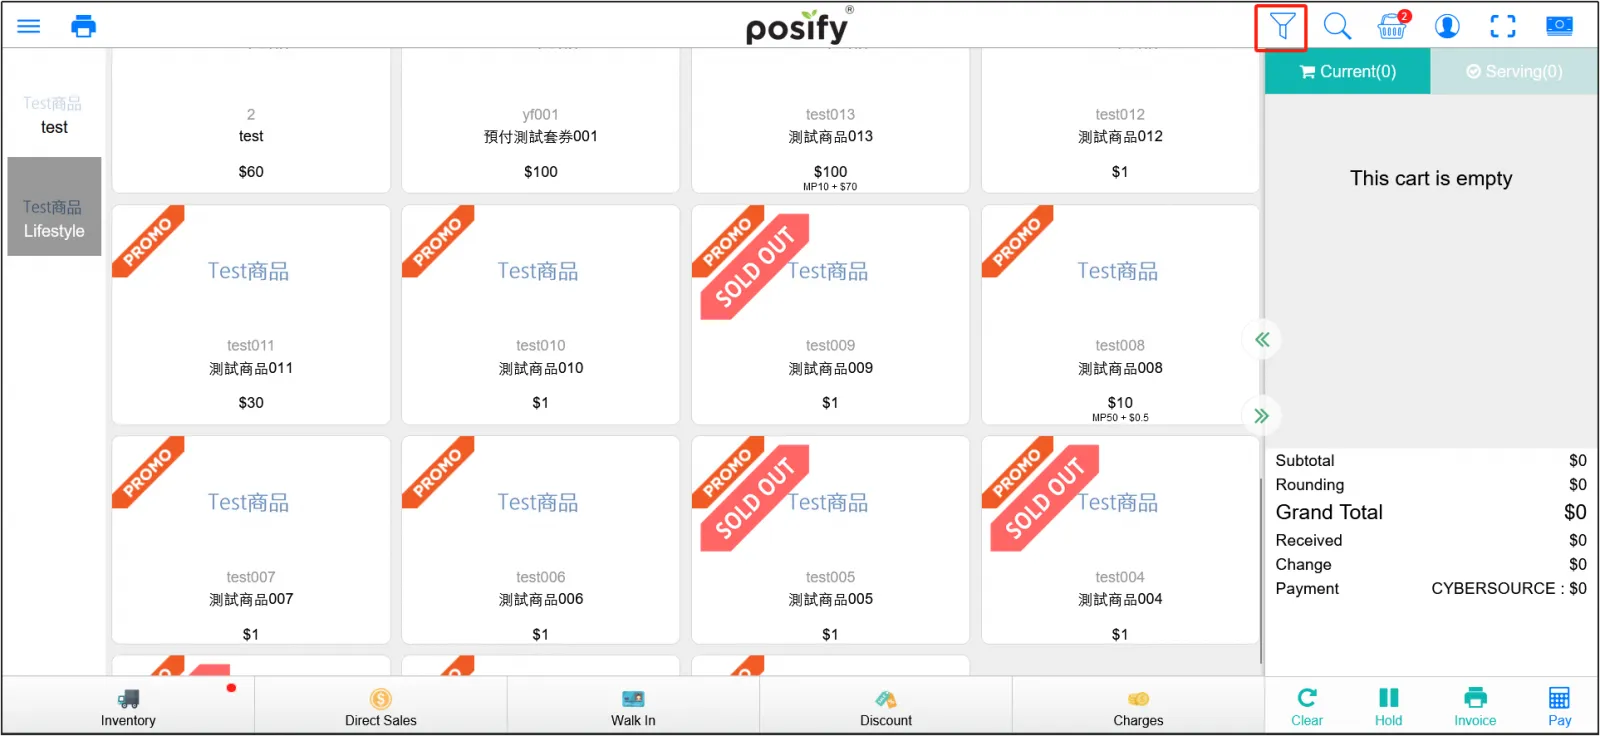
Use the filter feature to filter products by price, inventory, category, brand, and merchant-defined attributes.
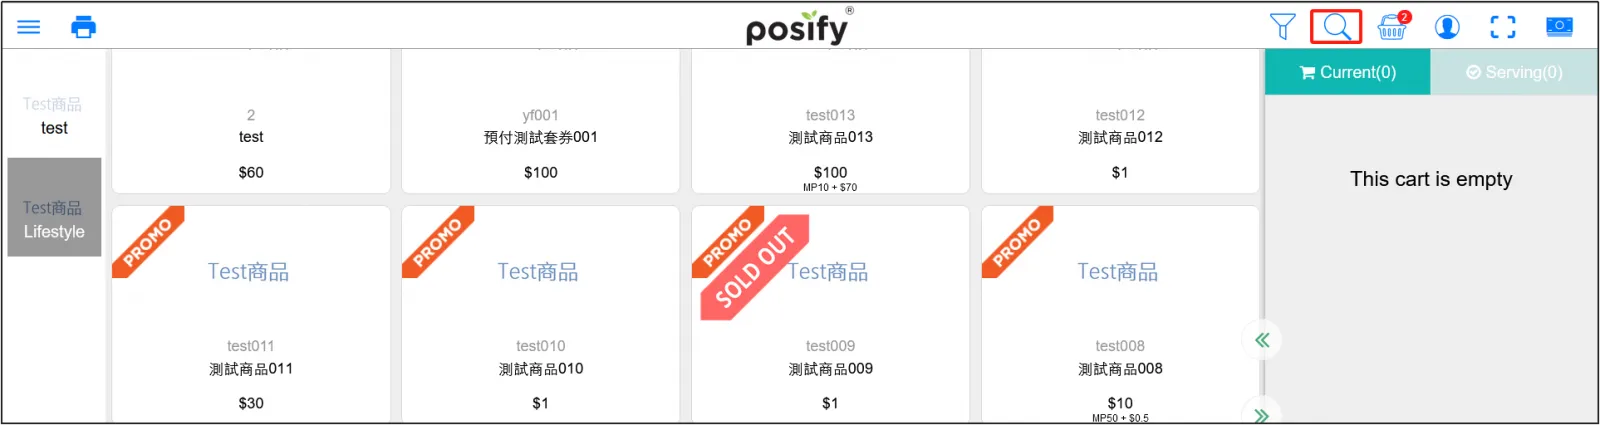
Click  in the upper right corner to enter the keyword search mode.
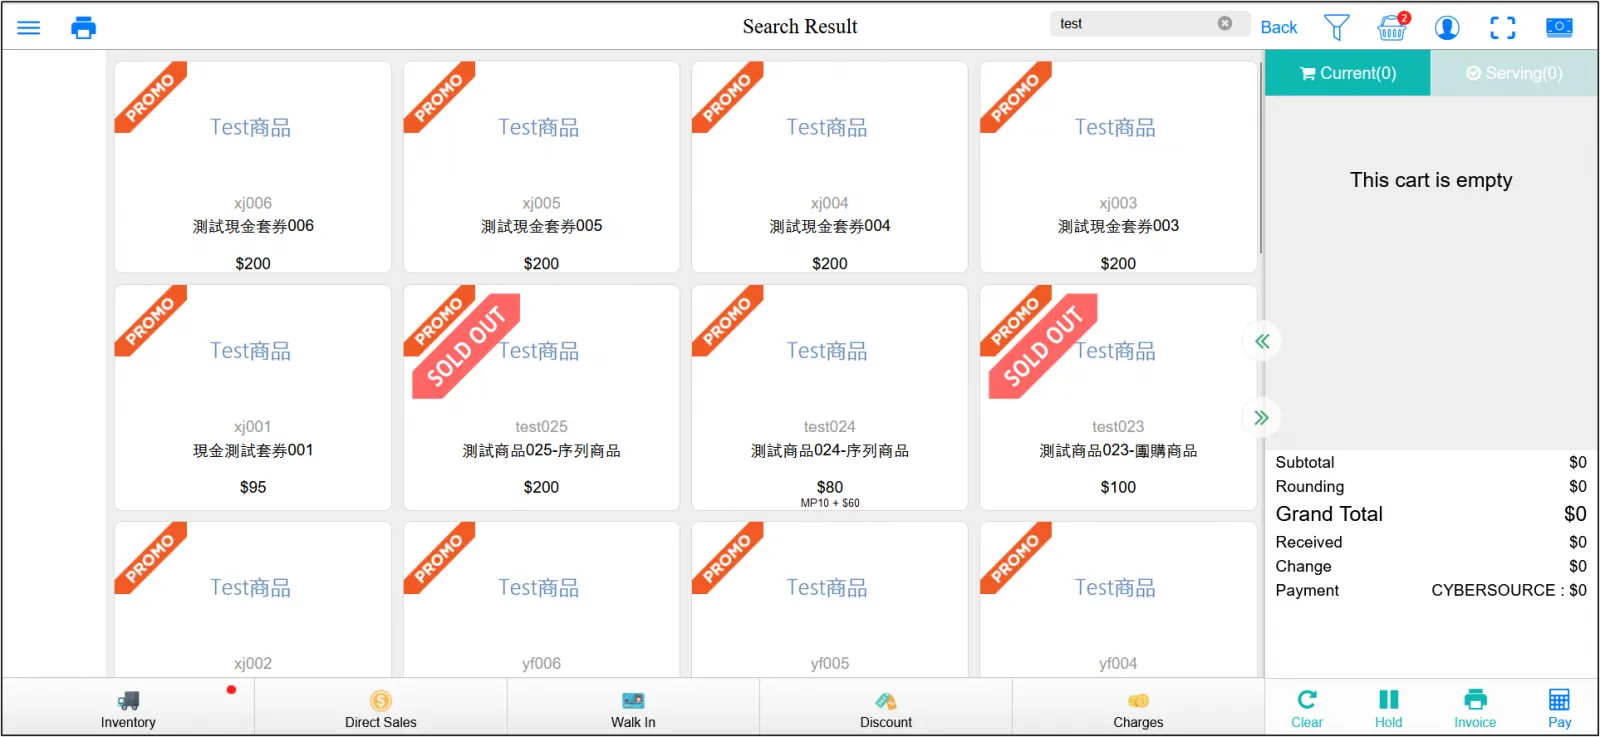
Enter the keywordpress enter, and you can search for products related to the keyword.
Click [Back] to exit the keyword search mode.
Before you can use hotkey mode hunting, you need to enable hotkey mode first.
Open the POStap the three horizontal in the upper left cornerclick Settings.
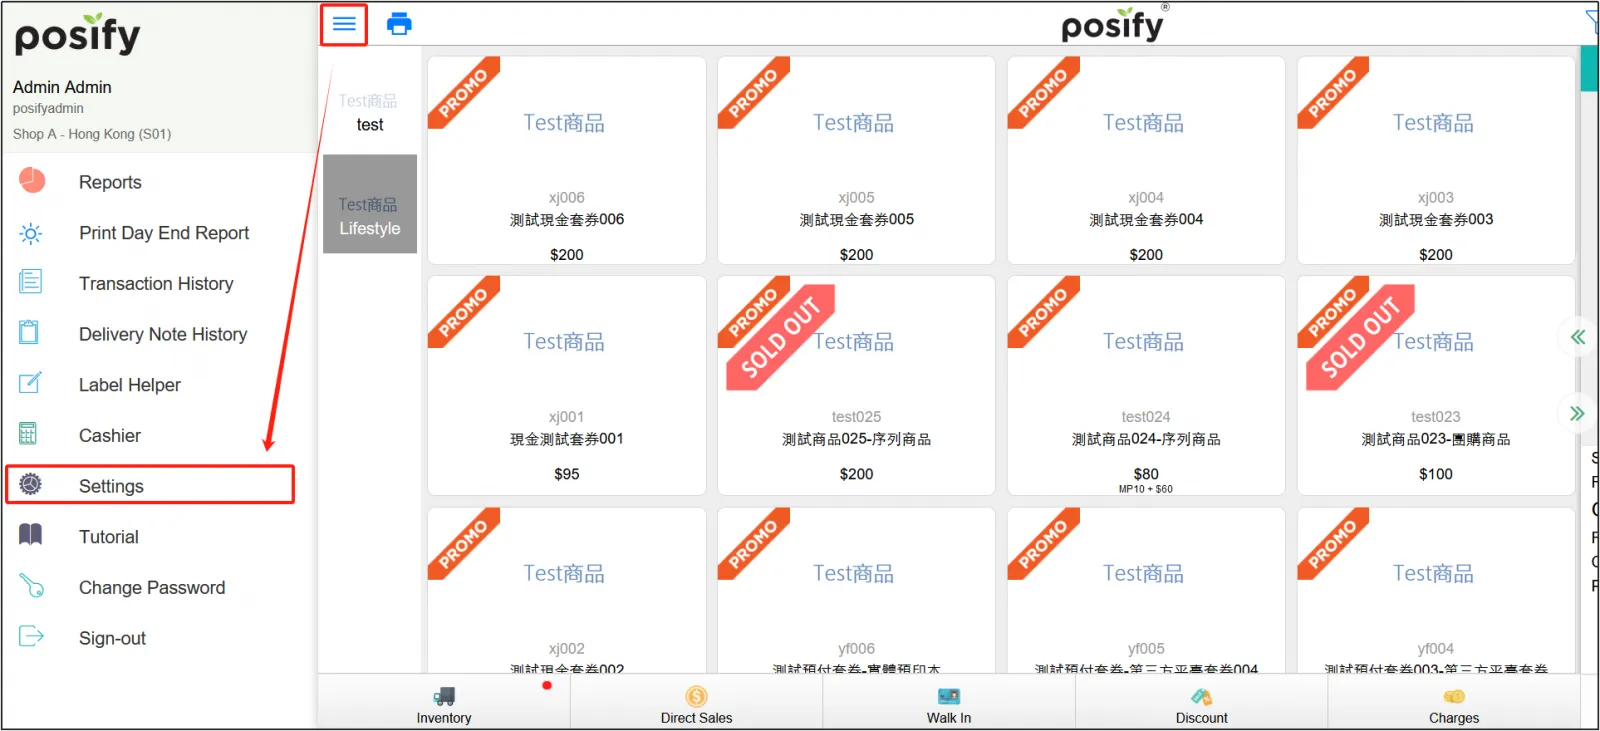
Click on the functionenable the hotkey mode.
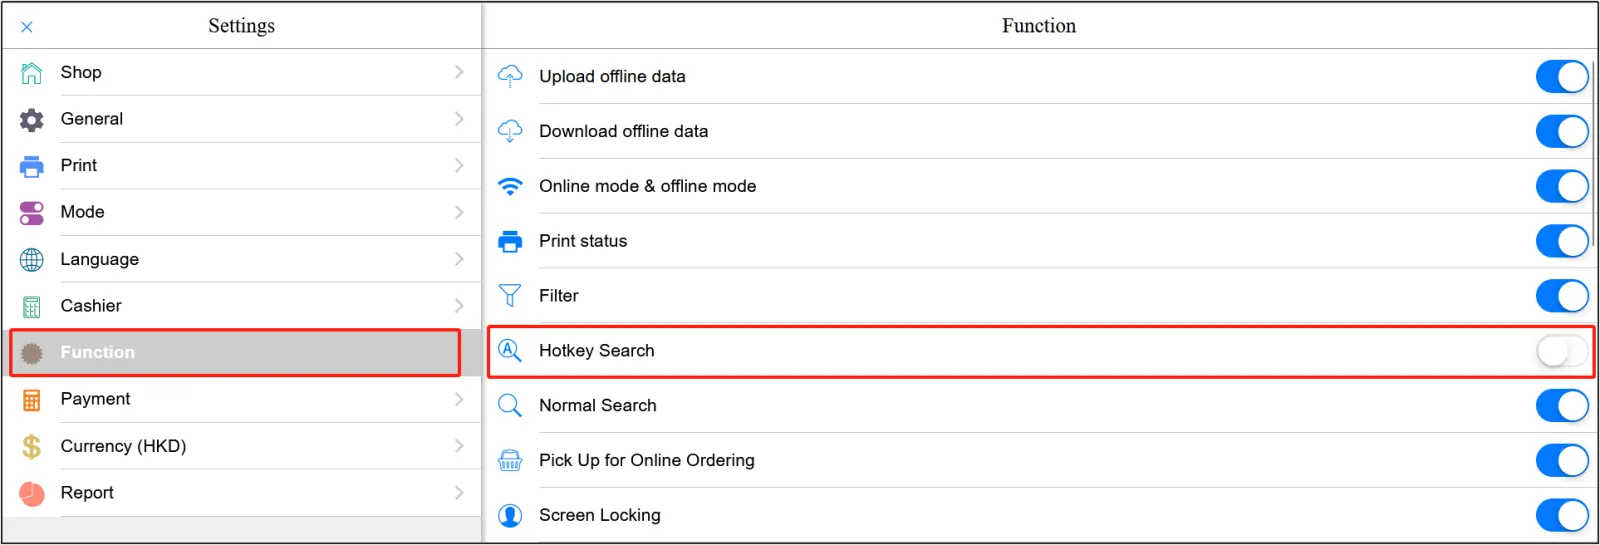
Go back to the POS homepageclick on the hotkey mode icon in the upper right corner.

The virtual keyboard will open below, click to enter the product number to search for products.
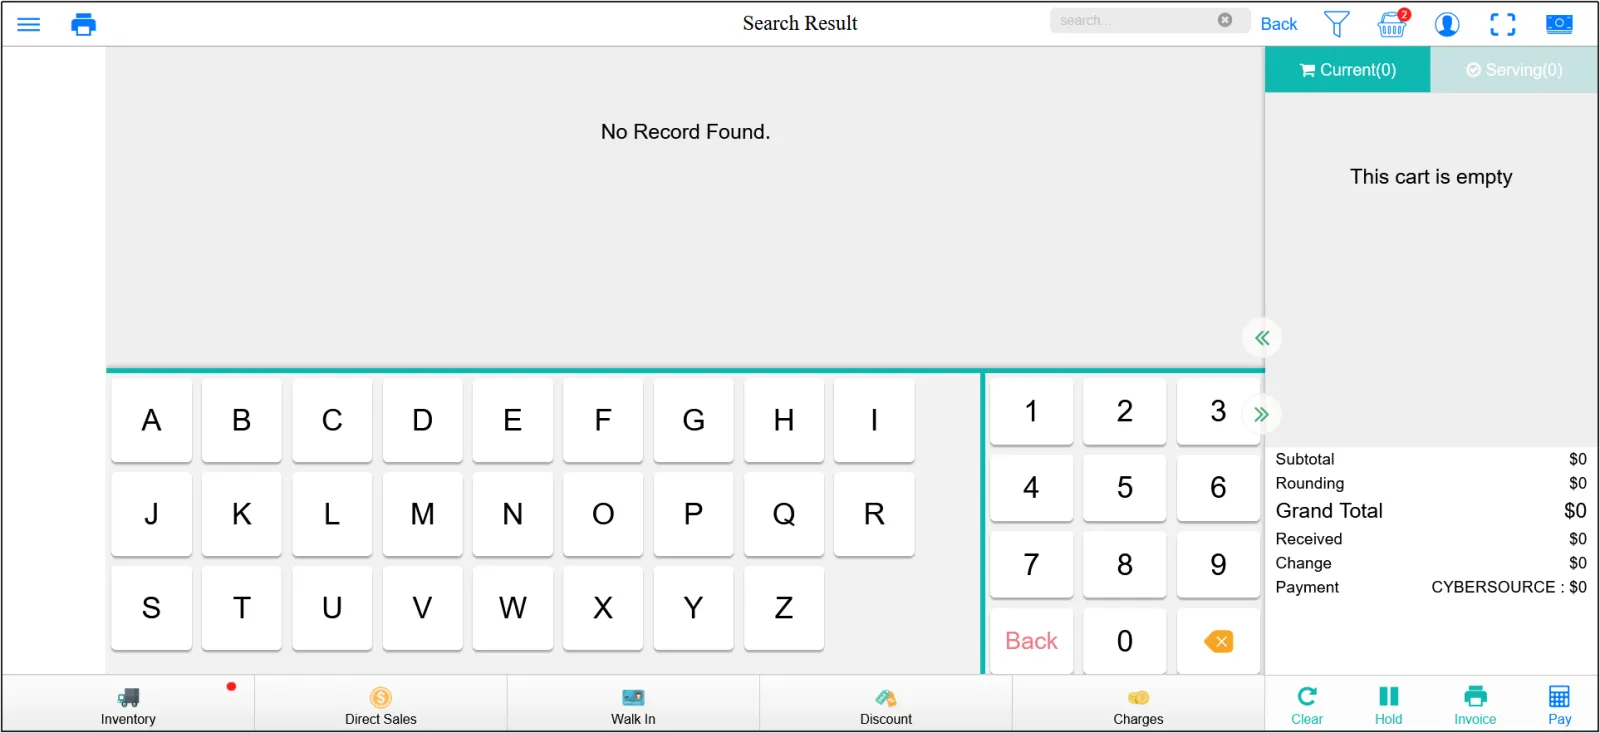
Click [Back] to exit [Hotkey Mode].
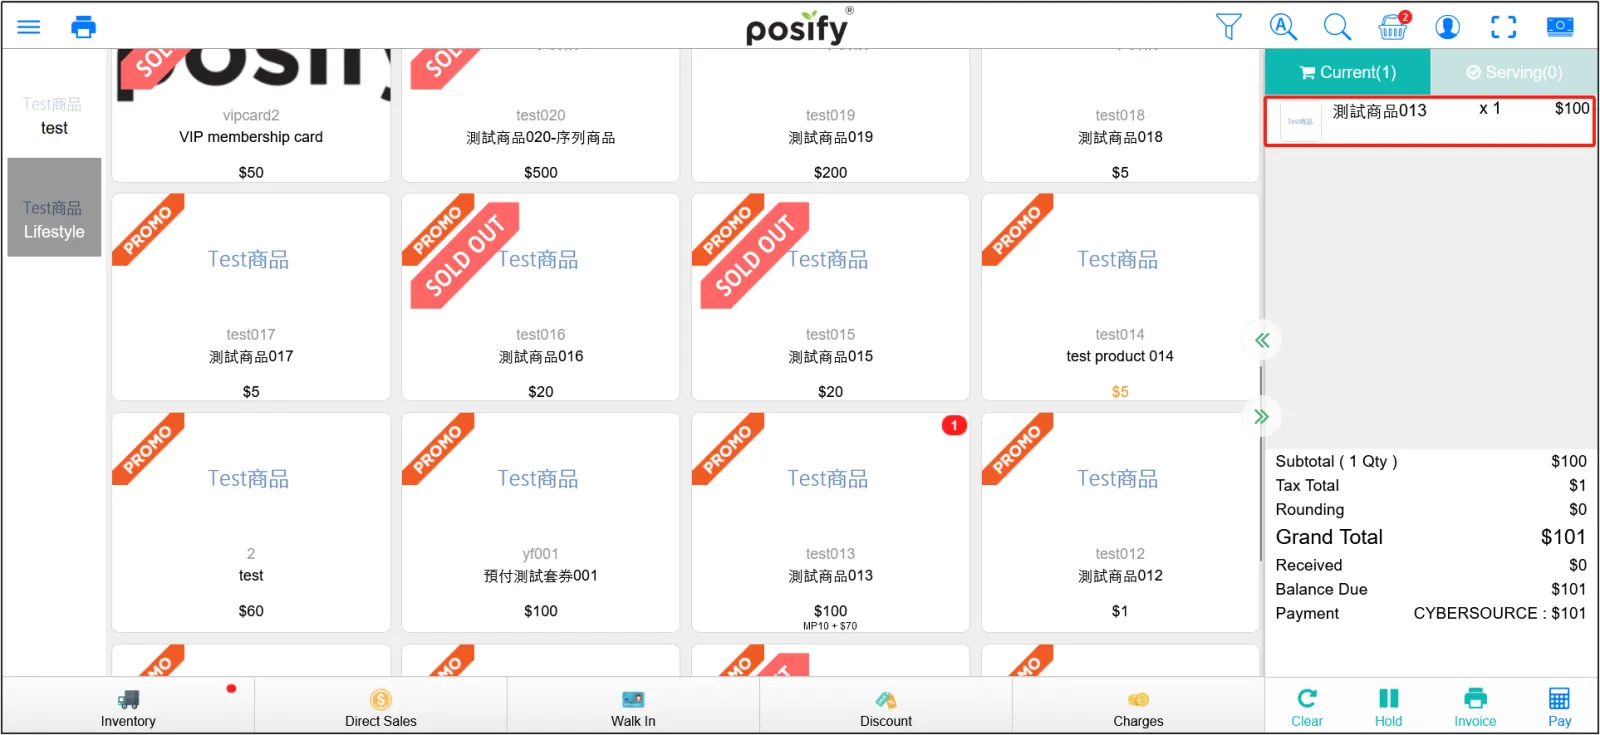
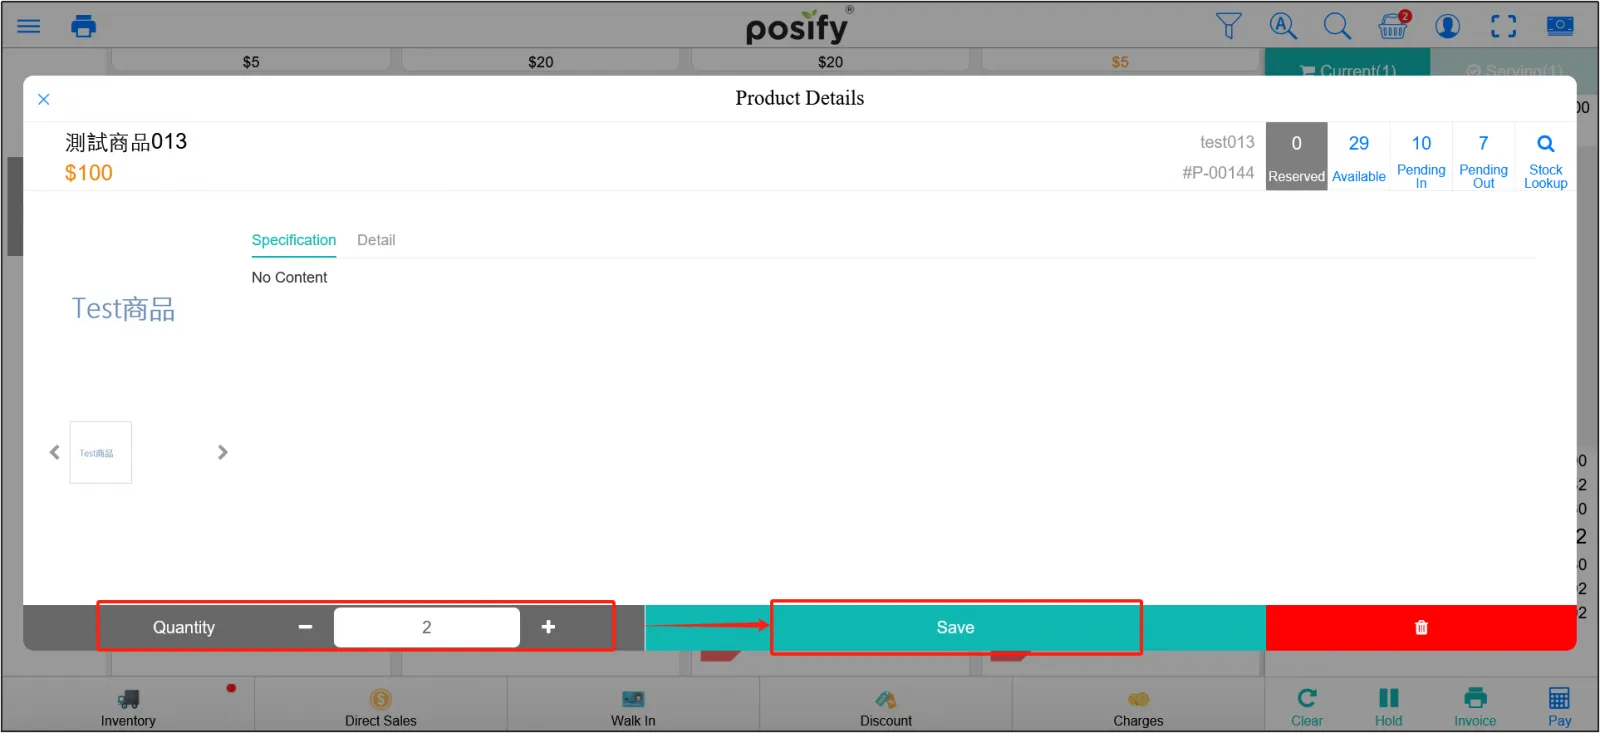
After adding the product to the list of current orders, click the product under [Current order] on the right to open the product details page.
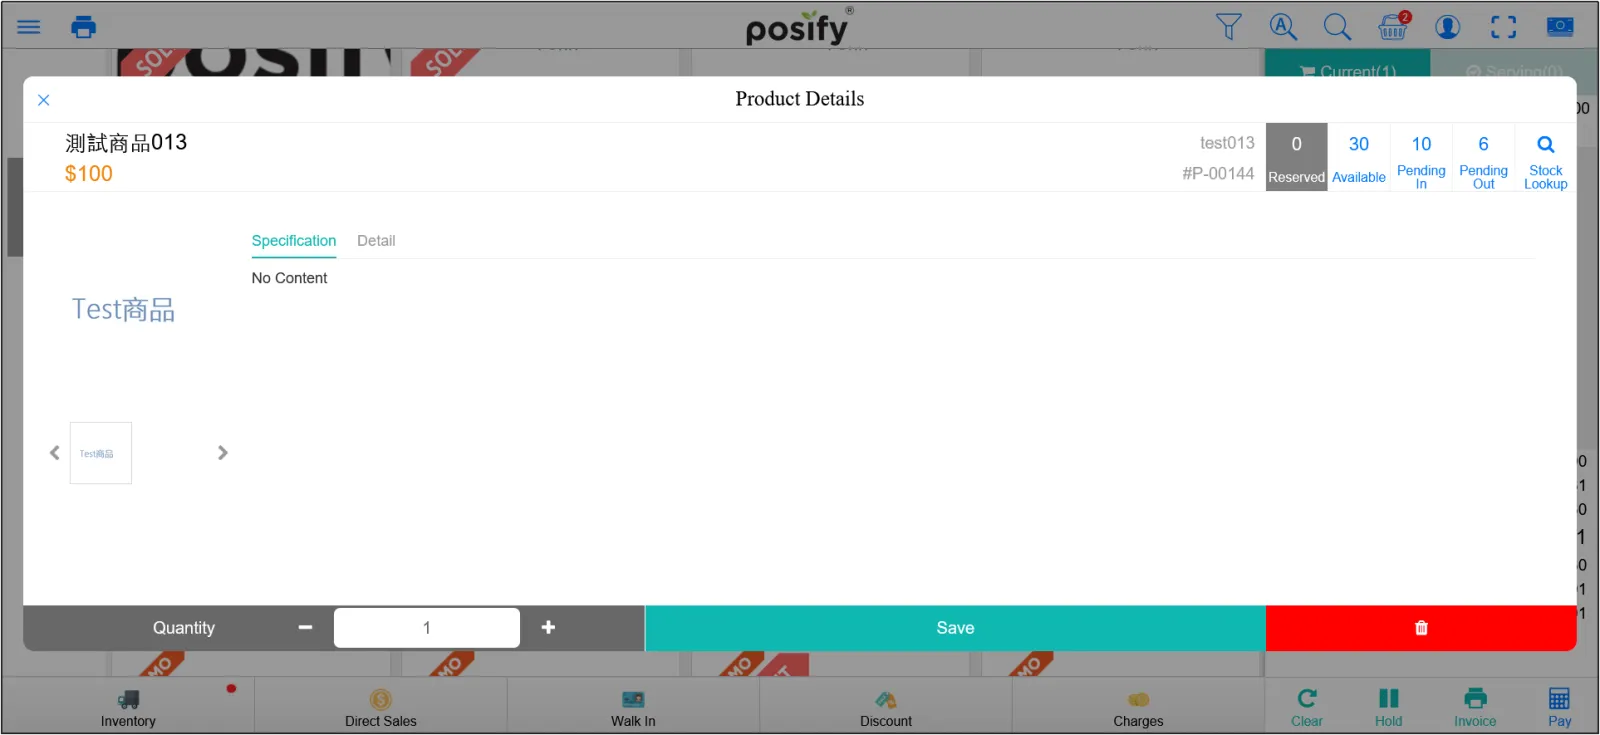
On the product detail page, you can view product specifications, details, pricing, inventory, and other information.
Enter the purchase quantity below and click [Save] to modify the purchase quantity, and click  to delete the product from the [Current Order] list.
How to use the shopping cart
Add items to your shopping cart
Click directly on the item to add it to your cart.
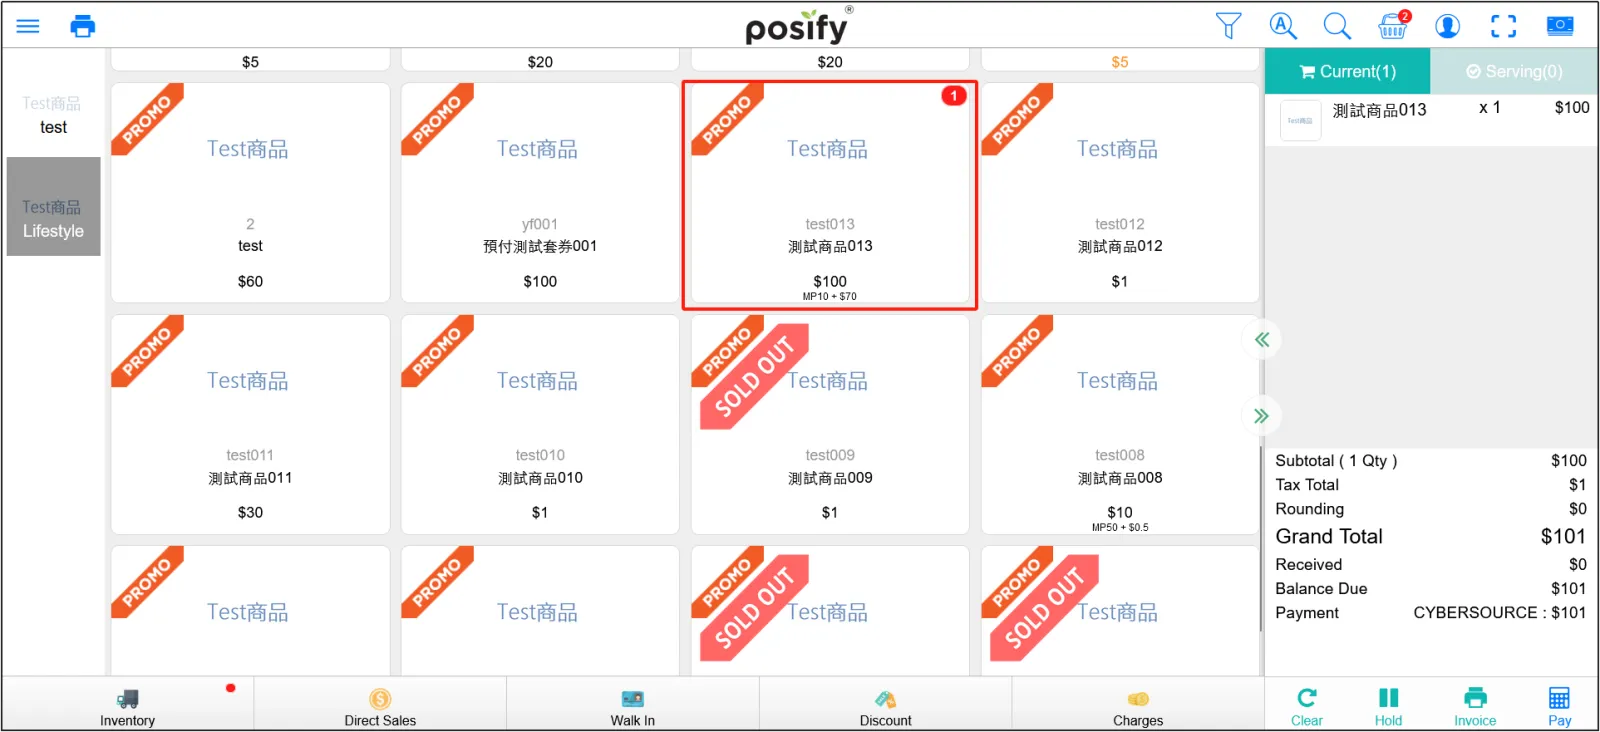
Or use the Bluetooth barcode scanner to scan the product barcode/QR code to add the product.
It is also possible to use the camera scanning function (the built-in camera of the tablet). This feature needs to be enabled before use.
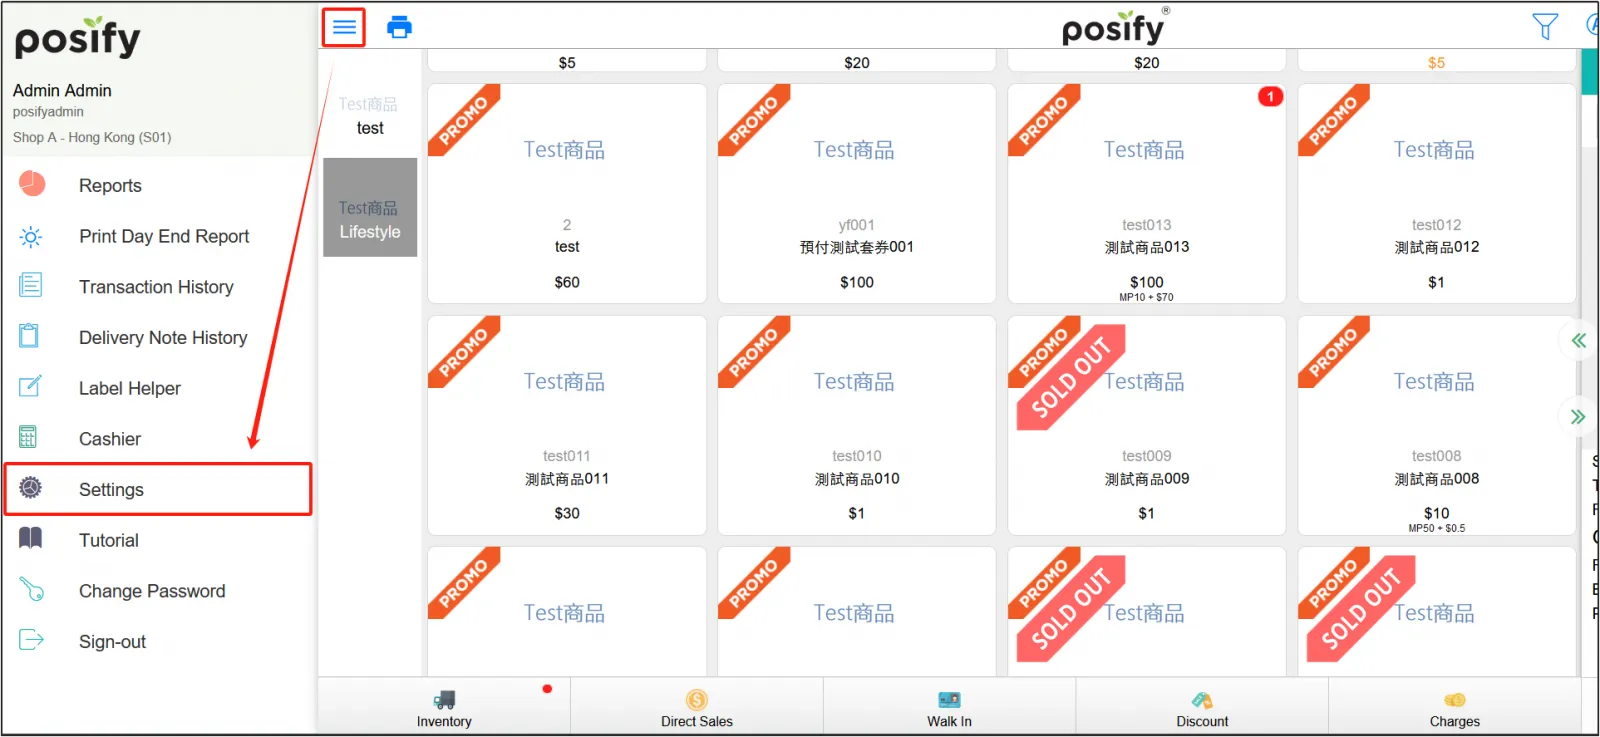
Open the POStap the three horizontal in the upper left cornerclick Settings.
Click the functionenable [Scan the QR code to add products].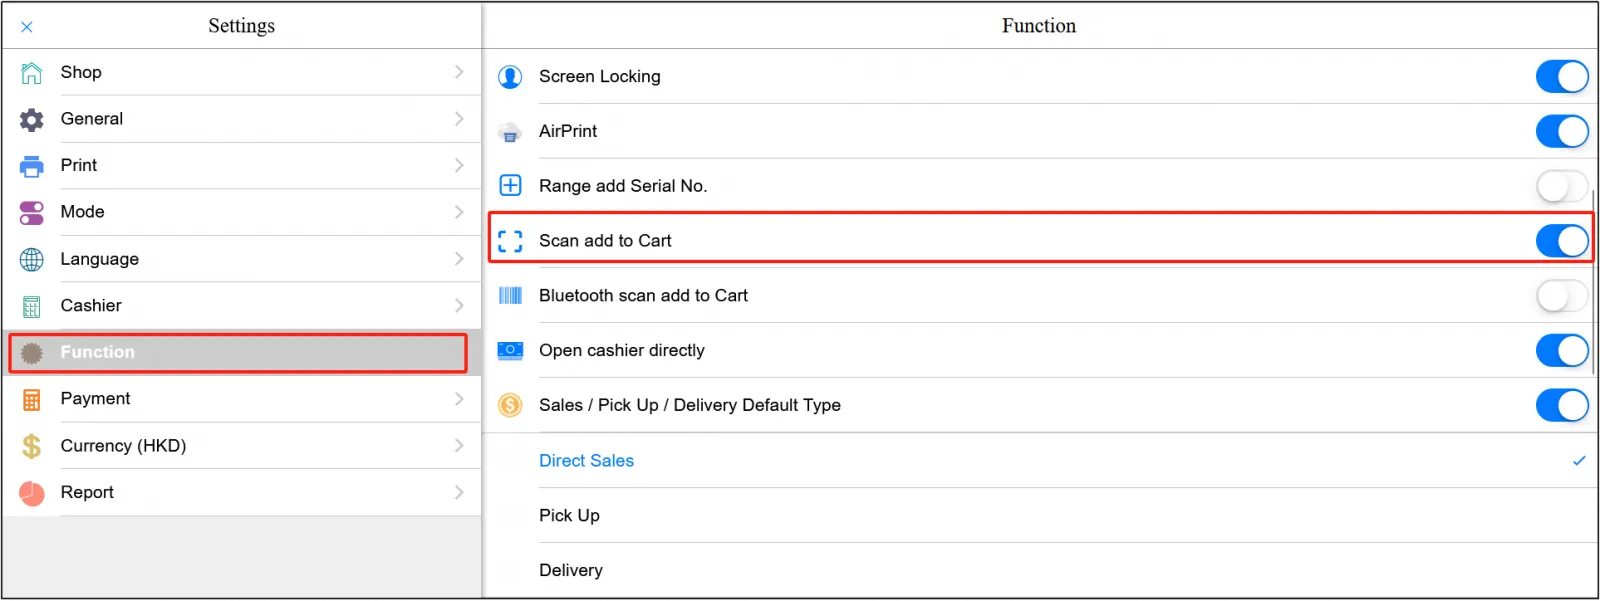
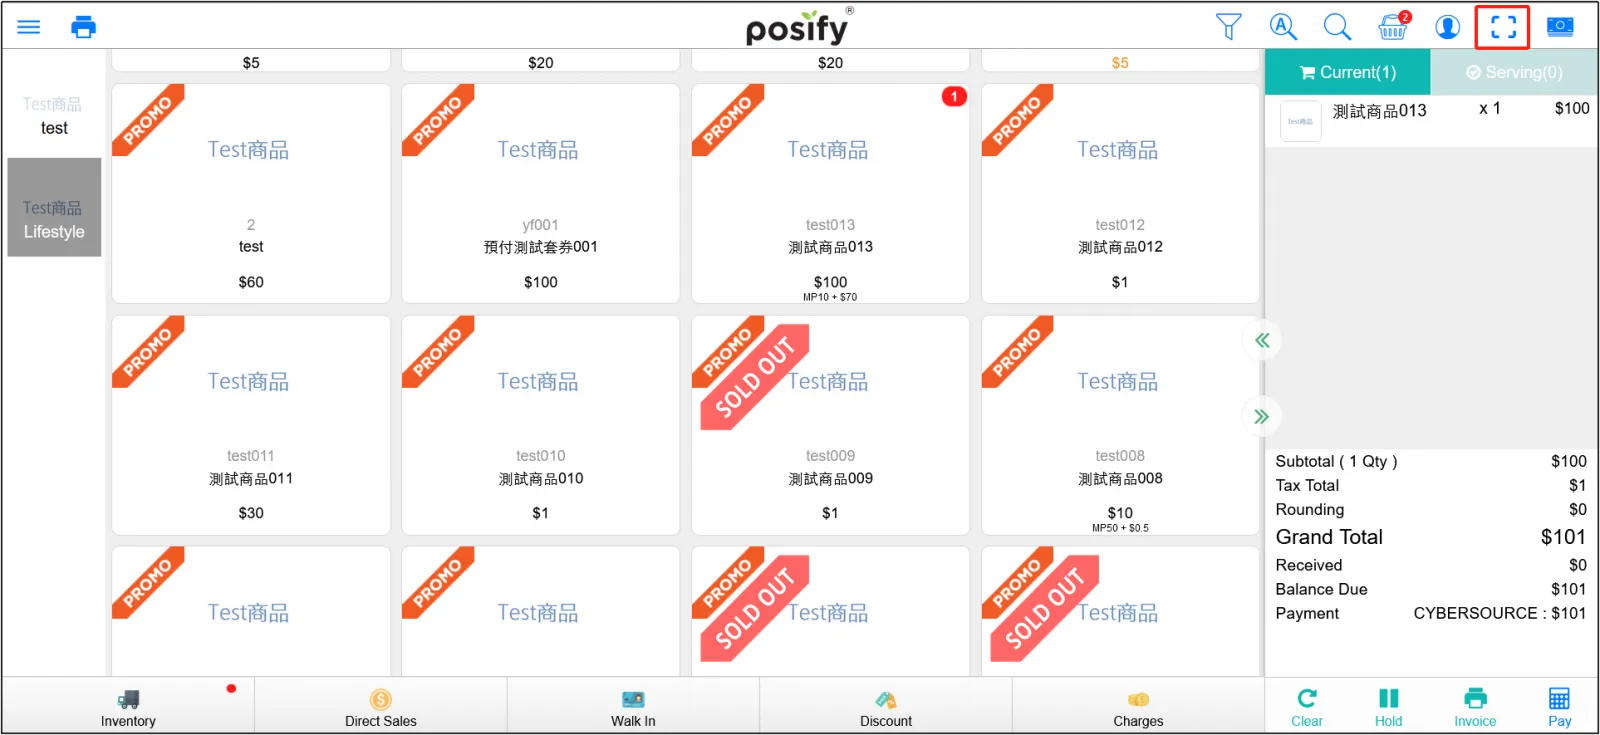
Back to the POS homepage, the camera scanning icon will be displayed in the upper right cornerclick to activate the built-in camera, and scan the product barcode/QR code to add the product.
If the inventory of the product is insufficient, [Out of stock] will be displayed and the product detail page will pop up. Click "Search" to check the stock status of the product at other locations/stores.
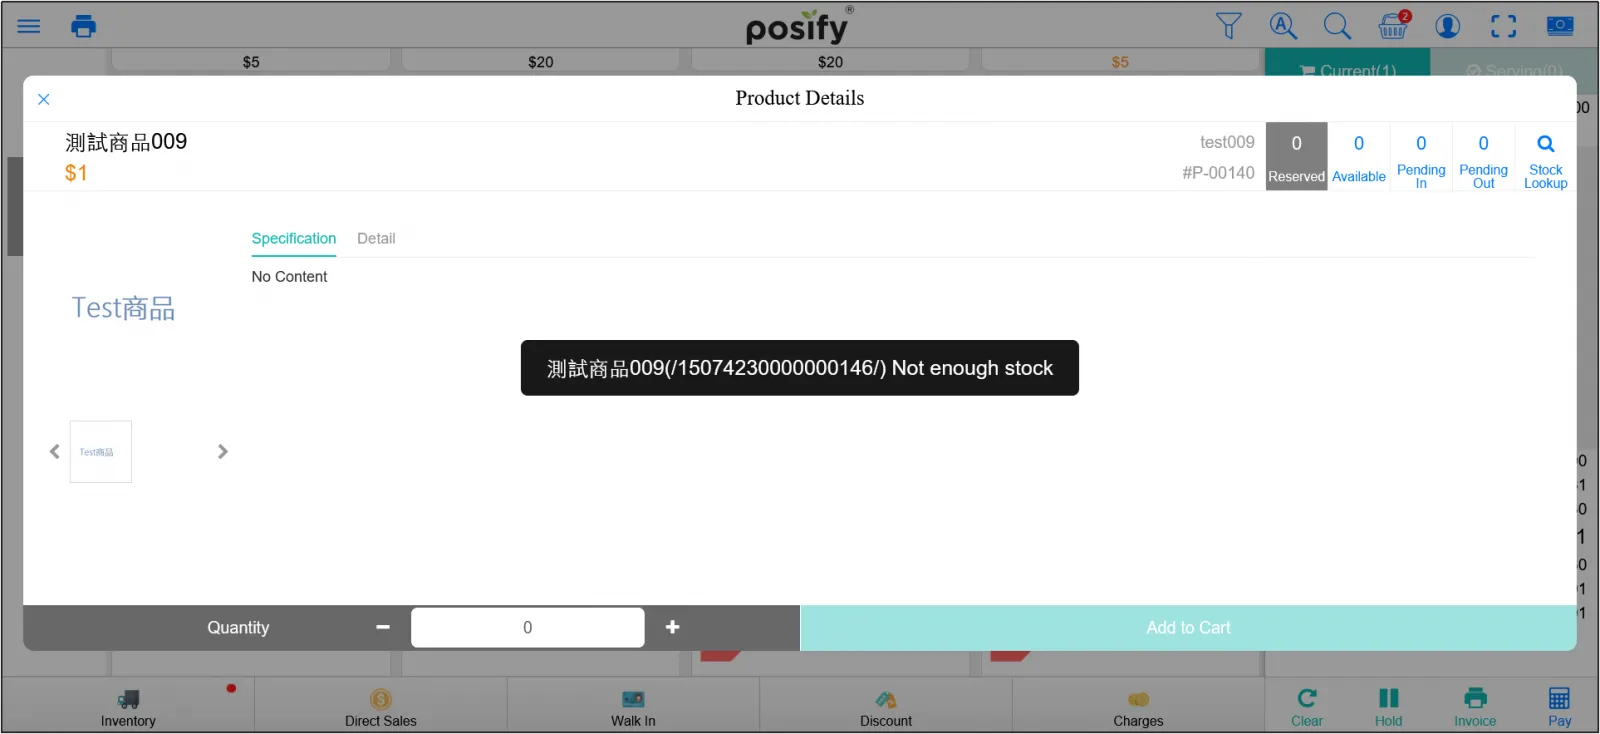
After opening the page, the inventory status of the product in all stores will be displayed, [To be stocked] means that the stock has been arranged/replenished, but it has not been officially warehoused; [To be shipped] means that the goods have been arranged or the customer has booked, but the goods have not yet been shipped; [Remaining] represents the current available quantity of the product in the store.

Click [Reservation] on the right to reserve inventory at other locations/stores by pickup or delivery. For details, see the playbook-POS order process of the order module.
View the items in your shopping cart
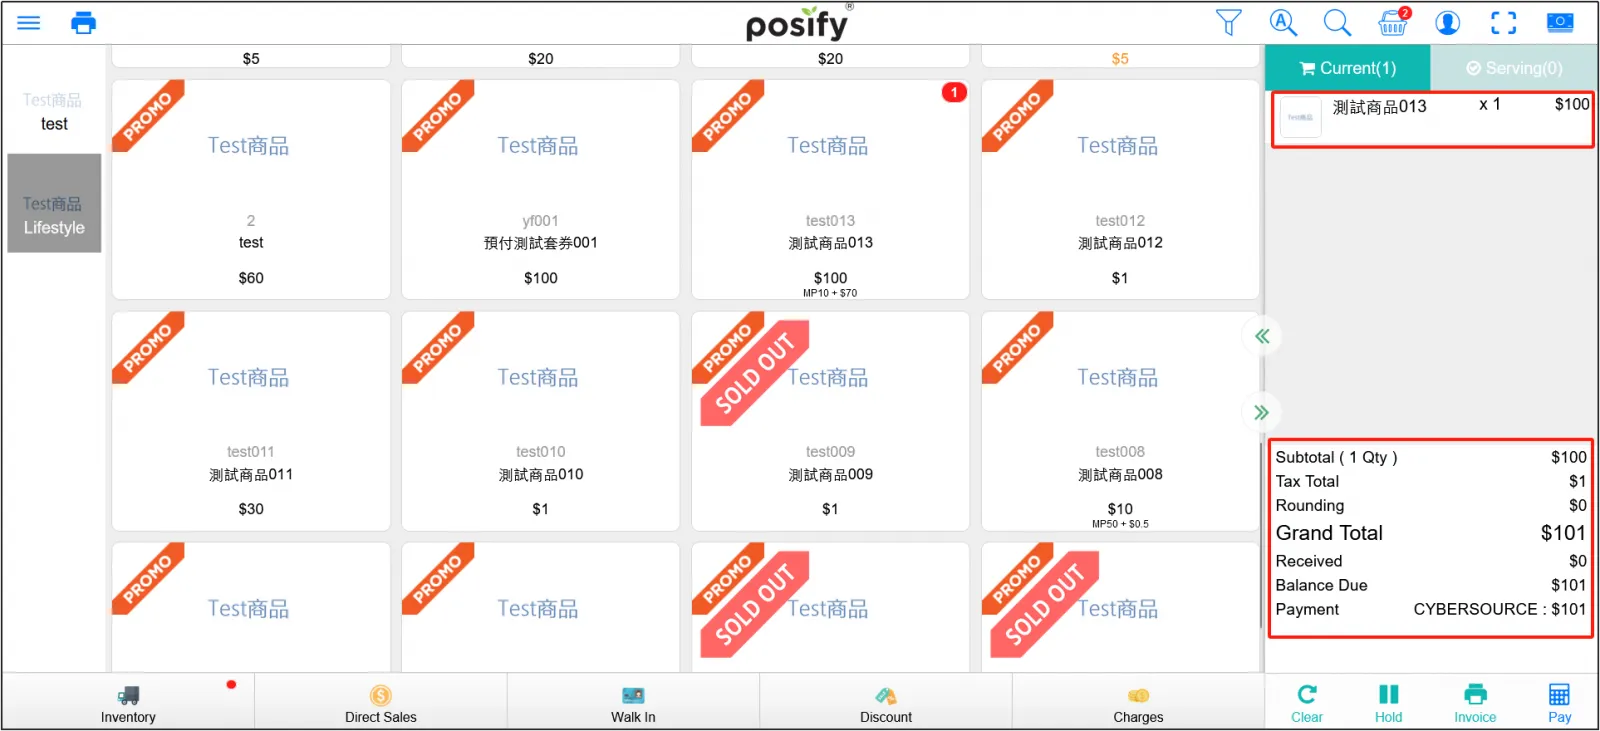
In the shopping cart on the right, you can view the details of your current order, including the items in the current order at the top and the amount due at the bottom.
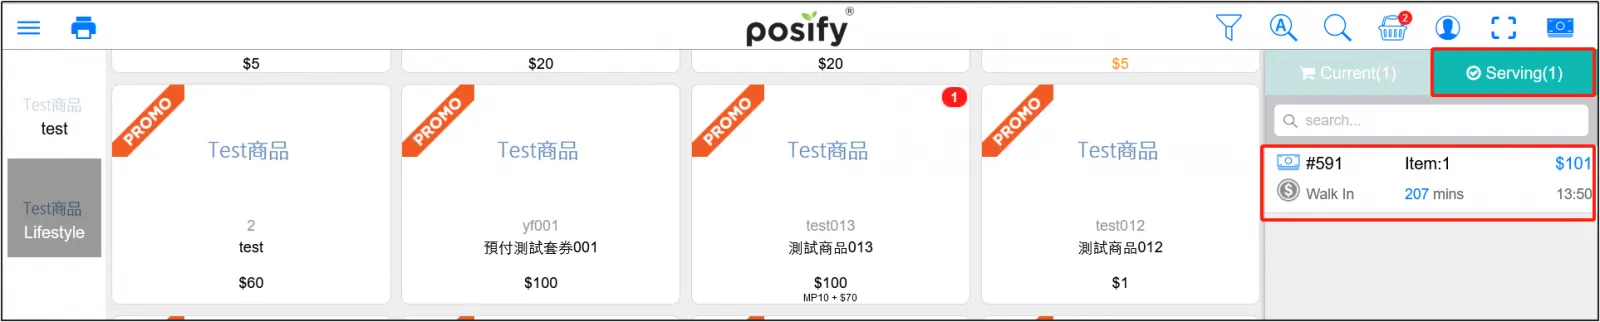
Click [serving] to view the orders that are being served.
Modify the number of items in the cart
The number of items in the shopping cart can be increased by clicking on the items multiple times.
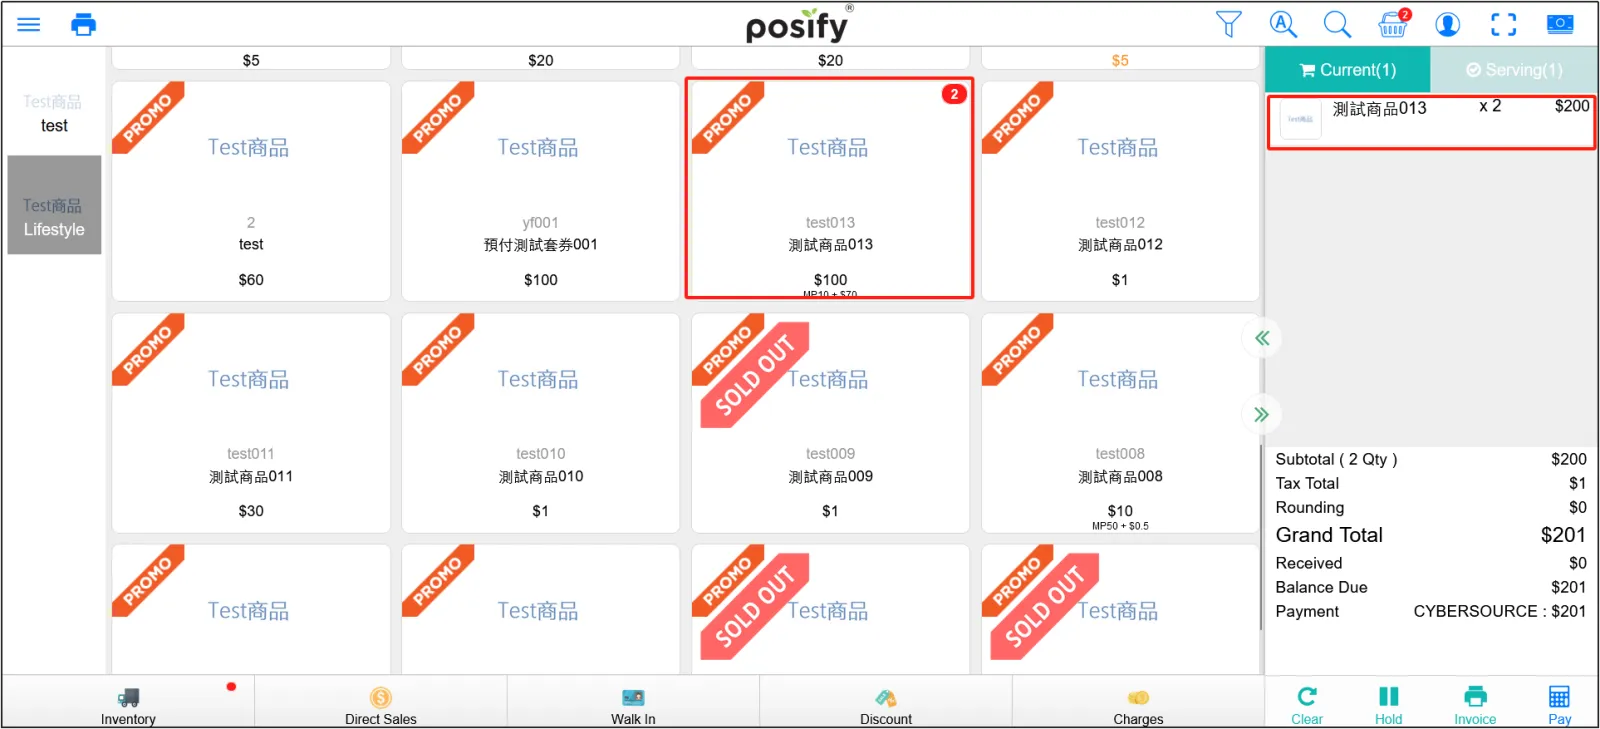
Alternatively, click the items in the shopping cartopen the product details pagemodify the number of items in the lower left cornerclick "Save".
Delete the items in your shopping cart
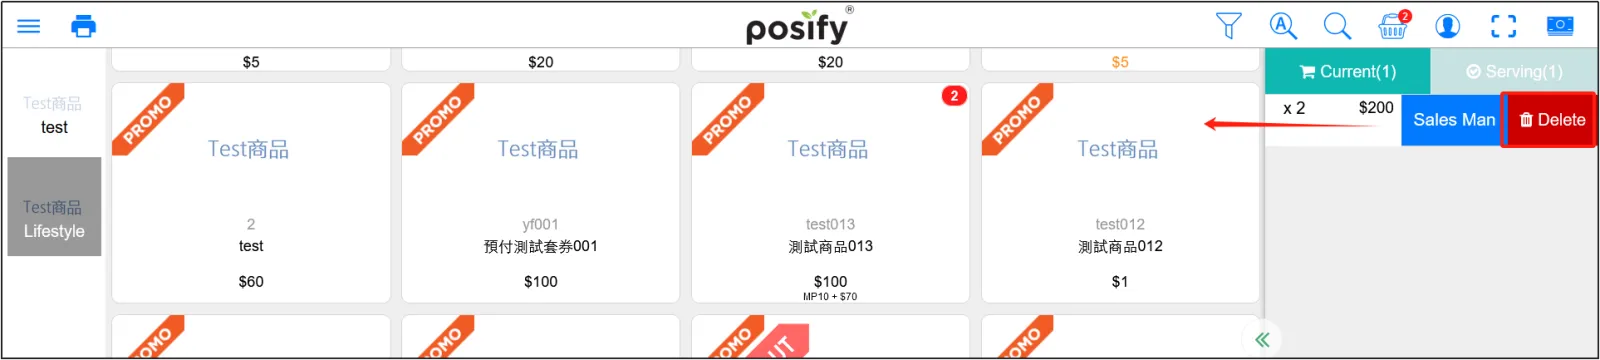
Touch and hold the item and swipe leftclick "Delete" to delete the product.
Modify the selling price and discount of an individual product
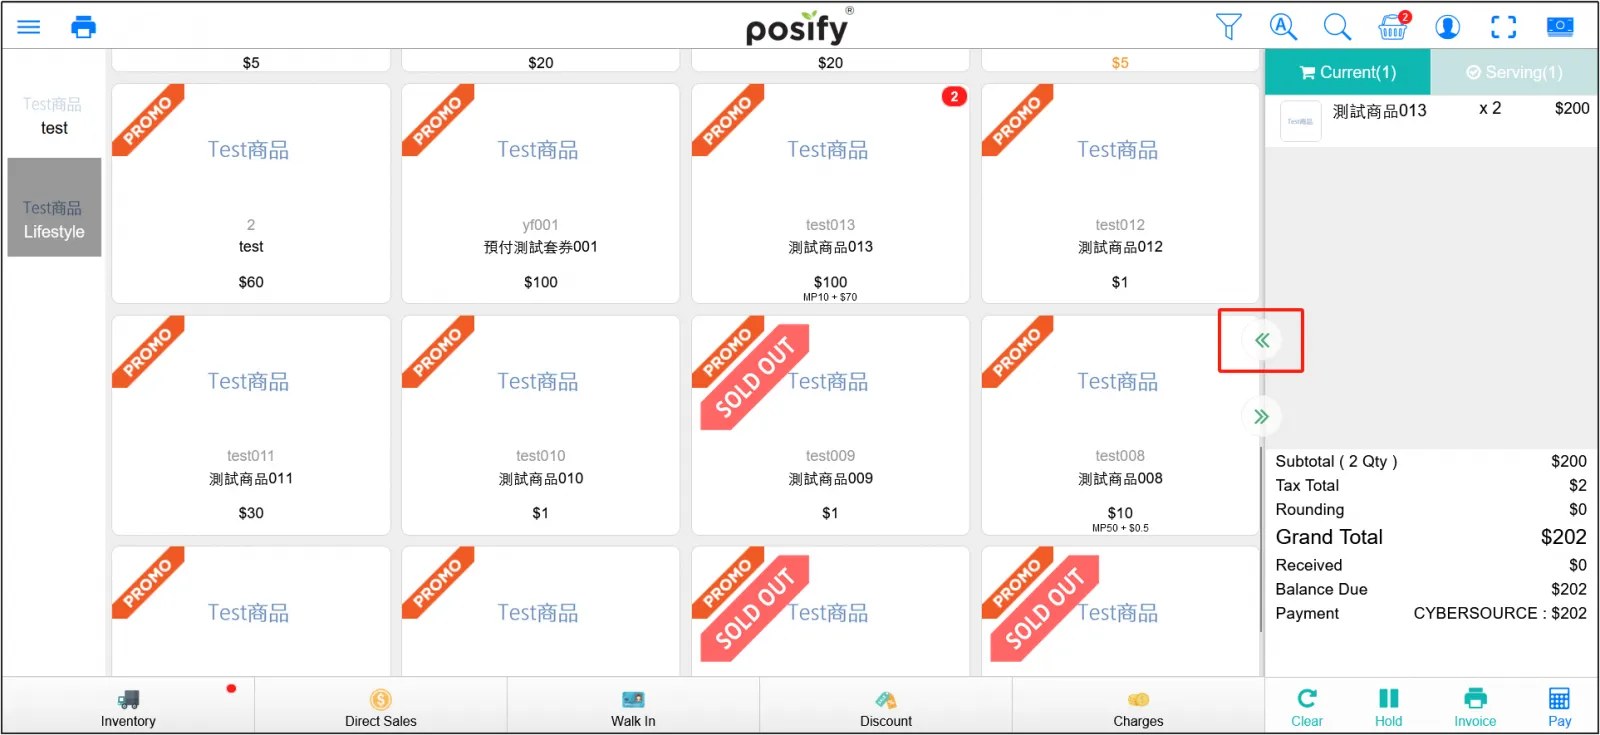
Click the left arrow [《 ] to expand [Current Order].
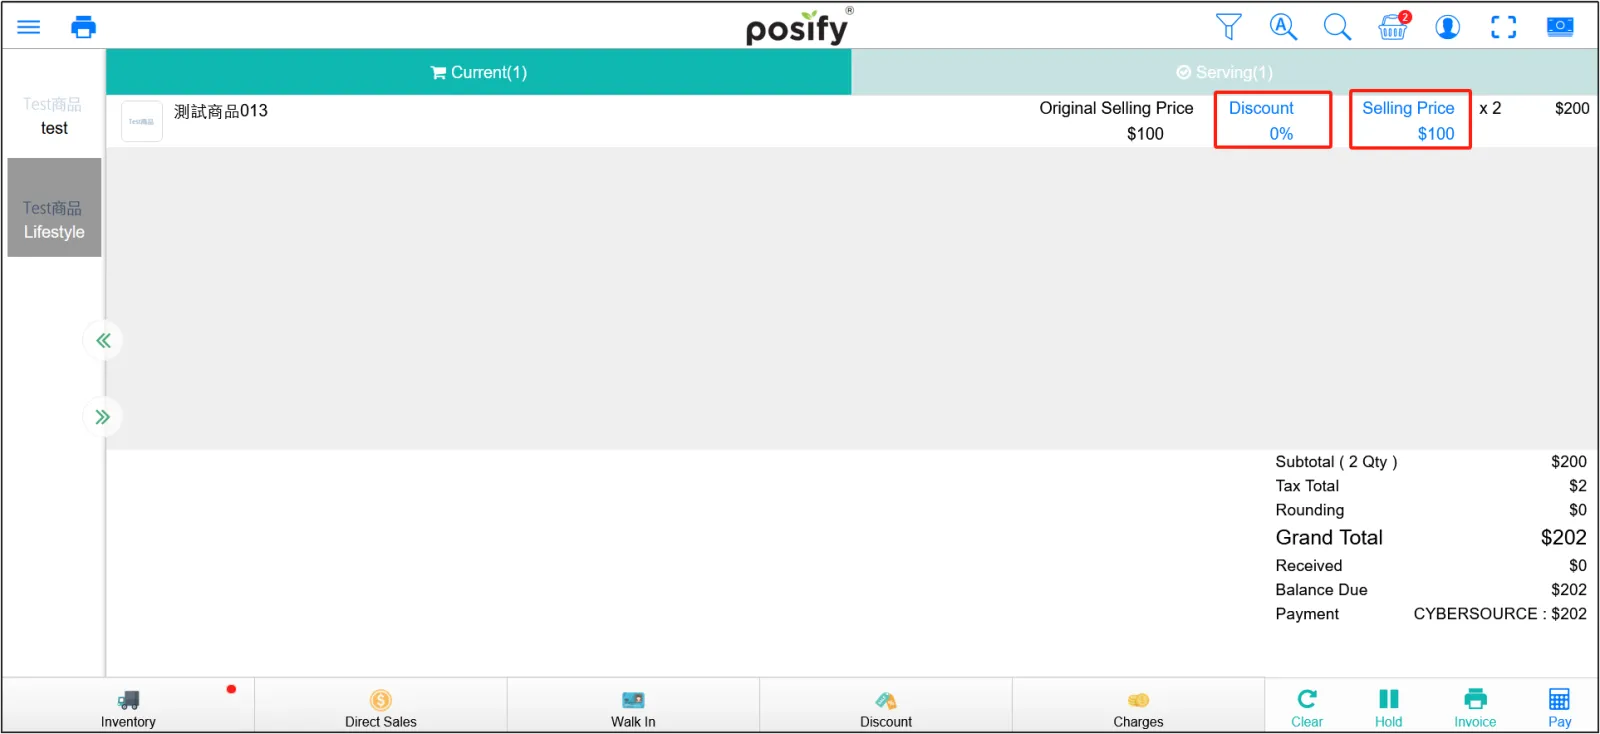
Click [Discount] on a product to change the discount for that product, and click [Selling Price] to change the price of that product.
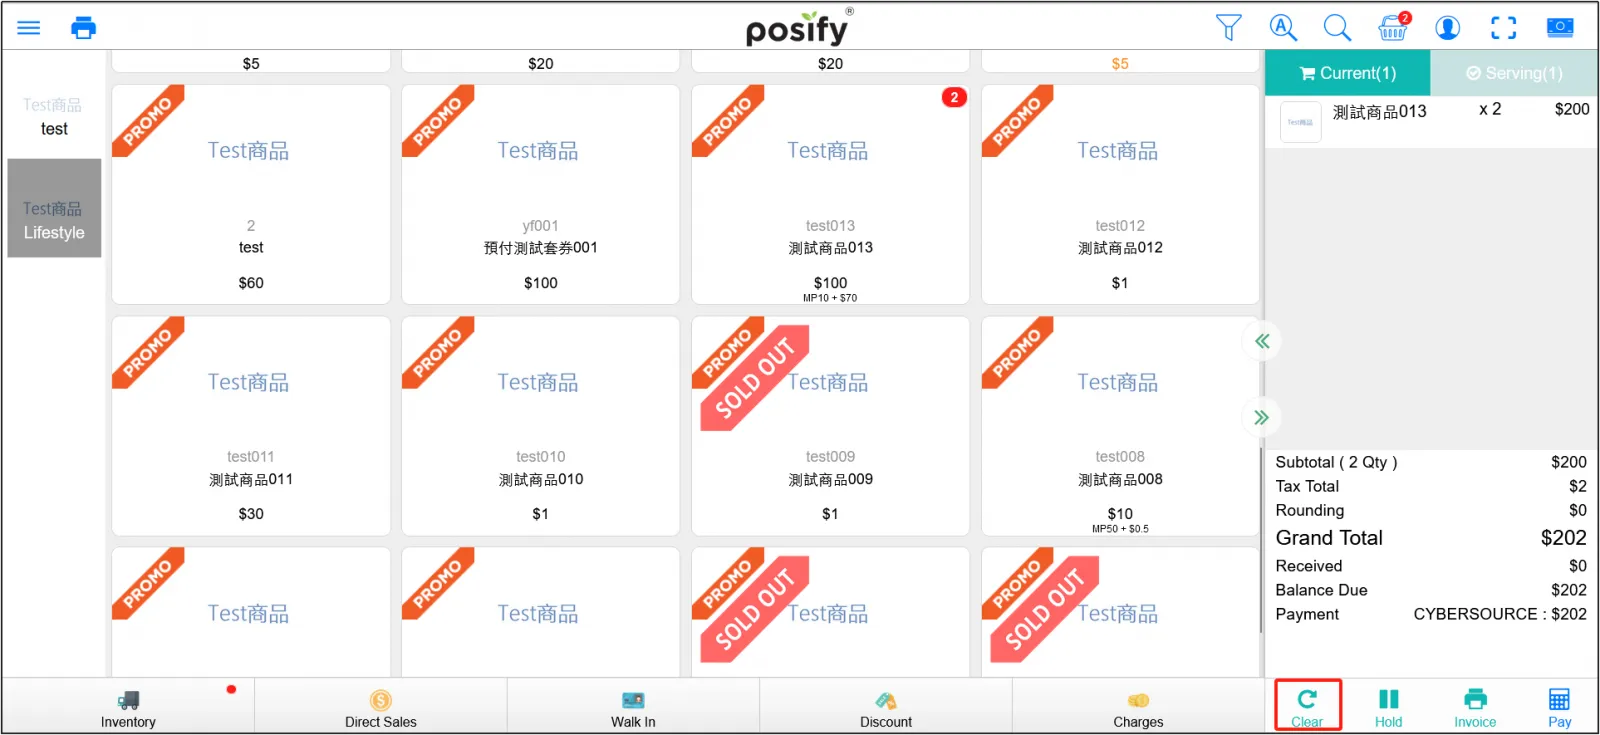
Click [Clear] at the bottom of the shopping cart on the right to clear the entire shopping cart.
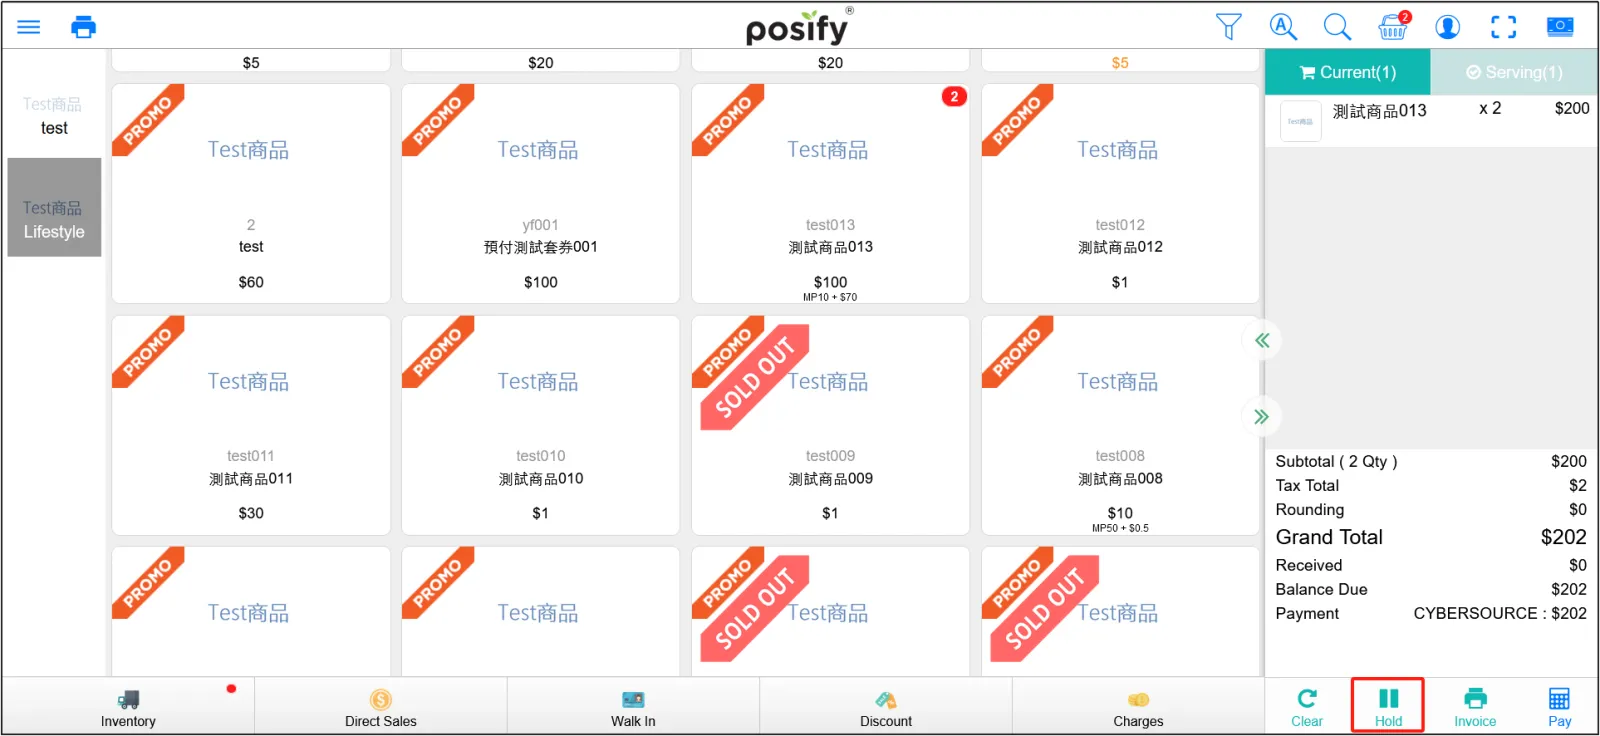
Click [Staging] below the current order on the right to temporarily save the current order, and the staging order will be displayed in the "In Service" list.
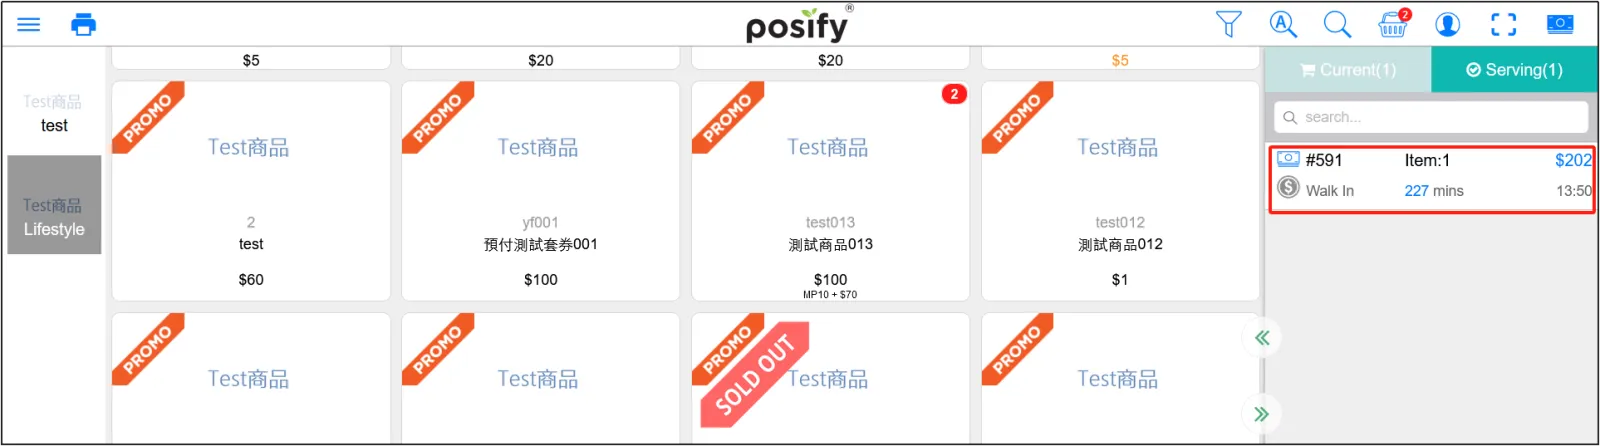
After staging, click [Serving] to view the orders in the current service, and click the order to reopen the staged order.
Membership features
Turn on the membership feature
Before using the membership function, you need to enable the membership function first, and the method of activating it is as follows:
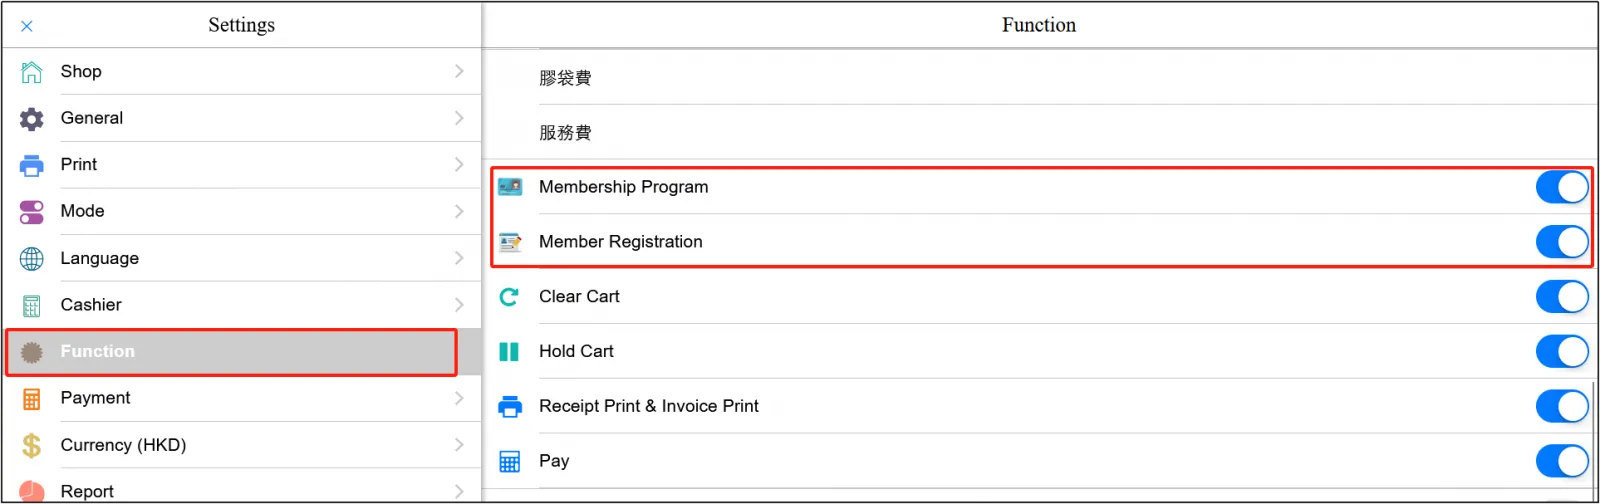
Open the POStap the three horizontal in the upper left cornerclick Settings.
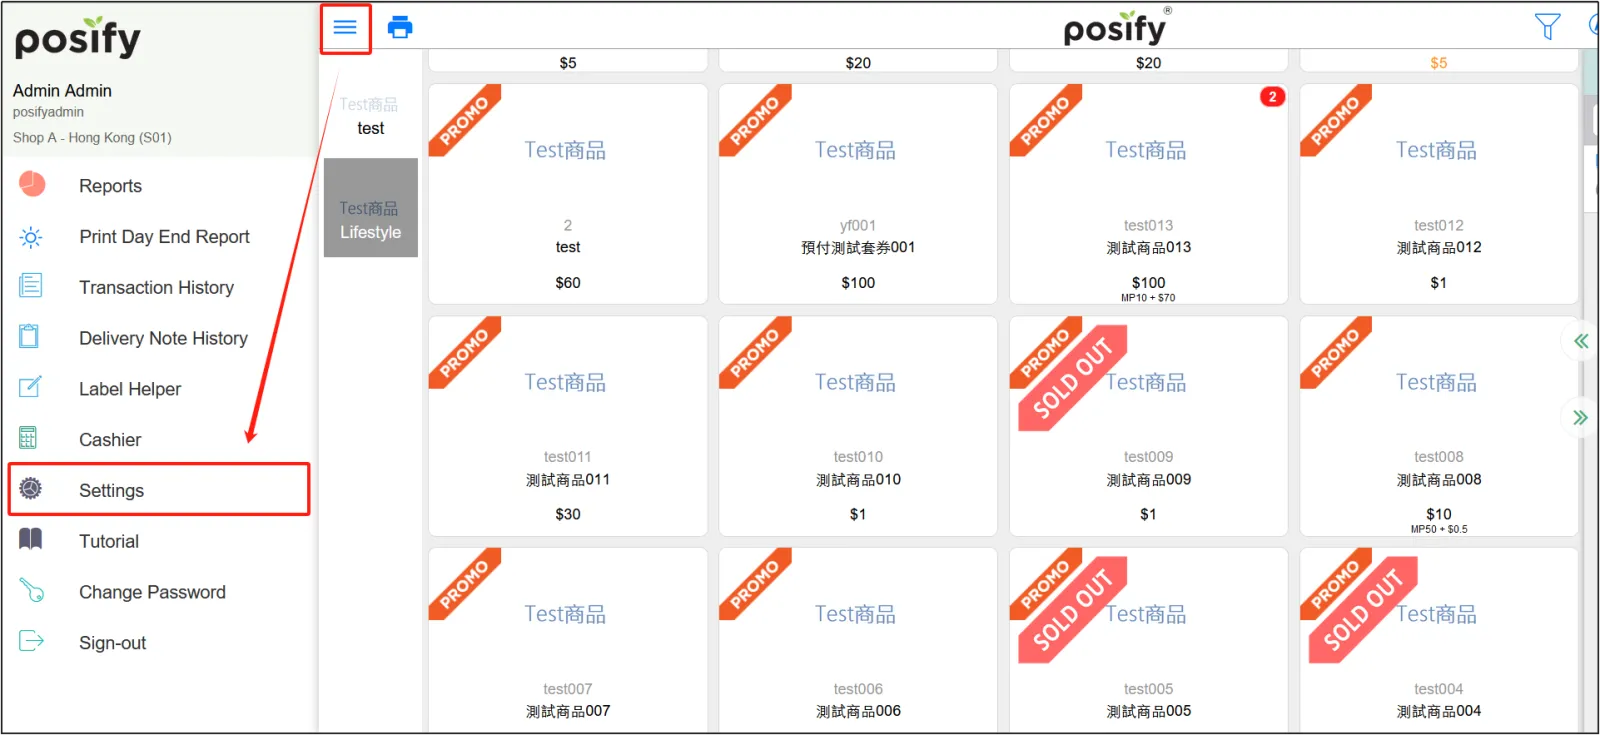
Click the functionenable [Membership System] and [Membership Registration].
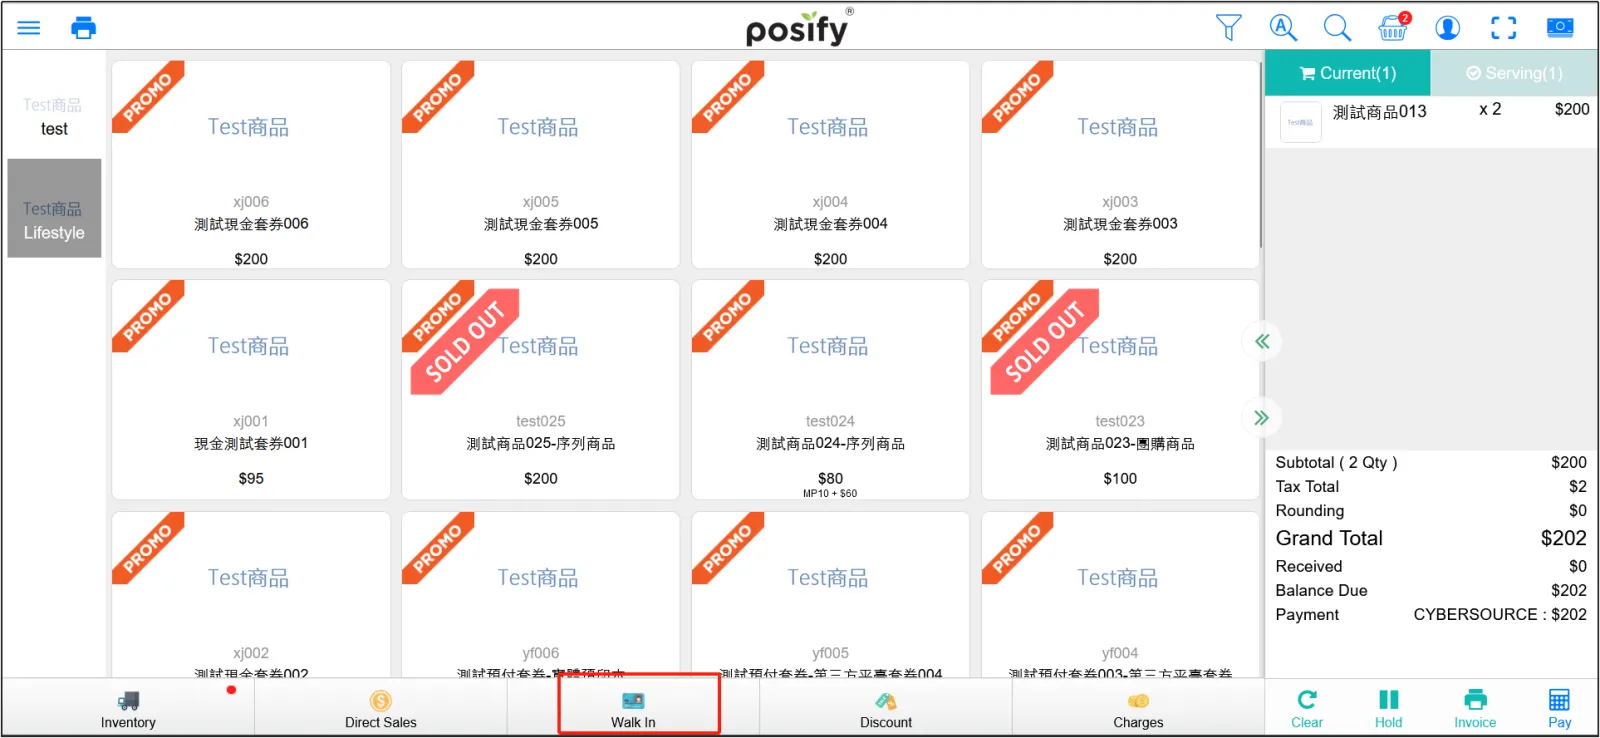
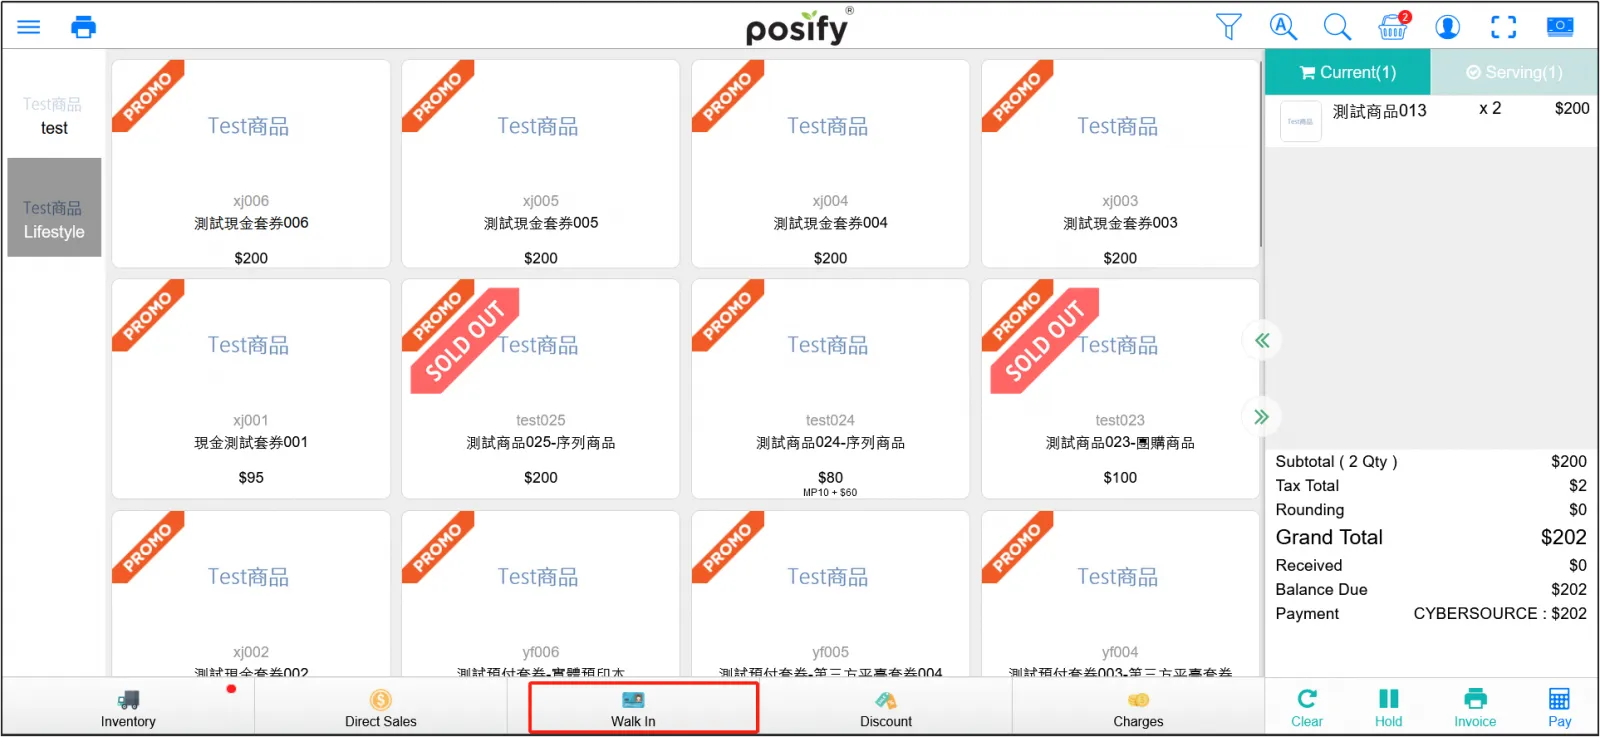
Click [Visitor] below.
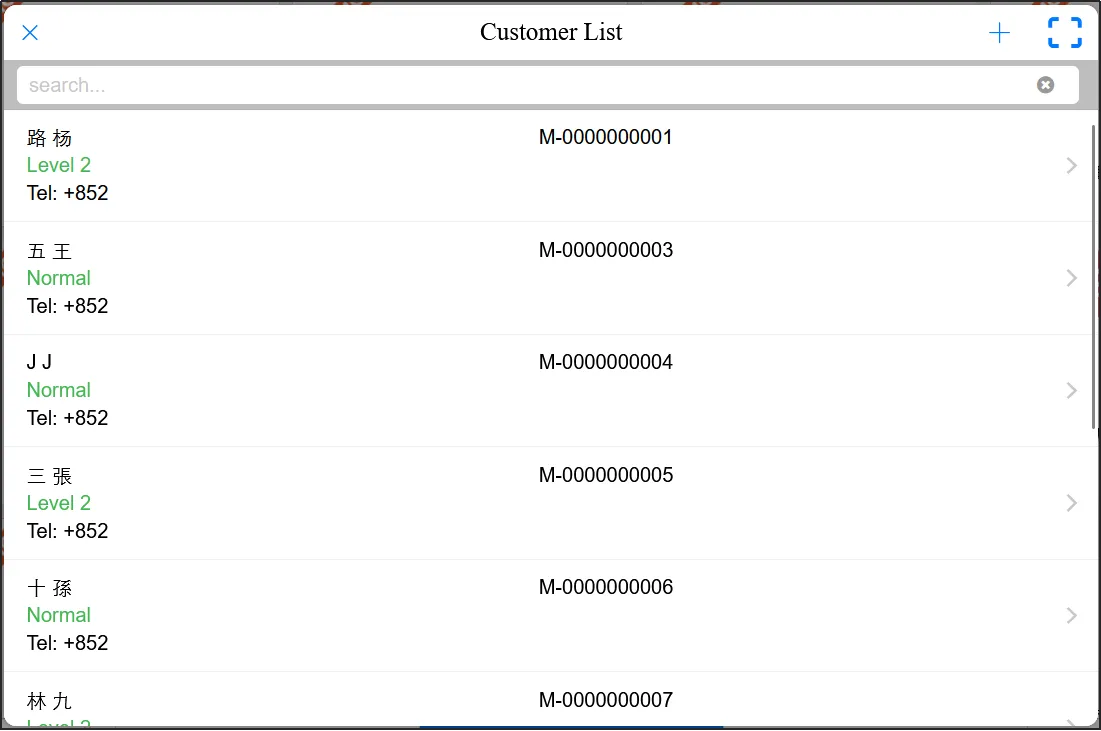
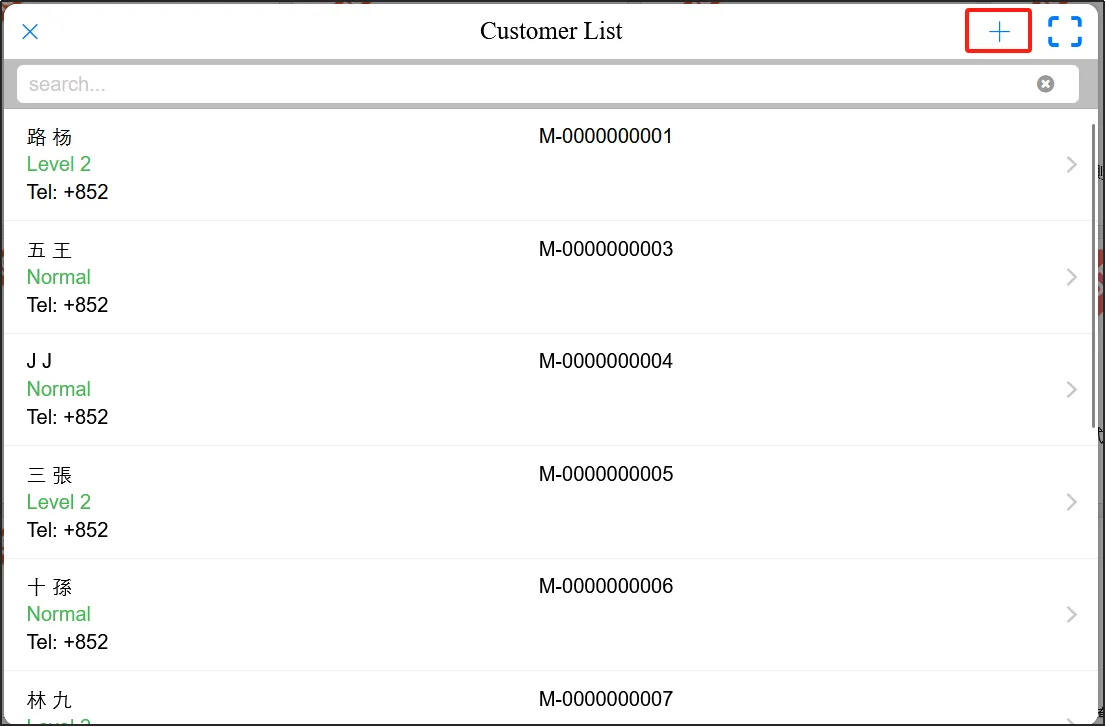
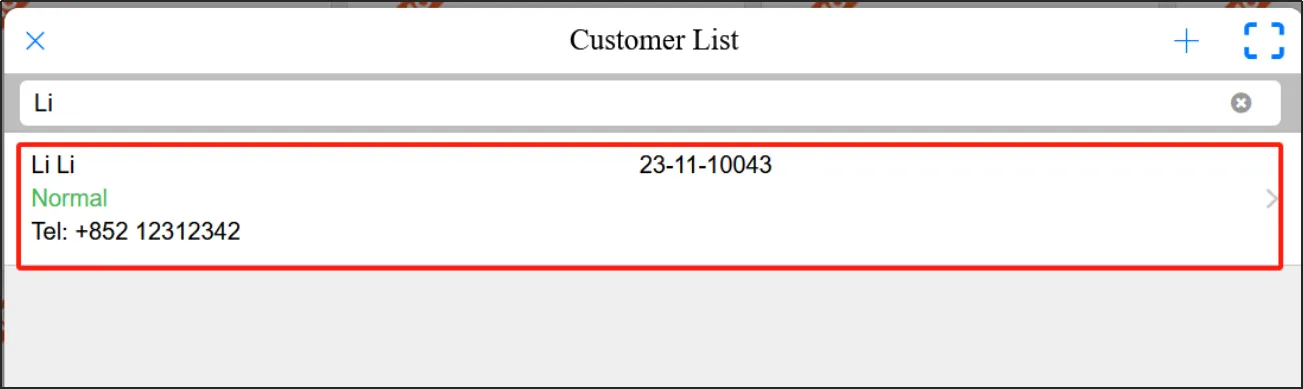
Search for and click Select the customer's membership in the list of customers.
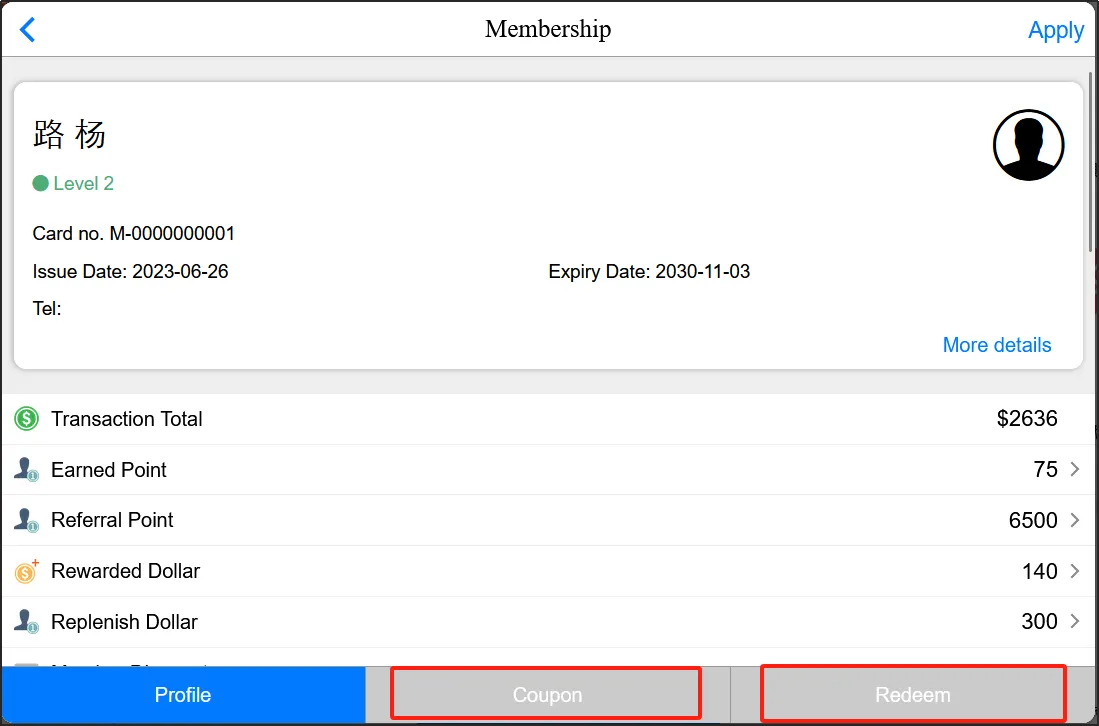
Click [Coupon] below to select the coupon owned by the member, and click [Exchange] to exchange the member's points for Cash Dollars.
After selecting a membership, click "Use" in the upper right corner to use the membership to make purchases, and the system will automatically update the order according to the membership benefits. For more information on how to set up and use specific membership benefits, please refer to the playbook under the membership module.
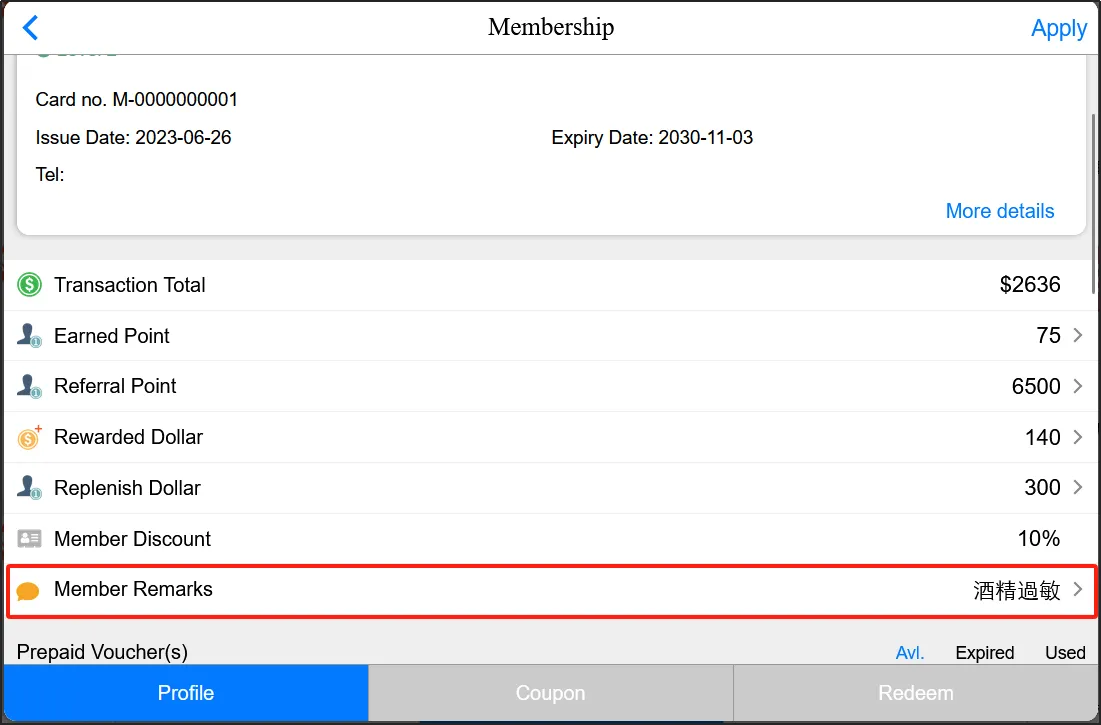
If a member has a special situation, you can open the member informationclick [Member Remarks]comment on the member's situation.
Click [Visitor] below.
Click [+] in the upper right corner of the customer list.
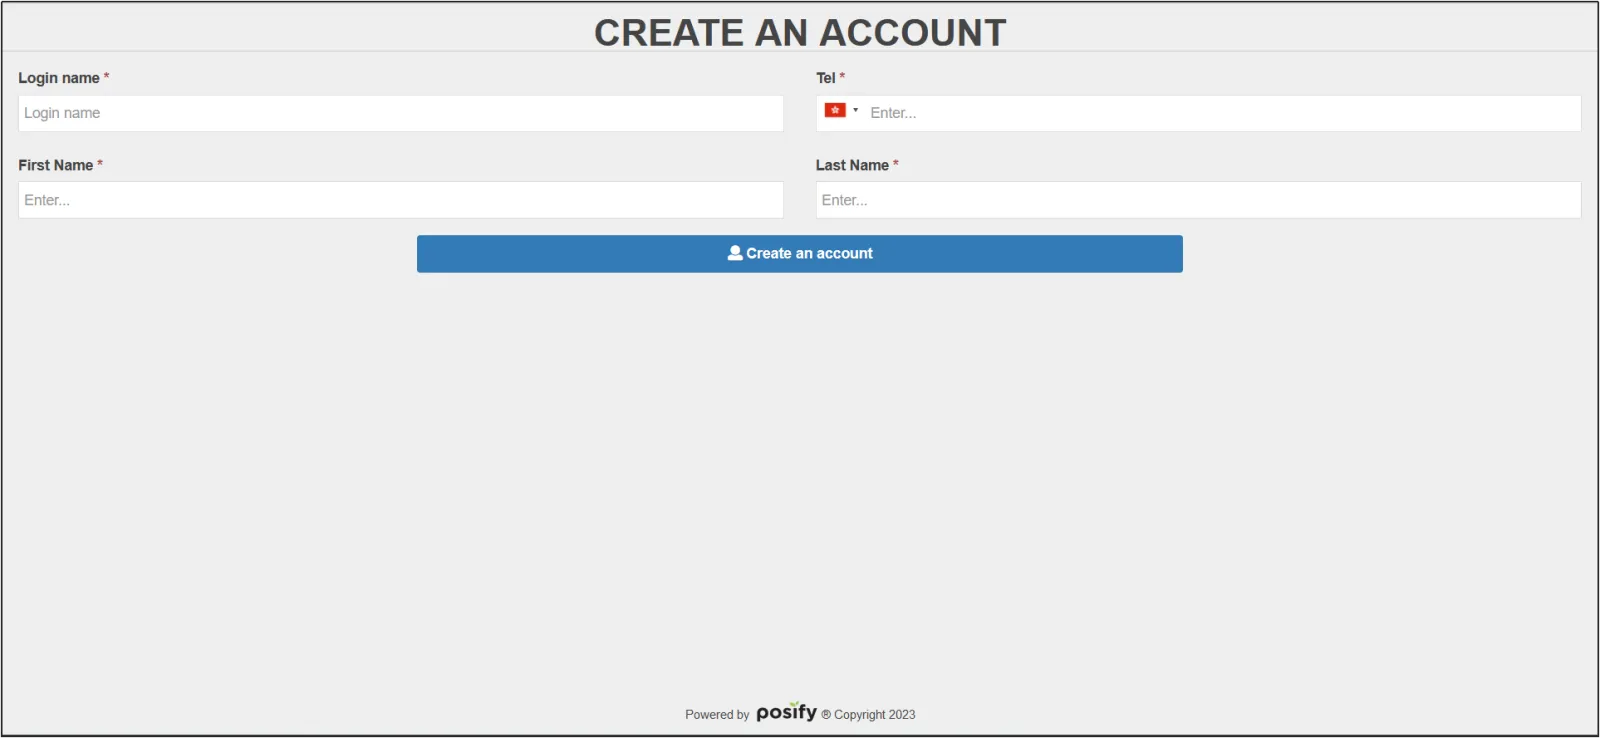
The member registration page will pop up, fill in the informationclick [Member].
The words "successful registration" are displayed, which means that the registration is completego back to the POS, reopen the customer list, and you can see the newly registered members.
View the delivery order history
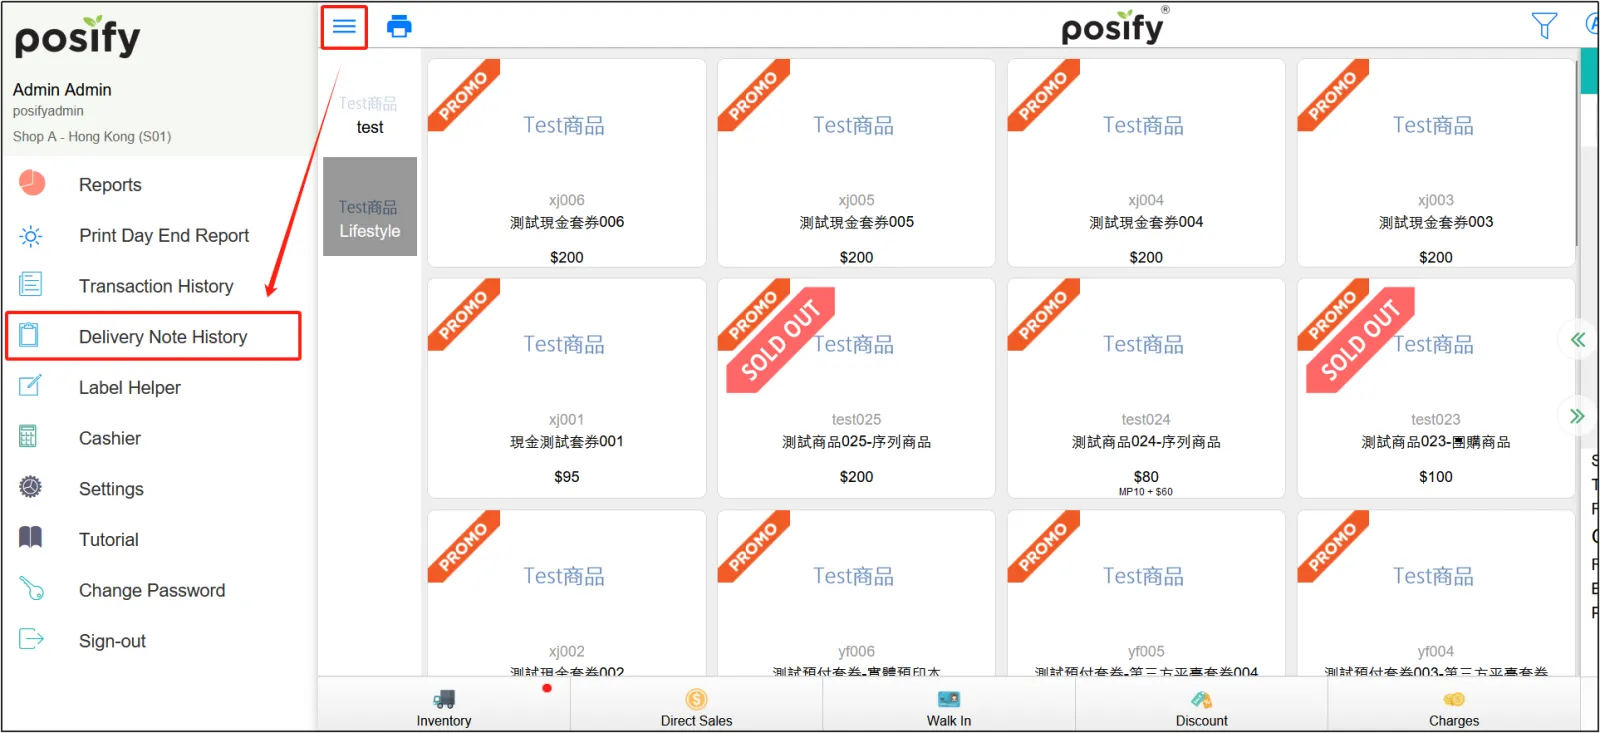
Open the POSclick on the three horizontal lines in the upper left cornerclick on the delivery note record.
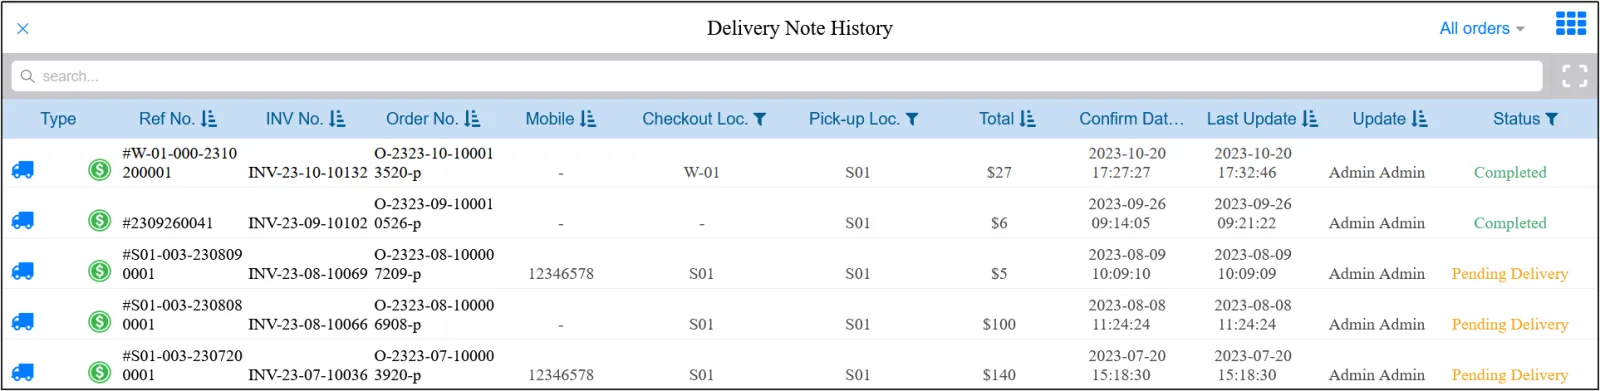
To view past delivery note records.
Understand the entire order process as well as the return and exchange process
For details, please refer to the playbook-POS order process, POS refund and exchange under the order module.