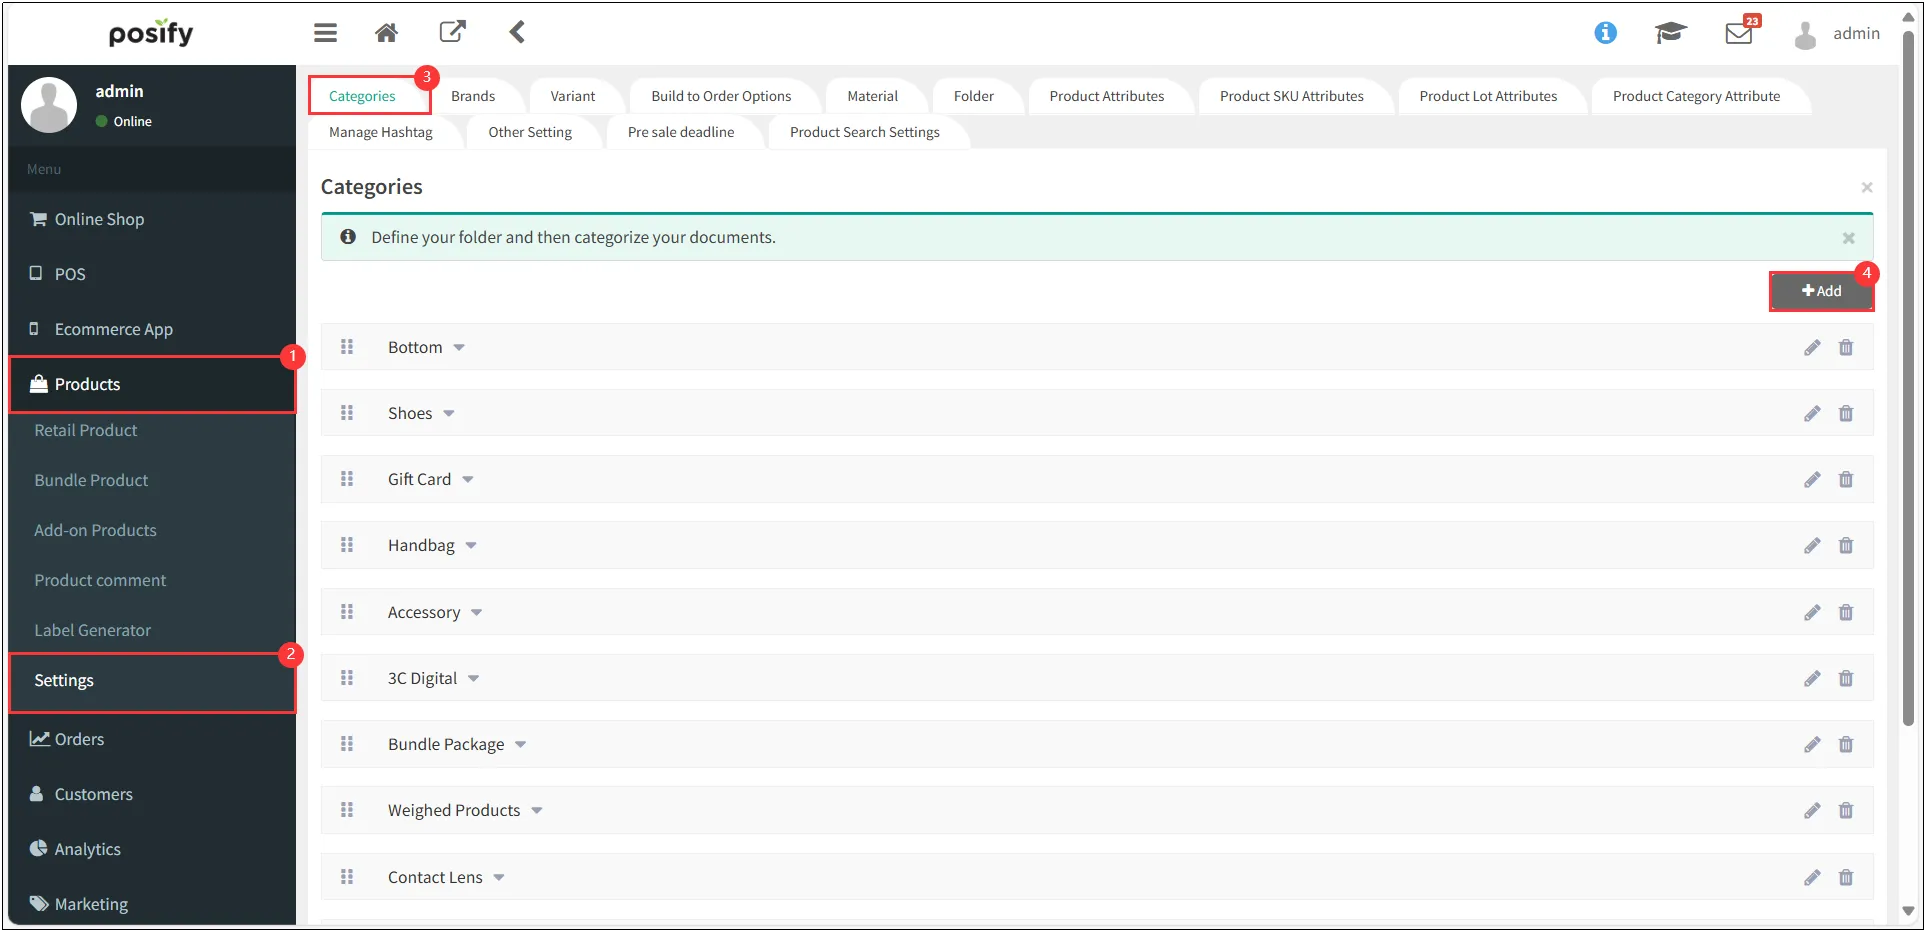
Add Category
Open CMS click Productsclick SettingsClick on the Categories tabclick [Add] in the upper right corner.
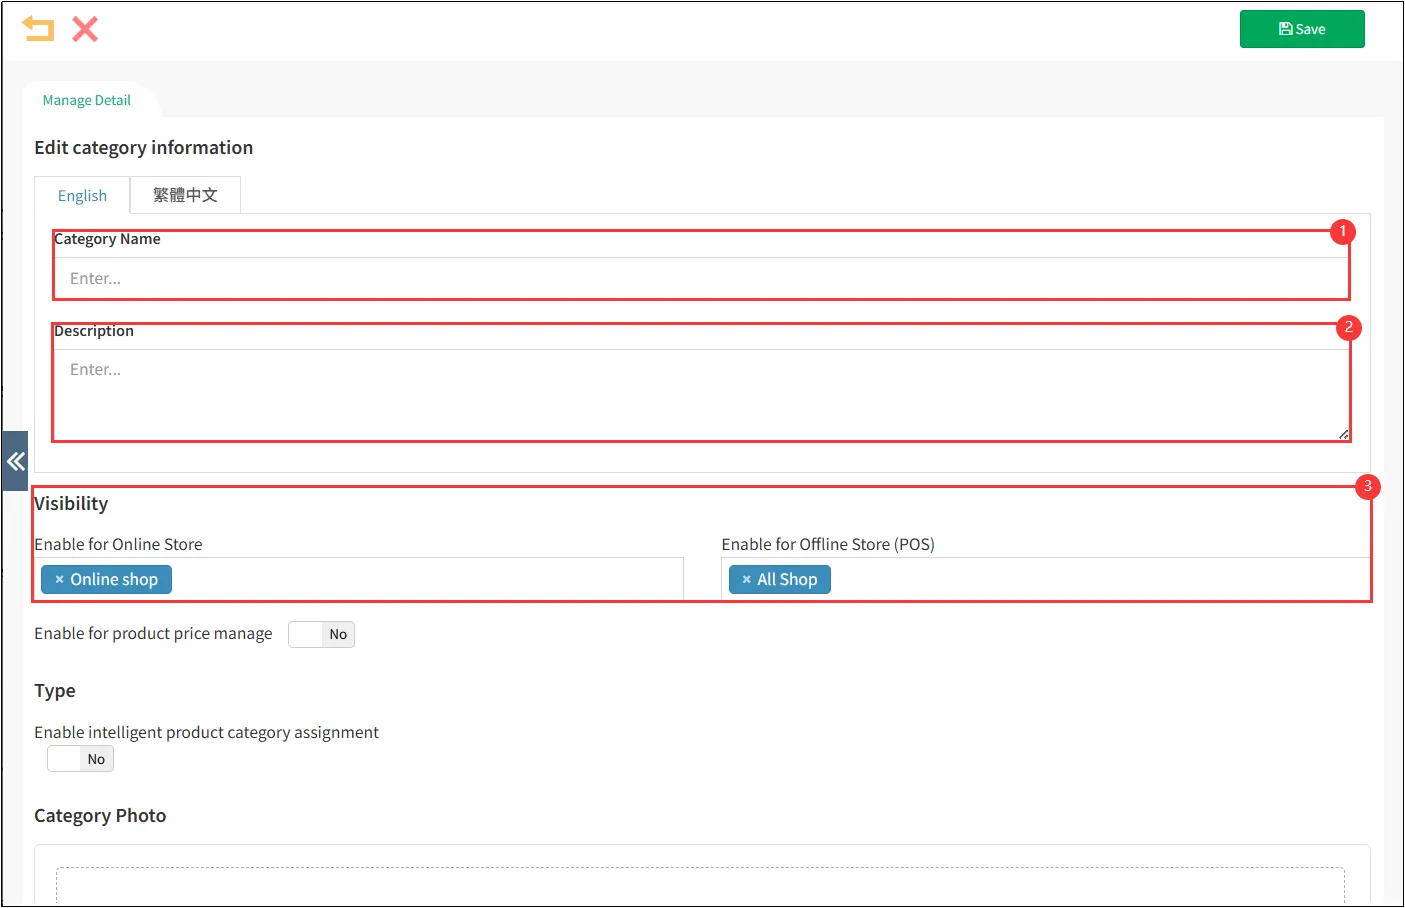
Enter the Category Name and DescriptionSelect the display range for categories
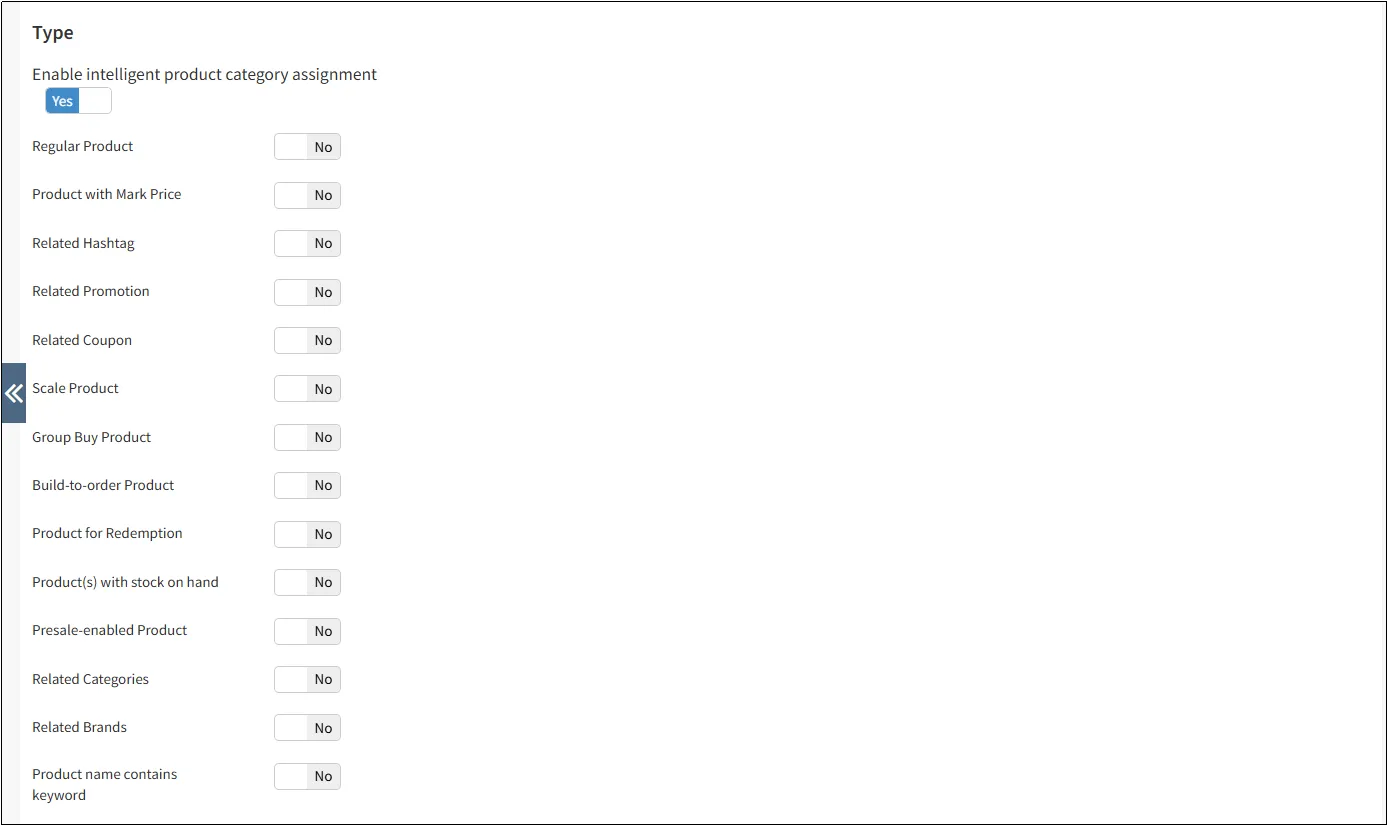
In addition to general product categories, some special categories can use smart product categories without the need for manual classification.
click [Enable intelligent product category assignment]Then select the desired smart category.
For example, if you select [Regular Product], all products sold at the original price will be automatically assigned to that category. If the product is set for sale, it will be automatically removed from the category.
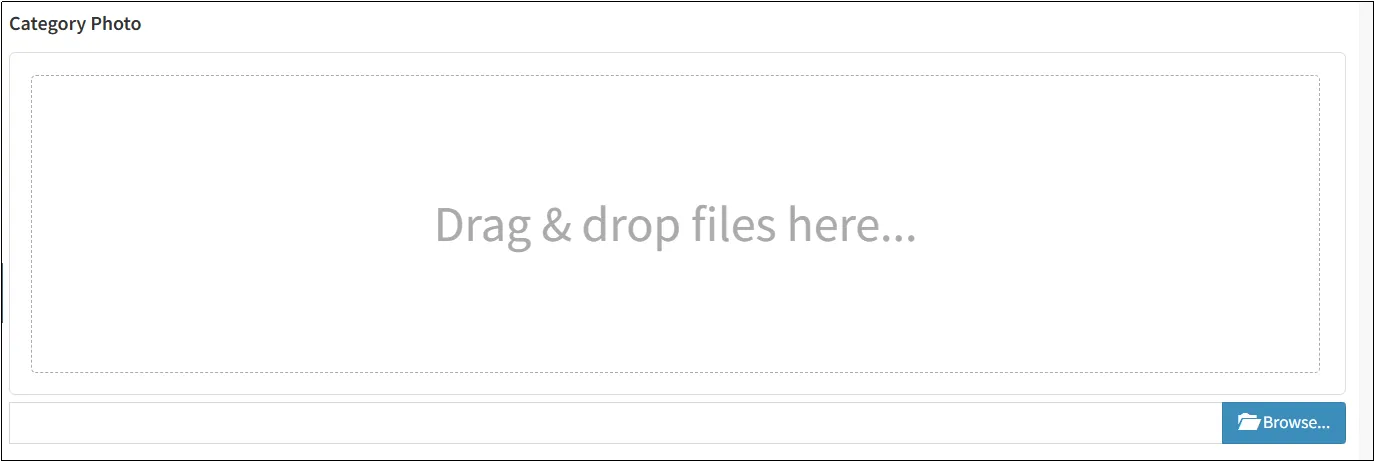
Click Browse... to upload a category image.
After completing the setup, click [Save] in the upper-right corner.
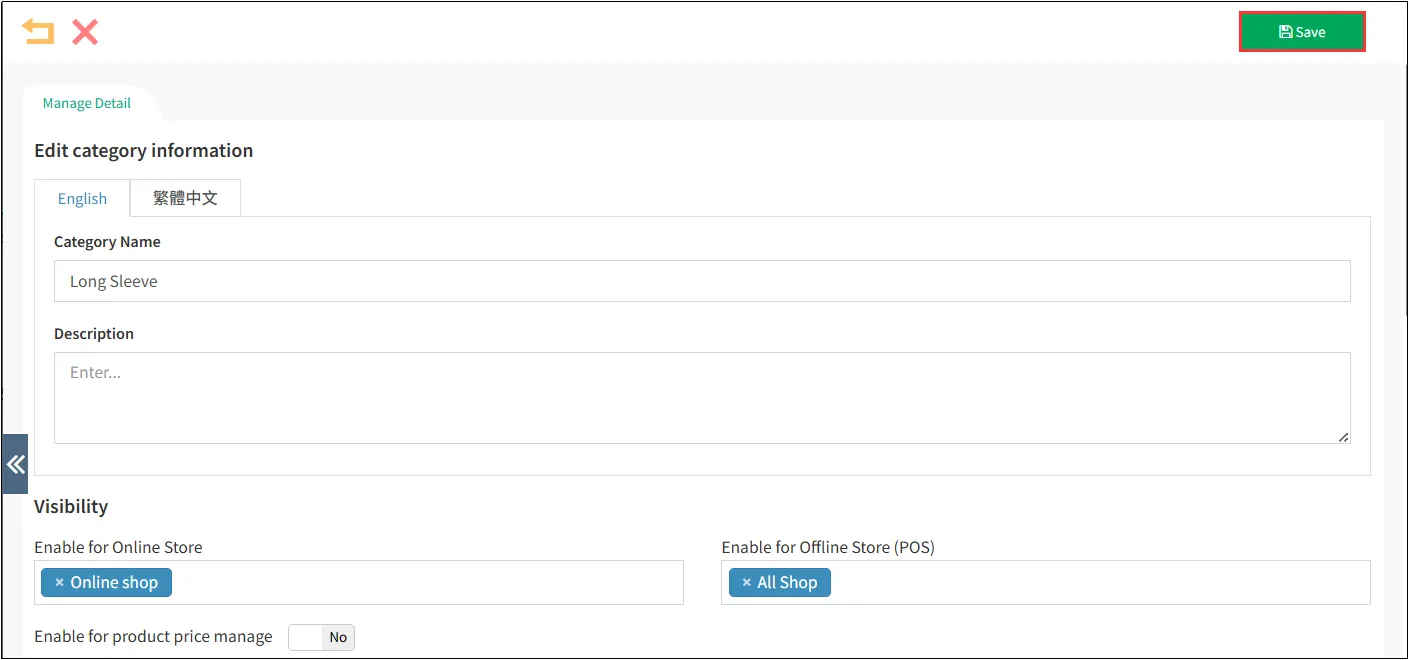
Edit Category
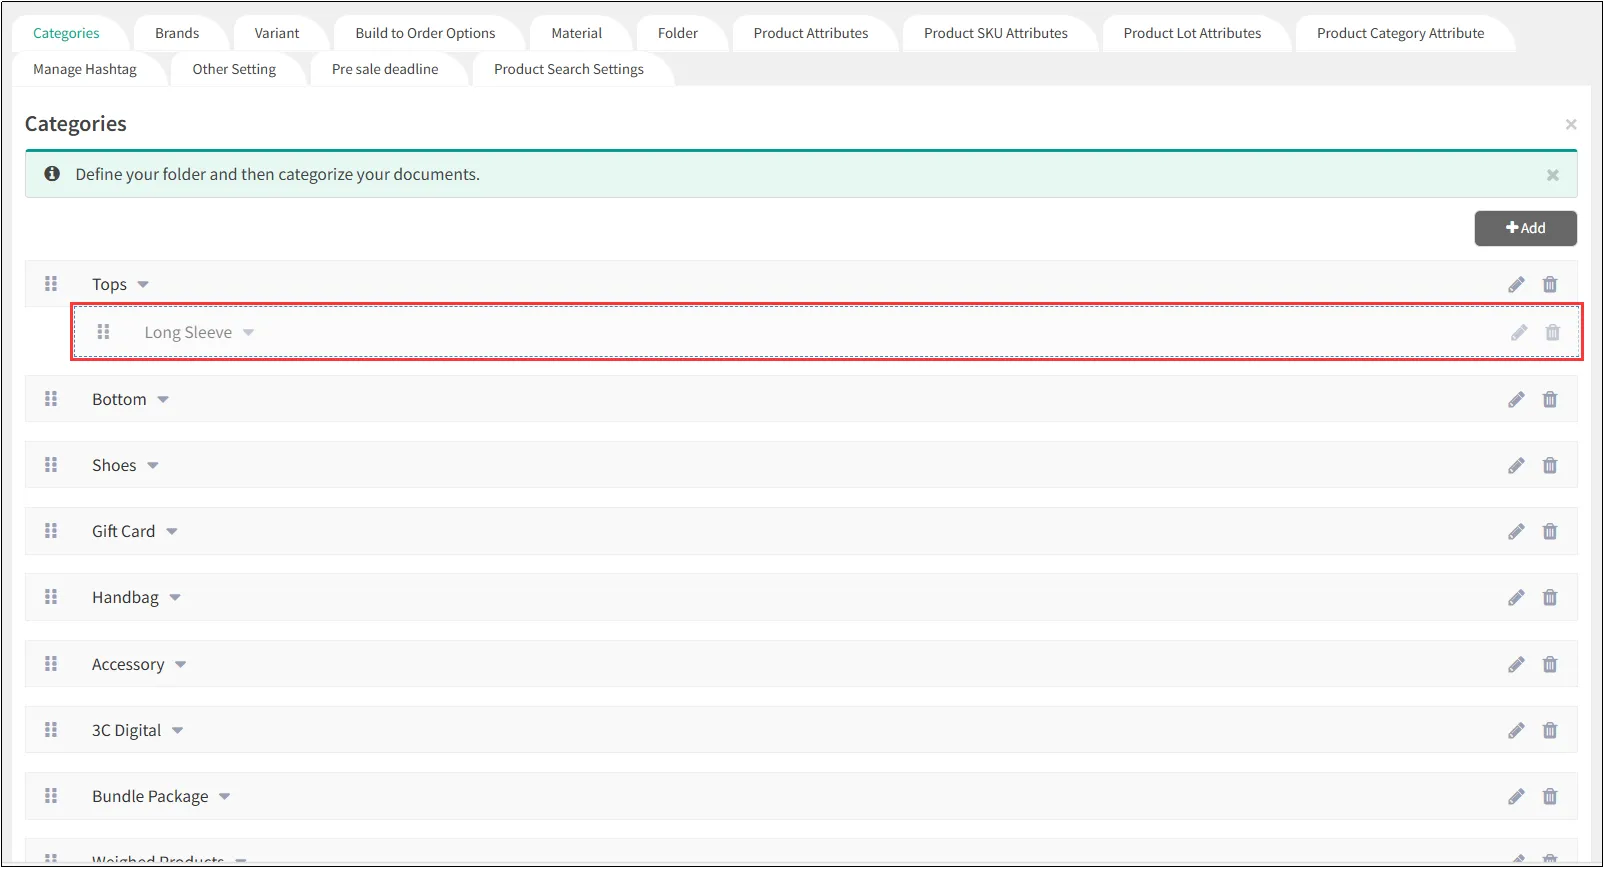
Set Subcategory
Click and hold the  icon on the left side of the category, then drag the subcategory to the area below the main category. When indentation is displayed, a "Main Category > Subcategory" hierarchy will be created.
Arrange Categories
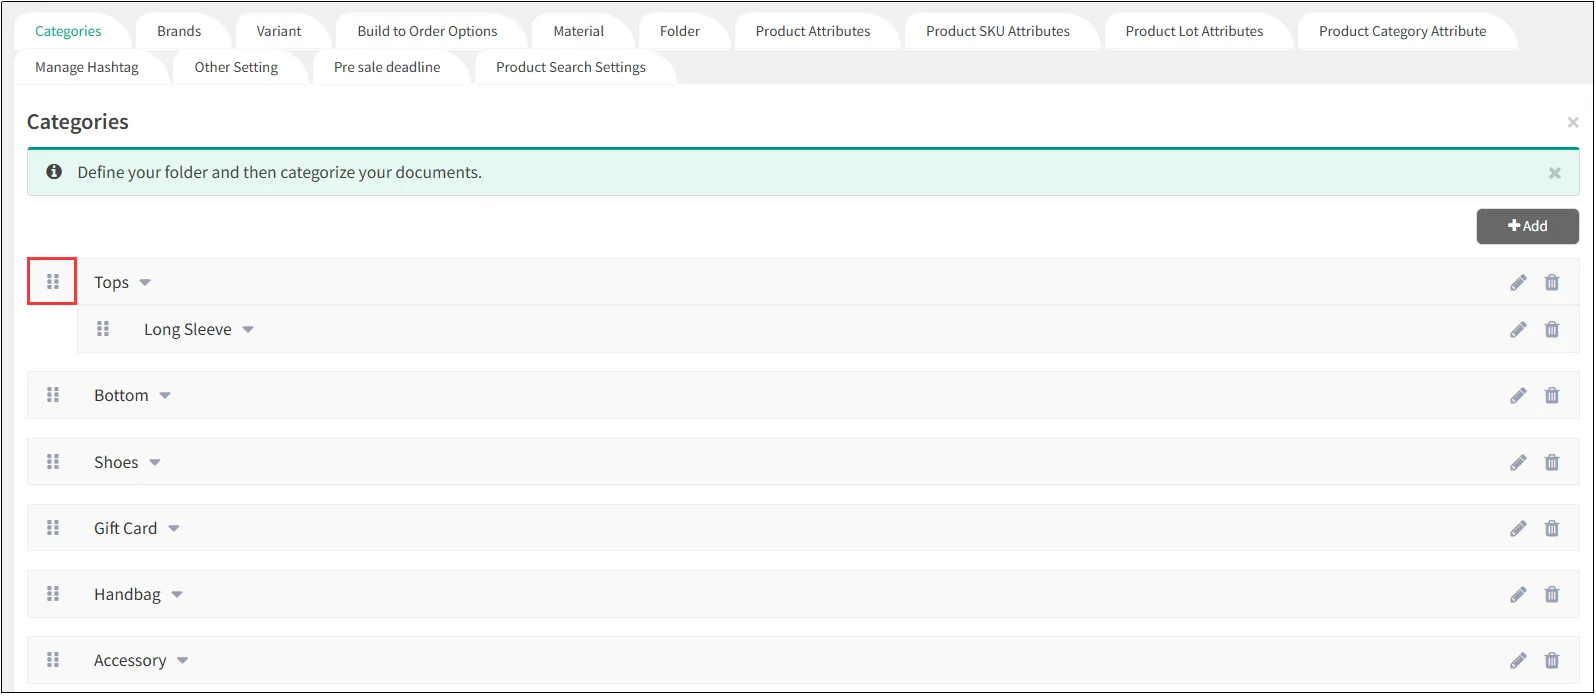
To adjust the display order of categories, click and hold the icon on the left side of the category, then drag it up or down to the target position.
Modify Category
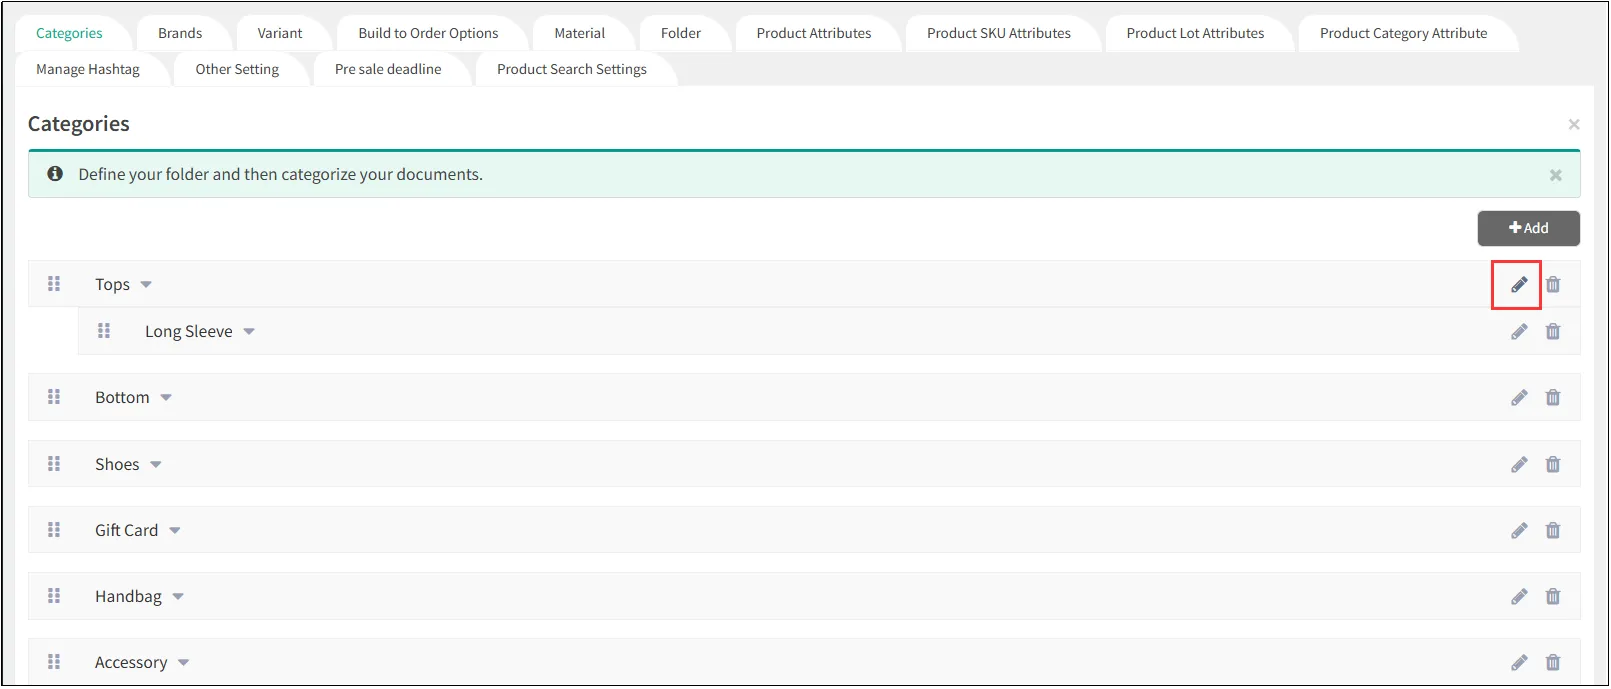
To modify category details (e.g., name or image), click the 
Delete Category
Open CMS

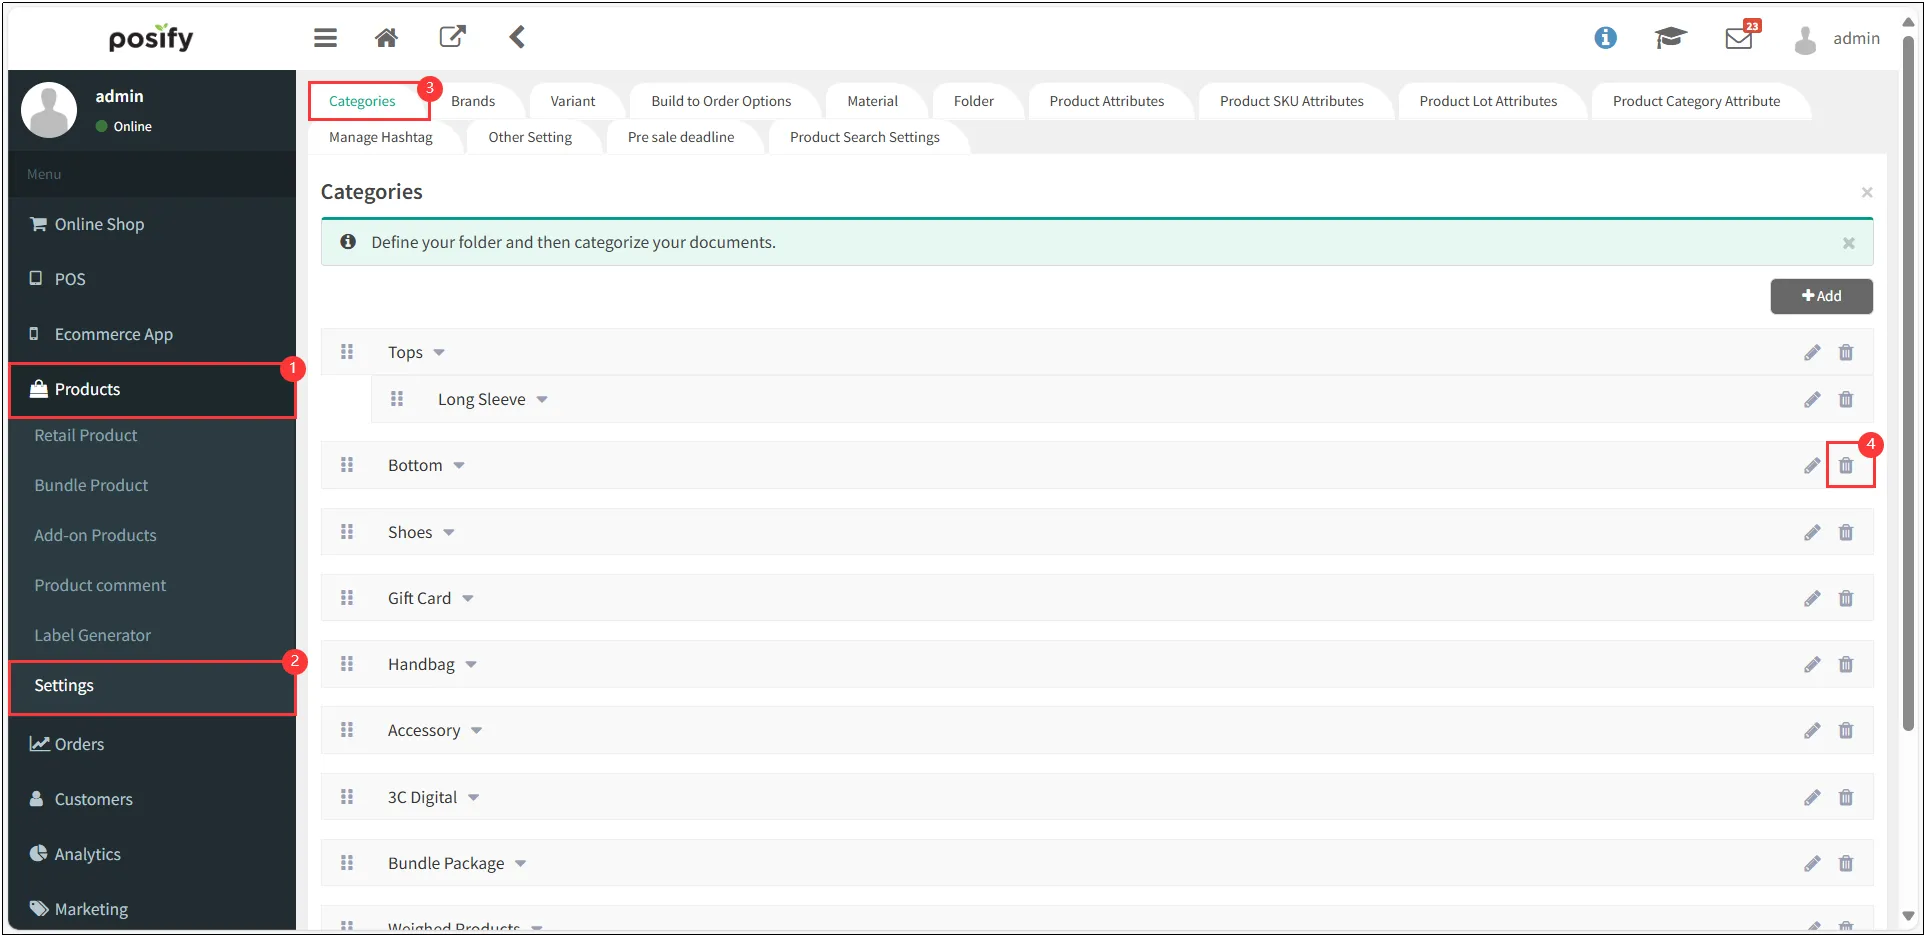
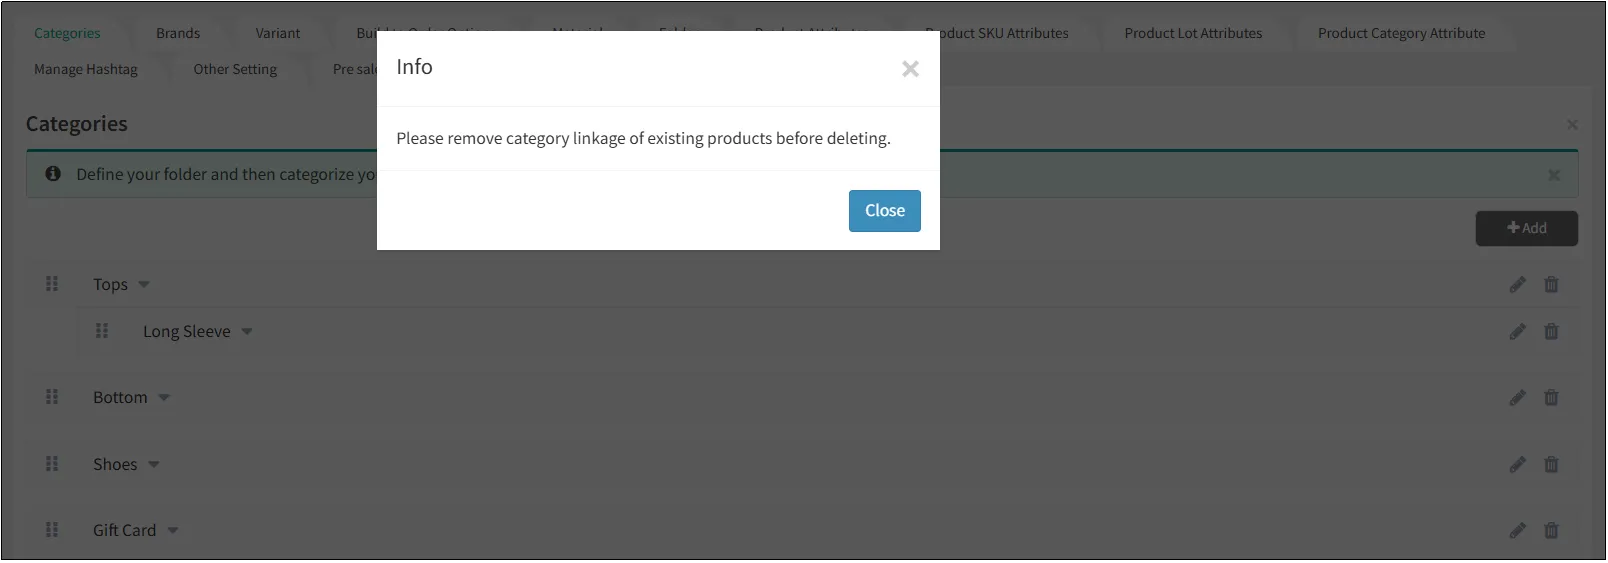
Note: If the deletion prompt shows [Please remove category linkage of existing products before deleting.], you must first unlink the associated products to proceed with category deletion.