Common Fields for Products
When adding new products or managing products, we will encounter some common fields. Knowing and being familiar with these fields will allow us to start our sales journey more accurately and efficiently.
generally
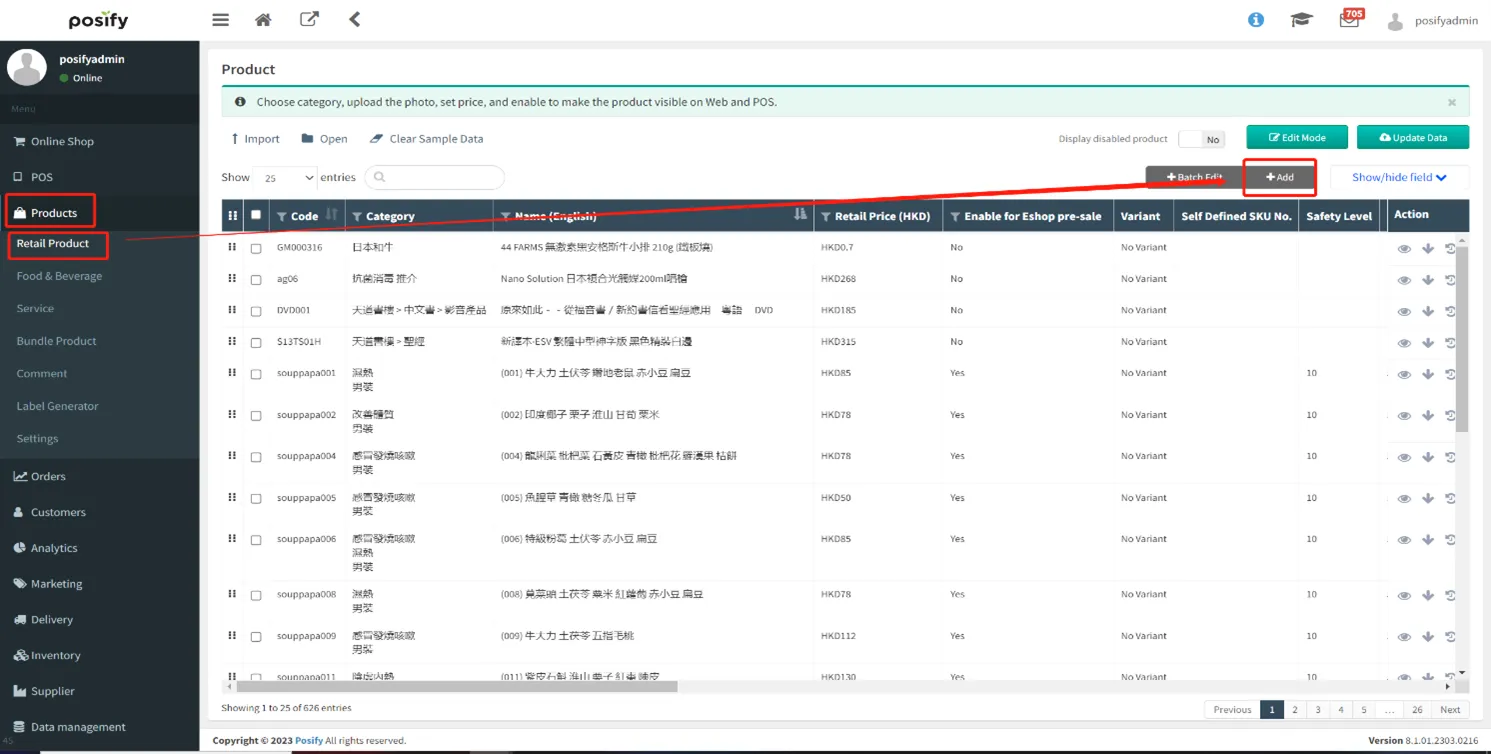
In CMS Click goodsclick retail goodsClick [Add] at the top right to add a new product, or click on the right side of a product
 Open the product edit page.
click page tab generally
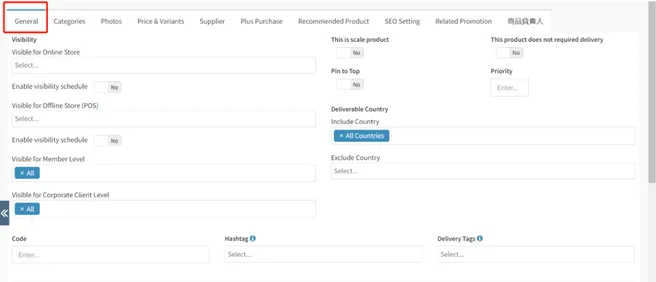
display
Select which stores your products appear in.
For example: As shown in the figure below, the product will be displayed in the online store (online store) and offline W-01, and it will not be displayed in other stores.
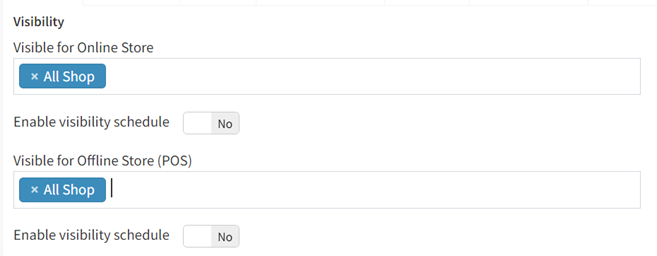
If you select [Enable display schedule] as yes,You can set the specific time period for the display of the product (specific to the date).

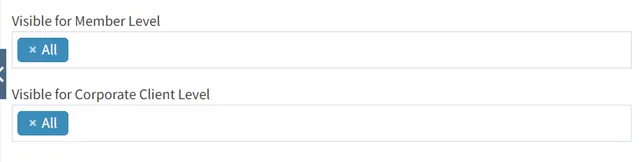
In [Display at member level] and [Display at enterprise customer level], you can set which customers will see the product.
For example: as shown in the figure below, select "VIP" in [Display at membership level], then only customers with membership level "VIP" can see the product; select "All" in [Display at corporate customer level], Then all enterprise users can see the product.
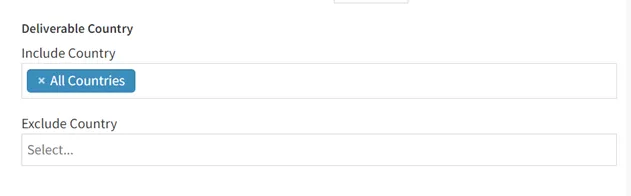
In [Shipping Country/Region], you can select the scope of delivery of the product. You can select the countries/regions that can be shipped in [Include Countries/Regions], or you can select all countries/regions in [Include Countries/Regions] and select the countries/regions that cannot be shipped in [Exclude Countries/Regions] area.
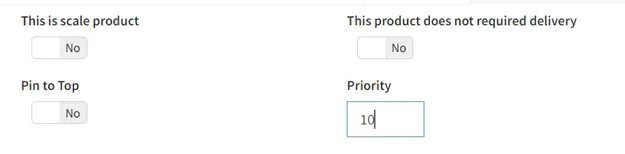
If you select [This product can be sold by weight] as Yes, then the product can be sold by weight in offline stores. Generally, some bulk commodities will need to be sold by weighing.
If you select [This product does not require delivery] as Yes, the product will not be shipped. Generally, some virtual products will use this function, such as "becoming a member" and other products do not need to be delivered.
If you select [Top] as Yes, then the product will be placed at the top of the product list.
The larger the number entered in [Order], the higher the position of the product in the product list. For example: the item whose order is "10" will be displayed in front of the item whose order is "9".
Product Number:
The unique serial number of the product is a necessary setting for the product, and it is also a very important tool for the merchant to manage the product.
product name:
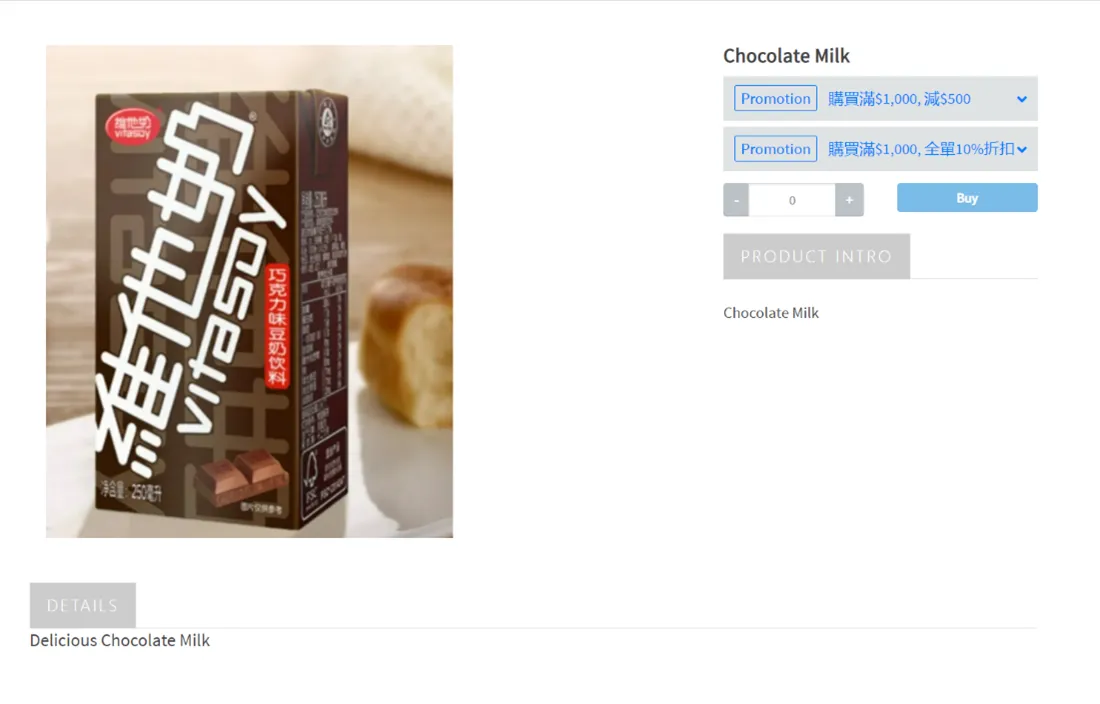
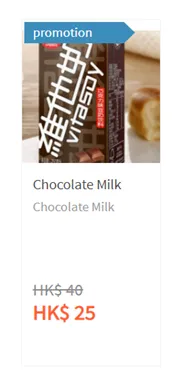
The name of the product displayed in the store is the most important information when customers search for the product, and it is displayed in the red box in the figure below.
product description:
Introduce the main features or advantages of this product, displayed in the red box in the figure below.
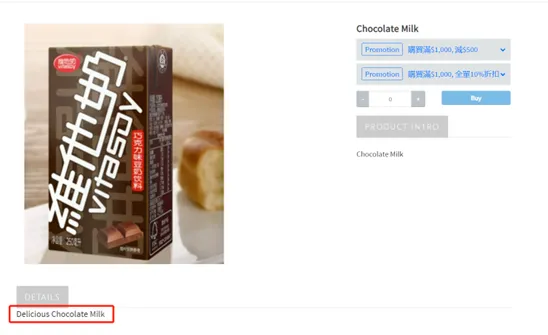
Details:
The detailed introduction and specific instructions of the product are displayed in the red box in the figure below.
Product specifications:
The specification information of the product, such as material, place of origin, shelf life, etc., allows customers to learn important information about the product more quickly.
Product specifications are divided into two parts.
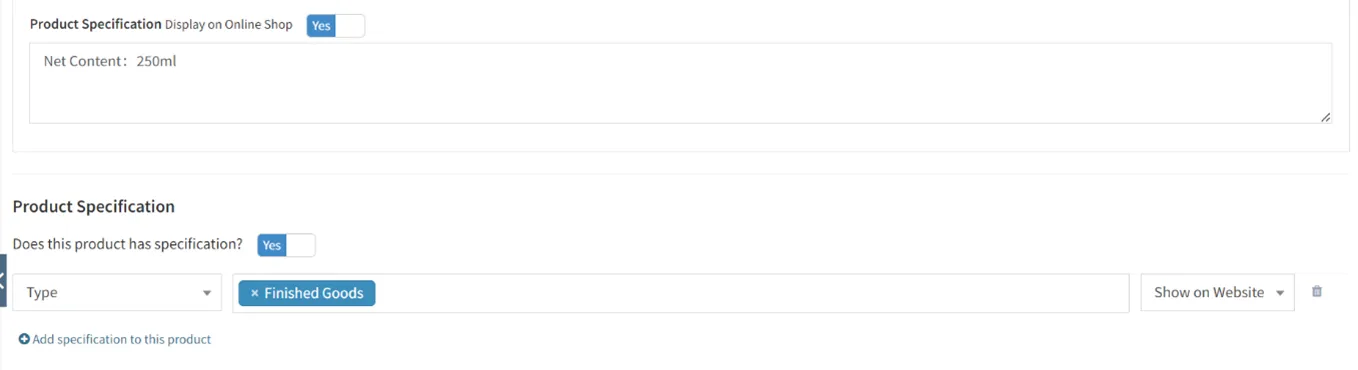
The first part is to directly enter text, which is used to write specifications that are rarely repeated, such as shelf life, product size, etc. The date and size are both unlimited. If you preset it every time, it is better to fill it in directly.
The second part is to select the preset commodity specifications. This part is used to put specifications that are easier to repeat, such as materials, origin, etc. The materials and places of origin are limited, and there are only a few commonly used ones, so the preset will be more convenient.
For example: set as shown in the figure below.
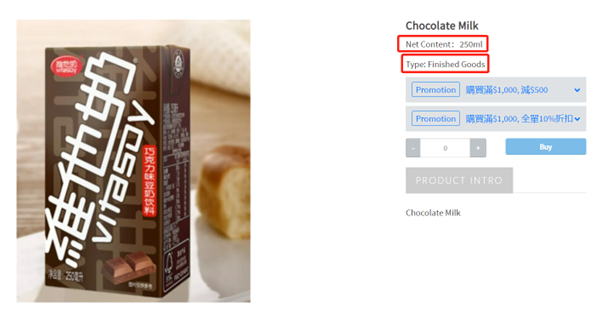
The display effect of the Online store is as shown in the figure below.
To use the product specifications in the second part, you need to preset the product-related settings in advance. For the preset method, see the second part of this playbook.
Classify
The purpose of setting brands and categories is to allow merchants to better manage products, and it is also to allow customers to search for the products they want more conveniently and quickly.
In CMS click goodsclick retail goodsClick [Add] on the upper right to add a product, or click on the right of to open the product editing page.
Click the tab Category .
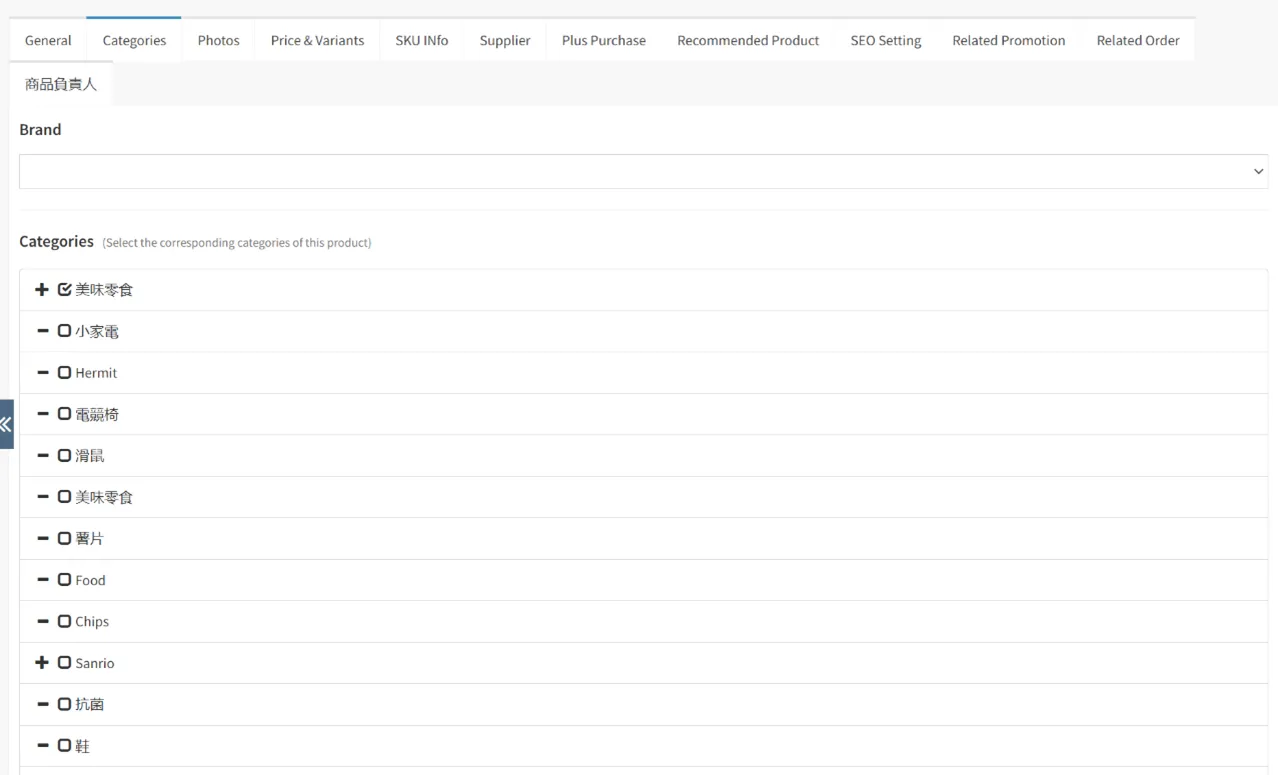
Select the brand of the product from the preset brands.
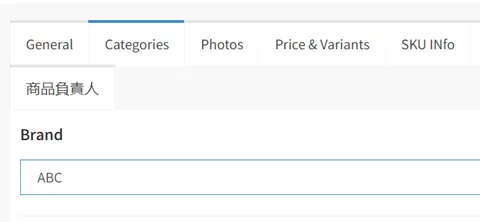
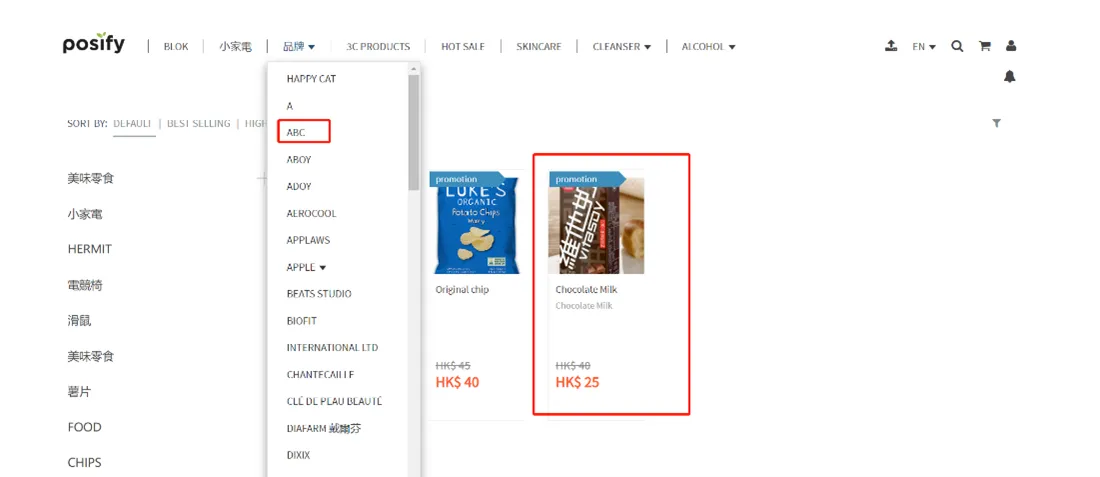
After setting the brand, click on the brand of the product in the online store to find the product.
From the preset categories, select the category and subcategory of the product.
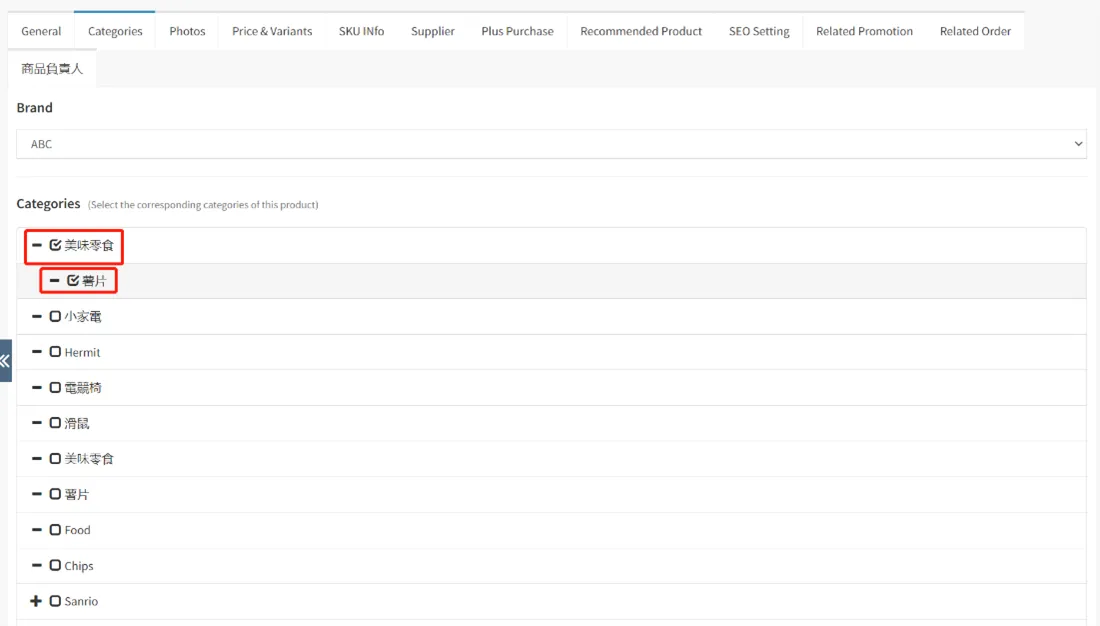
After saving, click on the category of the product in the online store to find the product.
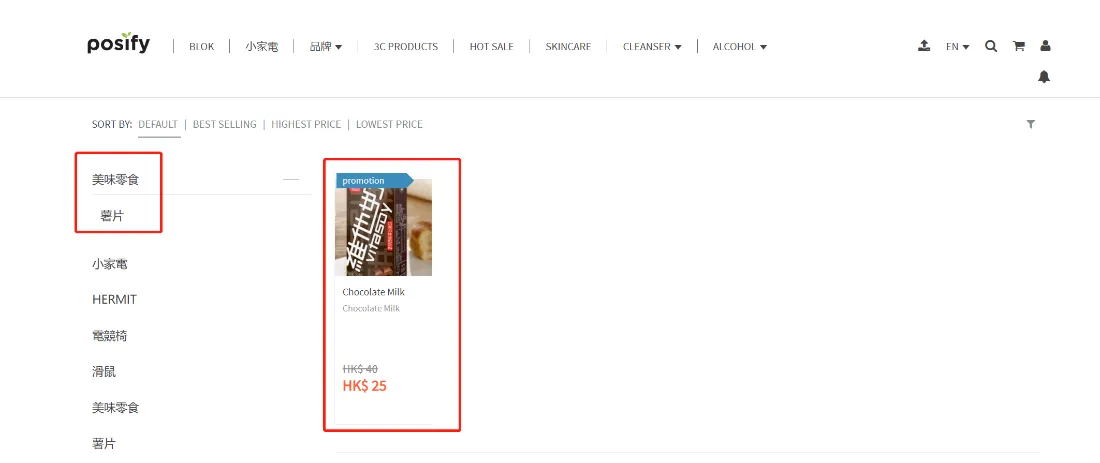
Photo
Uploading good product photos can help customers understand the product more intuitively.
In CMSclick product click retail product Click [Add] on the upper right to add a product, or click on the right of to open the product editing page.
Click the tab Photos .
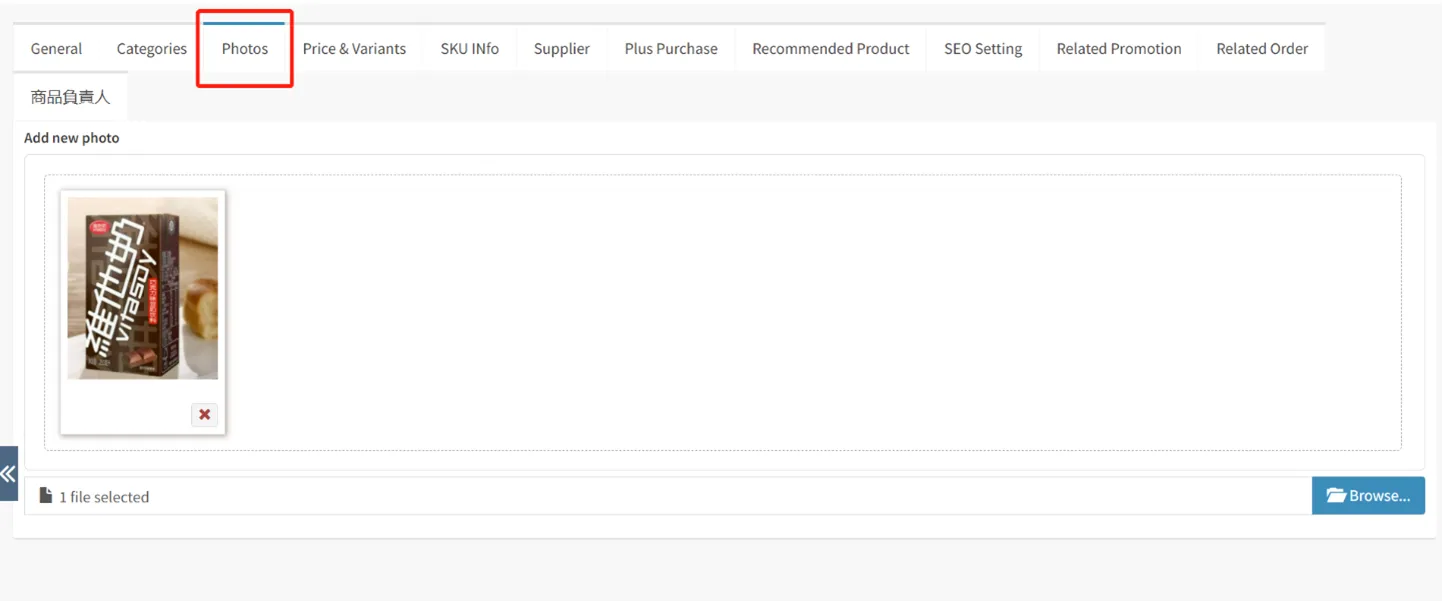
Click [Select File...] to select a photo to upload.
After the upload is successful, press and hold the photo and drag to change the order of the photos.
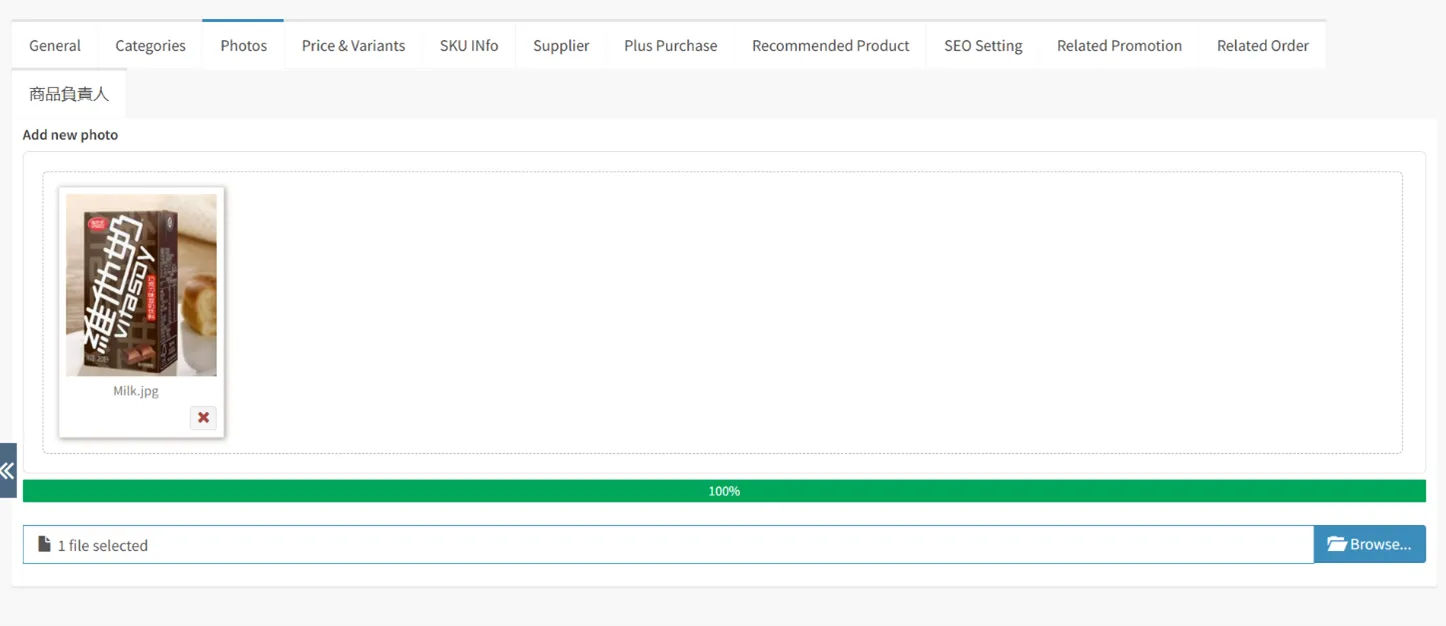
The display effect of product photos is as follows.
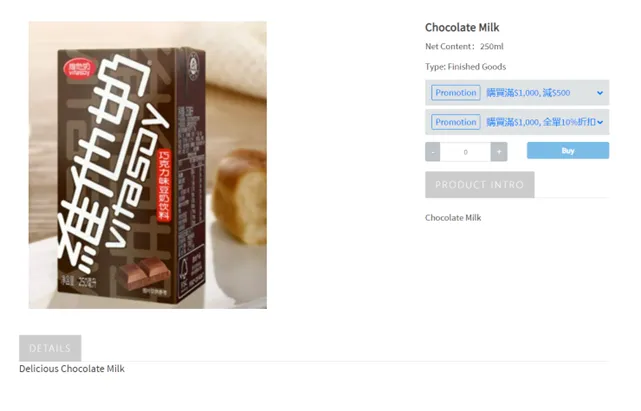
Remark:
· It is recommended that the photo file size should not exceed 1M. the
· The recommended photo size is 800x800.
· It is recommended that the number of photos should not exceed 7. If more than 1 photo is uploaded, the remaining photos can only be viewed by opening the product details, which will be displayed below the main image.
Price and Properties
In CMSclick product click retail product Click [Add] on the upper right to add a product, or click on the right of to open the product editing page.
Open the tab Price and Properties .
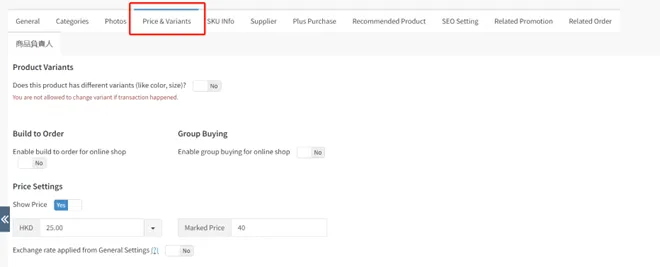
Product options are product attributes that customers can choose from, such as different colors, sizes, quantities, etc.
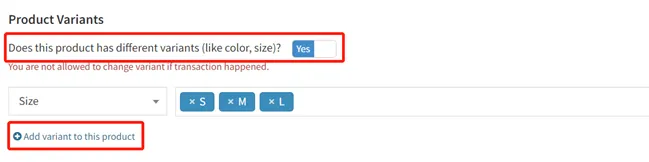
Select [Does this product contain other options] as Yes to enable product attributes.
Click [Add options for this product] to add new attributes. The use of product attributes needs to be preset in advance, and the preset method is detailed in the second part of this playbook.
Select a preset commodity attributeand then add the option of attribute.
For example: In the picture below, first select the product attribute of color, and then add options such as "white", "blue", and "black".
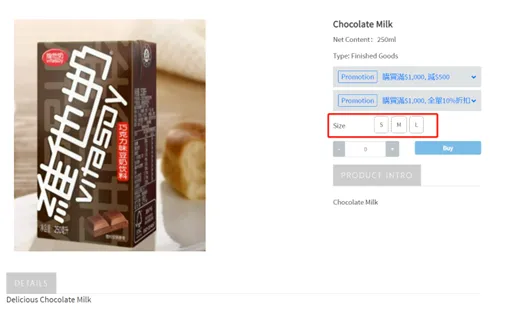
After storage and approval, customers can choose products with different attributes to purchase when purchasing.
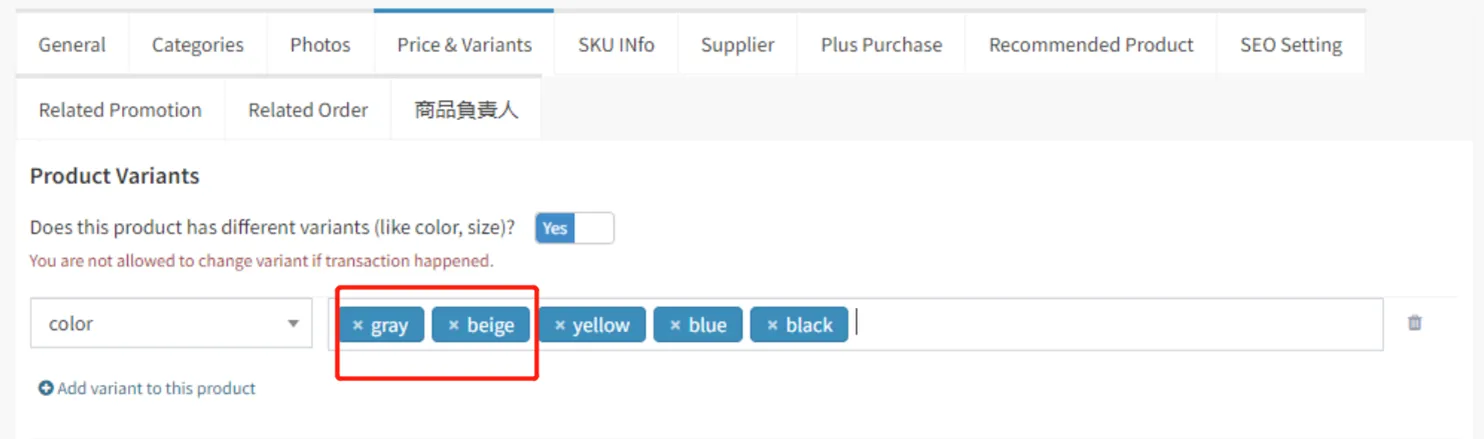
After the inventory changes of the product, the attributes of the product cannot be changed, added or deleted, but the option of adding attributes can be added.
For example: the product has had inventory changes, the attribute of color cannot be changed or deleted, new attributes cannot be added, and existing options under the attribute cannot be deleted, but new options can be added under the existing attributes. For example, add options of "gray" and "beige" to the attribute of color.
About commodity price setting.
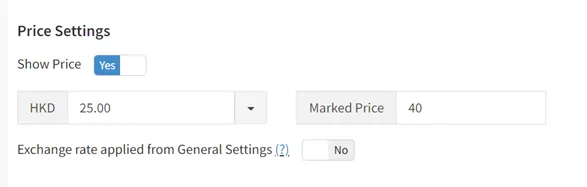
It is necessary to select [Display Price] as Yes before customers can purchase this product.
The first input box is the actual selling price of the product, the unit is HKD, and the second input box is the price of the product, which is the original price. When the listed price is greater than the actual selling price, the product will be displayed as discounted.
The discount status is shown in the red box in the figure below.